I knew I had a handful of issues I wanted to address with making my tail. Namely, costume tail always look so limp! I didn't want that. I also didn't want a tail that was stuffed so tight it was stiff. Draenei tails have an awesome little sway to them with the wiggle-walk and I wanted to try and emulate it as best I could ... Days of brainstorming and talking through possible solutions with a buddy of mine, I created what I thought would be the perfect solution to meet my criteria. Of course, nothing is perfect but the result I've reached thus far is pretty pleasing to me anyway.
I scrounged up some fabric left over from last year's Castle Crashers costumes and was fortunate to find ONE piece JUST big enough for me to cut a tail out of. After measuring from my tailbone to my knees and rounding up, I settled on a two-foot length (the original distance was something like 20-22 inches, but I knew the tail would hang in a slightly varied manner than my tape measure, so I rounded up to the nearest foot; besides, I'd rather have to make it shorter than wish I'd given myself more length!).
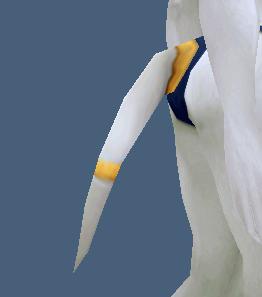
Taping three pieces of printer paper together, I sketched out a rough idea of what the tail should look like. Draenei tails have a certain shape where they stretch horizontally from the butt before sloping down, and I wanted to try to get as close to this aspect as well ...
My original sketch didn't look quite like what I wanted, so after a second one (holding the cut out pattern-paper up against where I would attach the tail and checking in a mirror), I was satisfied with the shape. Taping the pattern to the fabric, I was careful to align the fold where the backside of the tail was, thus eliminating the amount of seam visible on the top/back.
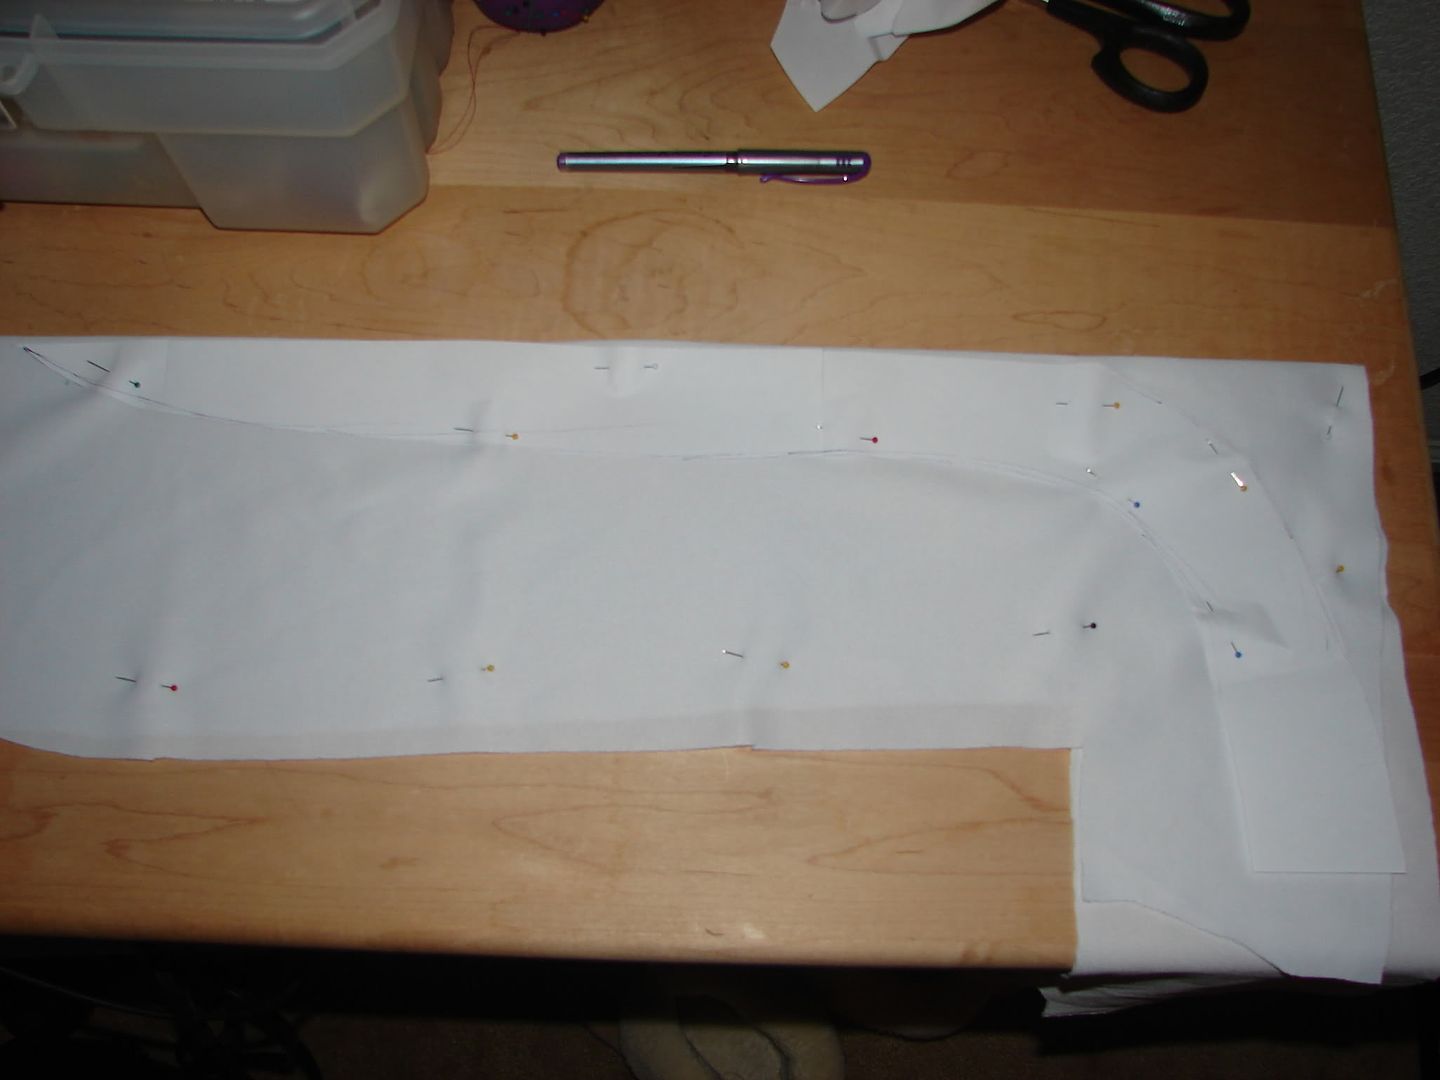
After the fabric was cut, I quickly stitched together (with the machine) the seams, leaving the "top" open where the tail would be attaching to my clothing/tailbone area. Then I pulled out a pair of old nylons, cut the leg off, and trimmed it down to be a similar shape/size to the tail I'd created.
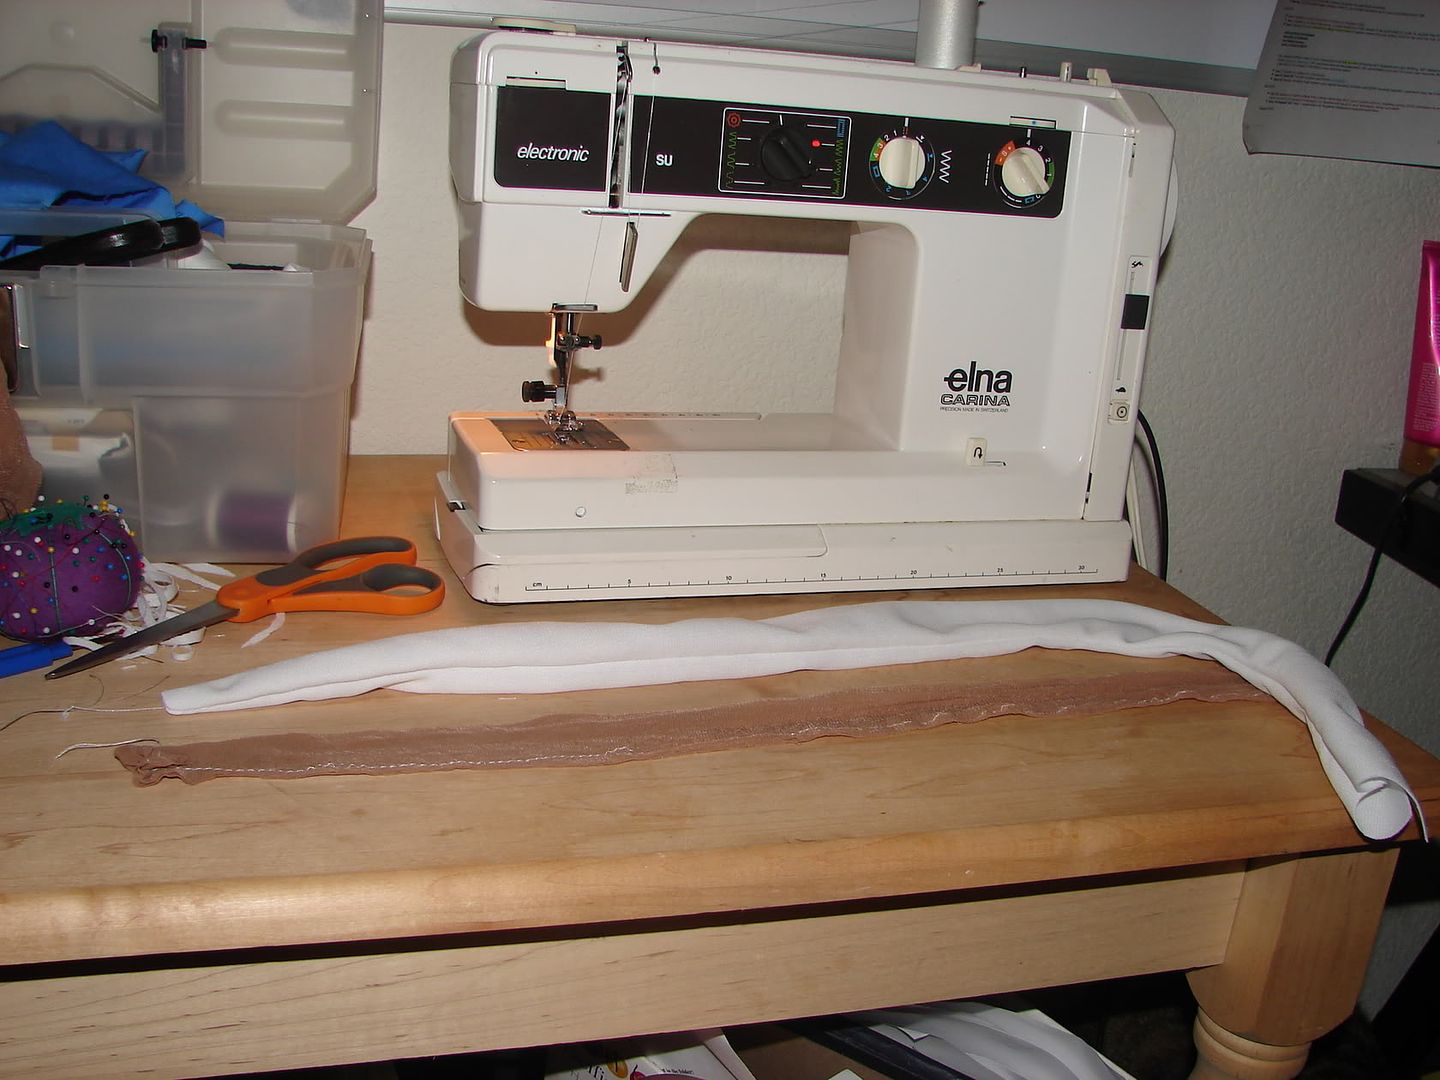
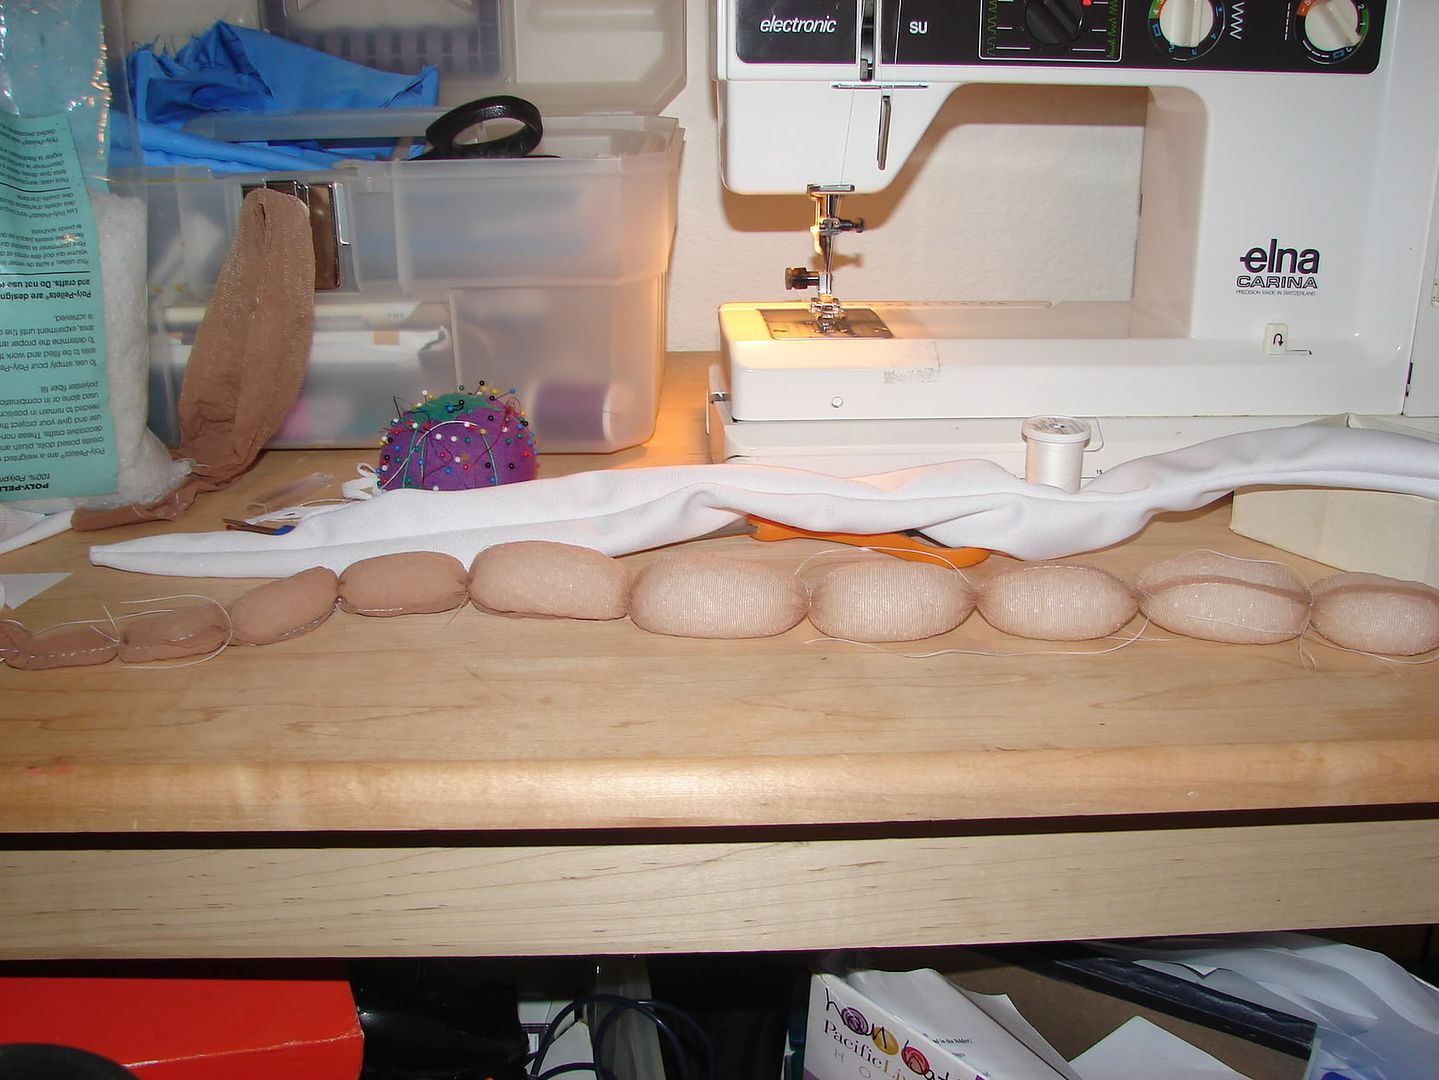
Now, using Poly Pellets bought from my local craft store, I began to stuff the pantyhose by means of a quick paper-rolled funnel stuck in the top opening. Rather than filling the entire stocking, I began to tie little "joints" every inch or so along the length of the nylon like so:

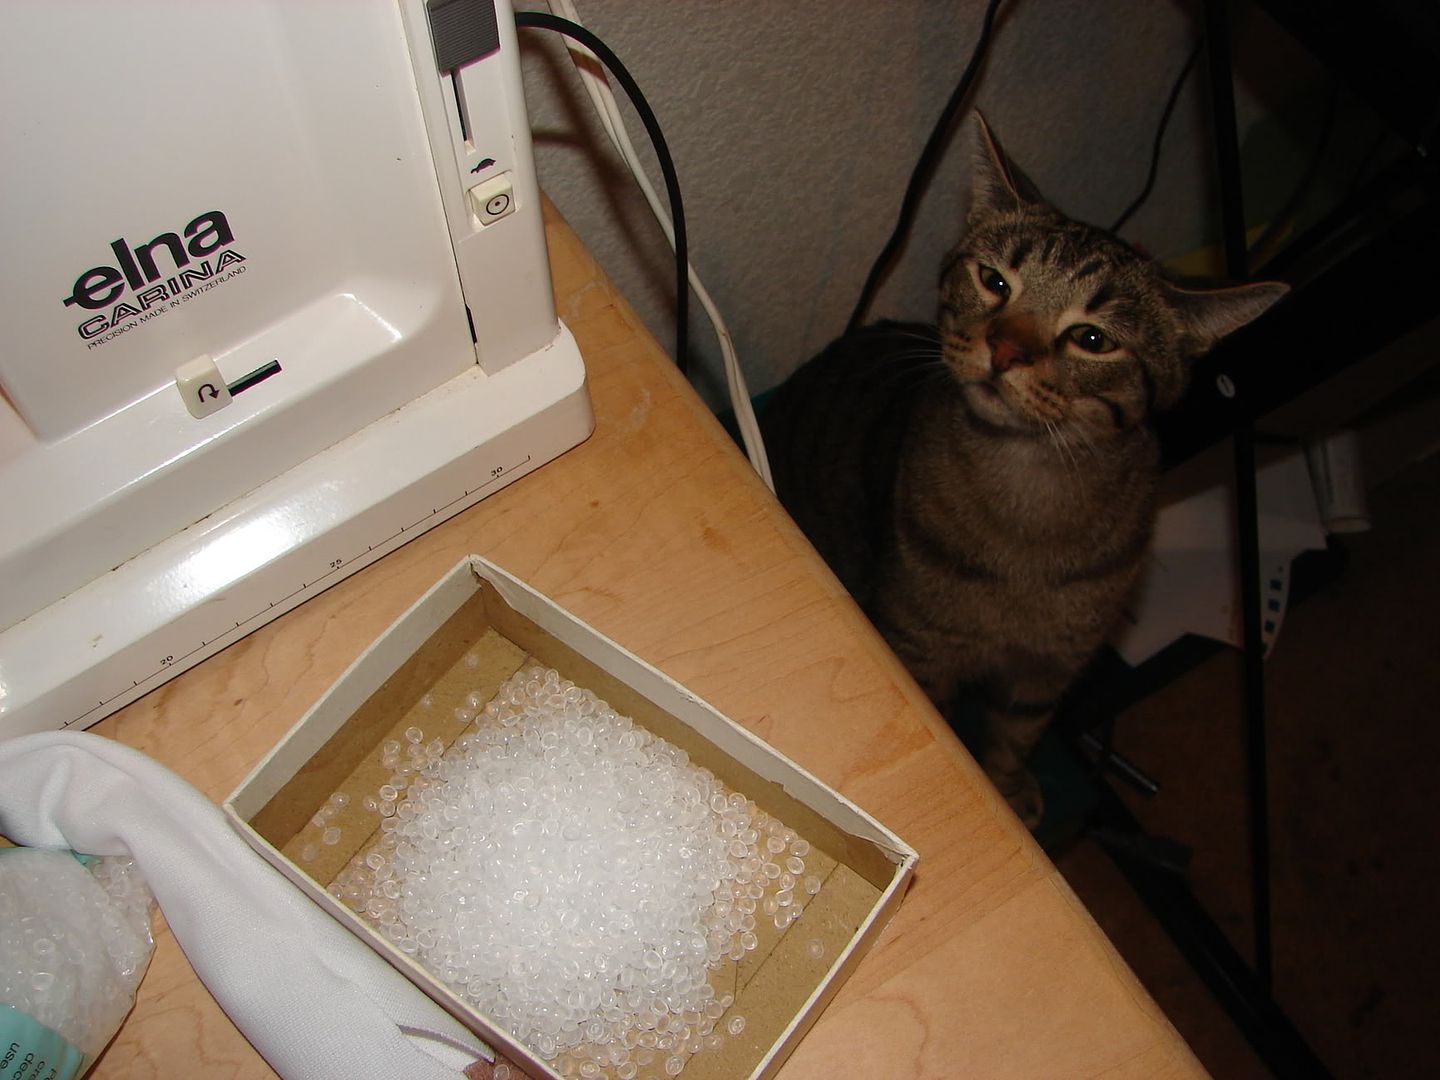
Warning: Poly Pellets being poured in to a box sounds an awful lot like food to curious kitties!
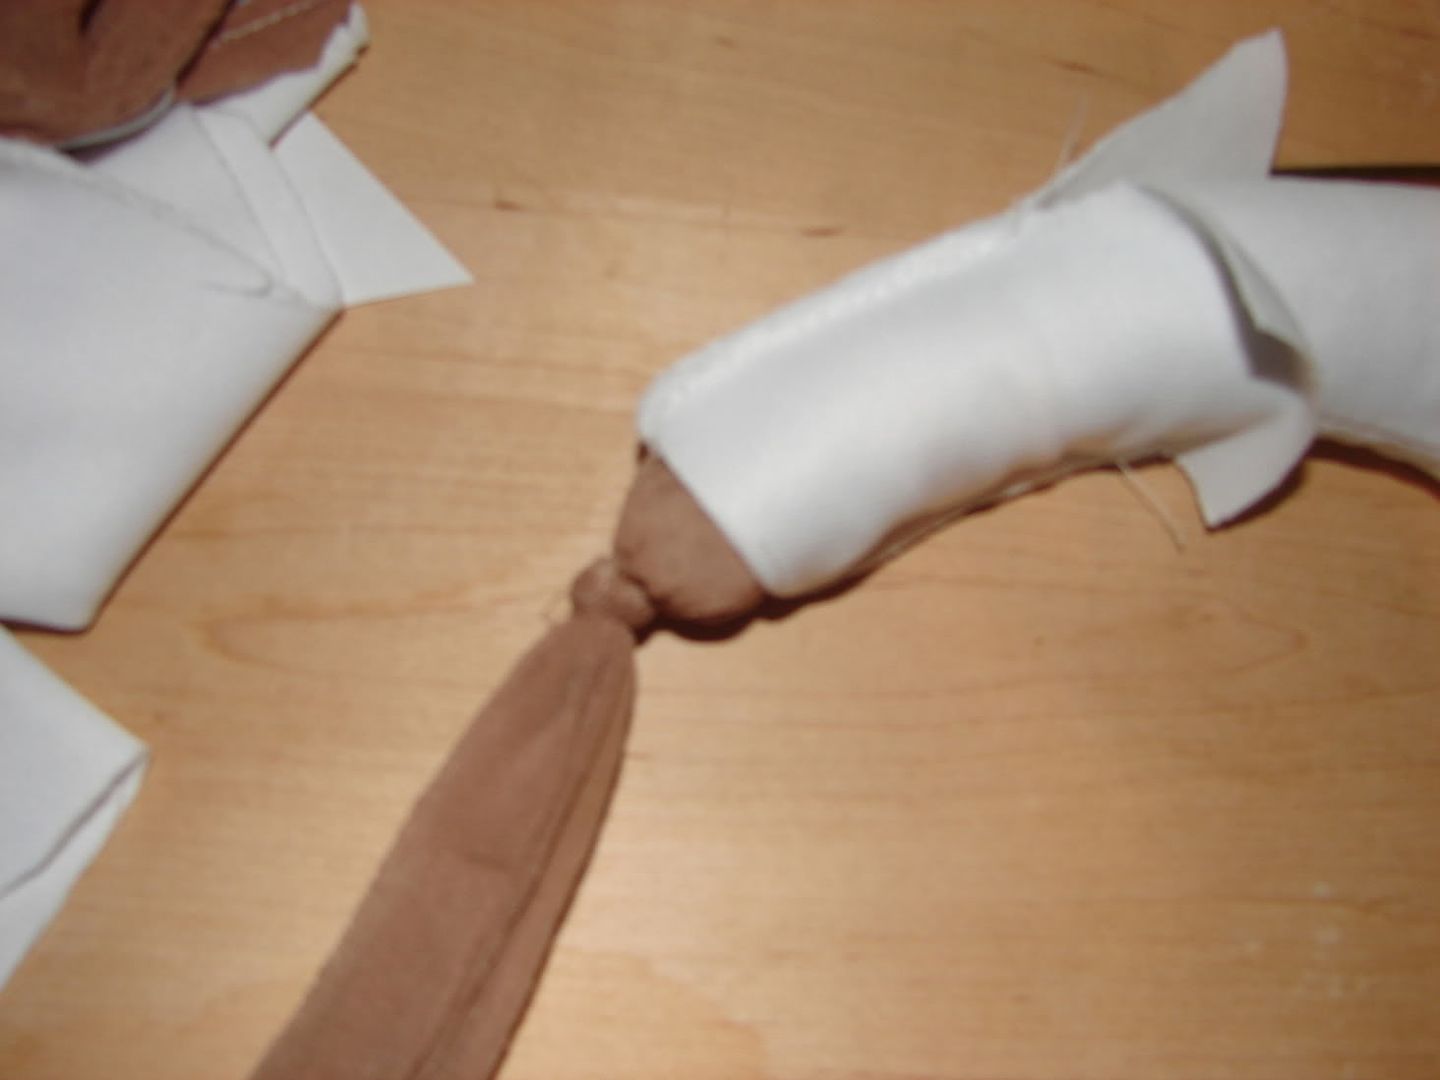
Next, I slipped the mini-spine chain in to the tail and spent a good length of time fighting it in without tearing any of the light fabric. The seam at the top and curve of the tail was considerably smaller than some of my packed vertebrae, but the nylon was stretchy and malleable full of beads, so it eventually all slid in to place. Even though the image of the chain shows very clear divides in between each packed section, that is not how it ultimately sits in the tail. With those gaps, the fabric caves in between and looks awkward, so I was forced to push each segment to sit directly on top of the next. However, since the pellets are sitting in individual pockets instead of in one very large lump, the tail still has life and flexibility, so it works just the same! I just had to add a few more segments at the top. My hand is blocking it in that last shot, but I also used the medical tape to pinch the ends of the wire from stretching too far apart and causing a problem once inside the tail itself. I, however, forgot to take a picture of that ...
From the curve to the top end of the tail (opening), it's one long pocket, rather than the vertebrae sections. This is because I wanted that piece to be solid so the tail would have the same sort of curve the models' tails have. Even with one solid pocket, though, the tail was pulled immediately down by all its own weight and no amount of pellet packing could convince it otherwise.
So I broke out the hack saw again ...
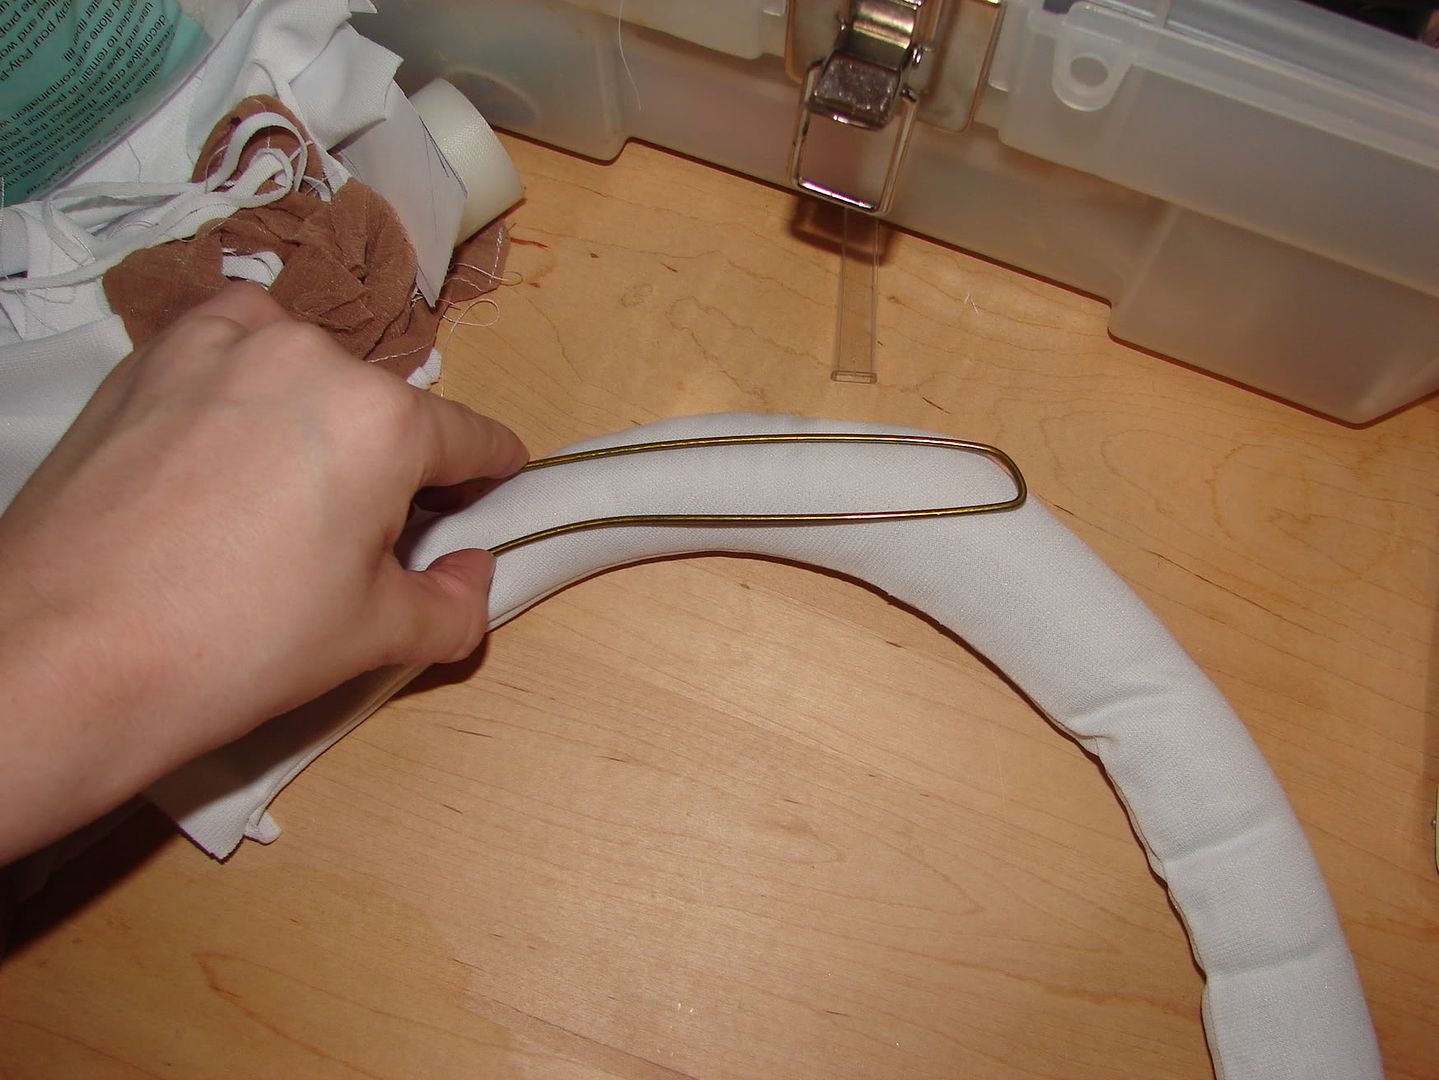
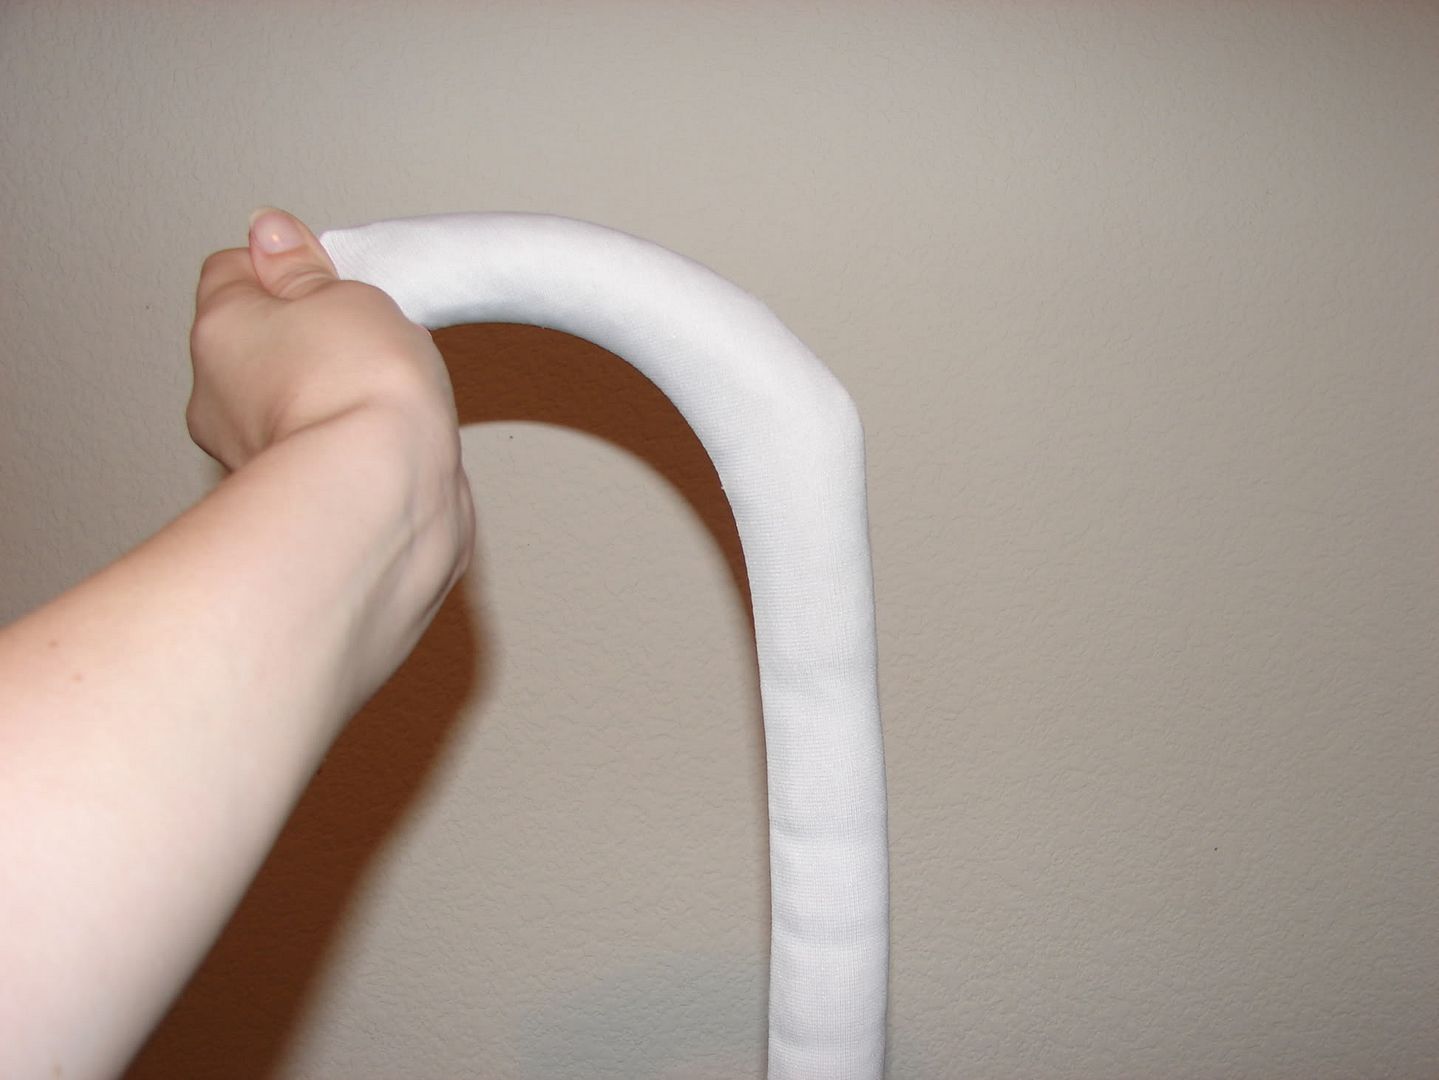
And an old wire hanger. With the right bend, a little cutting, and a little tape later, I had a perfect arch to support my now hefty tail.

Note: This method for stuffing the tail is very heavy, insofar as the prop itself is concerned. It will need to have a solid base to attach to, no frilly stretchy pants here!
With a little medical tape to keep the cut edges of the wires from snagging all of my fabric, I contorted the wire to an appropriate shape for my tail.
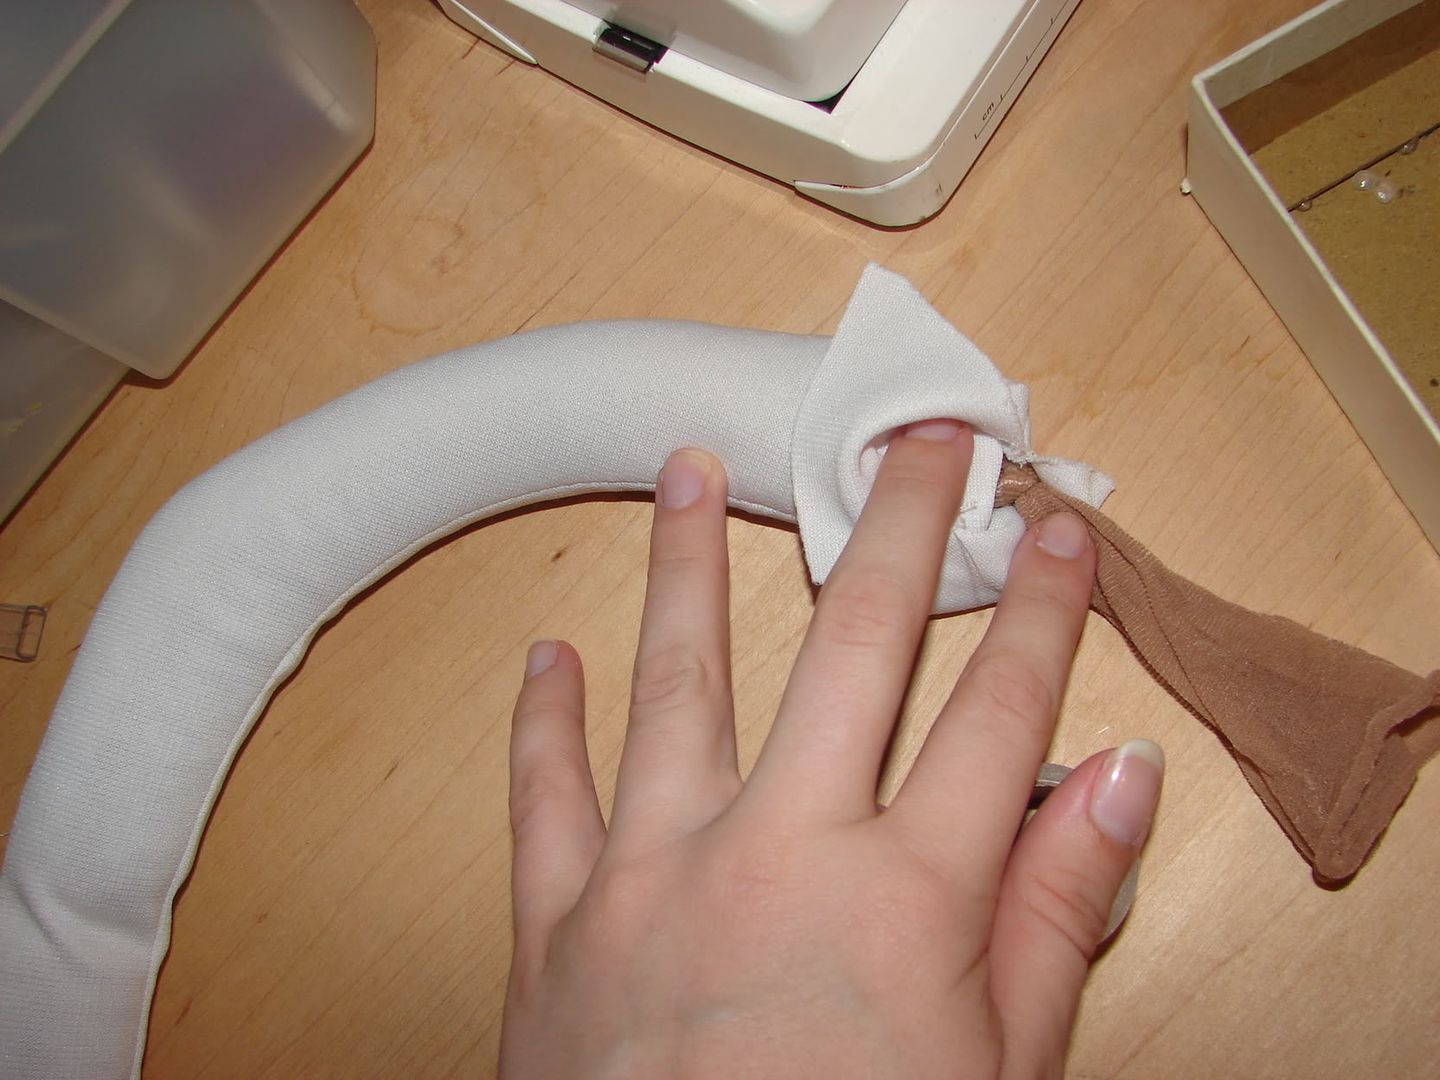
Now it gets tricky. I carefully had to untie the knot I had placed at the end of my nylon and pinch the hanger in so it could sit in the center of the tail, as opposed to getting pushed aside by the lining inside. Once it was forced as far in to the opening as I could make it, I added extra pellets to stuff the base of the tail as full as I could possibly make it, then tied it off again to make sure I didn't end up with a(nother) mess all over my bedroom floor.
And, ta da! My very own draenei tail that won't fall instantly flat! I will have to be specific when I attach to, to ensure it doesn't fall to one side or the other (since the wire is narrowly aligned in the middle, and not an all-around solution), but I already have plans for this.
Since taking those pictures, I have stitched the working portion of the tail closed, with quite a few back and forth passes with the machine, just to be sure. I also have used a little hand stitching to pass through the top of the tail and hold the wire in the center, then again on the bottom side -- all up near the once-opened end. It will be covered later anyway, so the sloppy stitches won't be a problem visually.
Time to rest now. =3
No comments:
Post a Comment