Since I need helping hands to complete the hooves, I started working on something I could solo a few days ago ... my tail!
I knew I had a handful of issues I wanted to address with making my tail. Namely, costume tail always look so limp! I didn't want that. I also didn't want a tail that was stuffed so tight it was stiff. Draenei tails have an awesome little sway to them with the wiggle-walk and I wanted to try and emulate it as best I could ... Days of brainstorming and talking through possible solutions with a buddy of mine, I created what I thought would be the perfect solution to meet my criteria. Of course, nothing is perfect but the result I've reached thus far is pretty pleasing to me anyway.
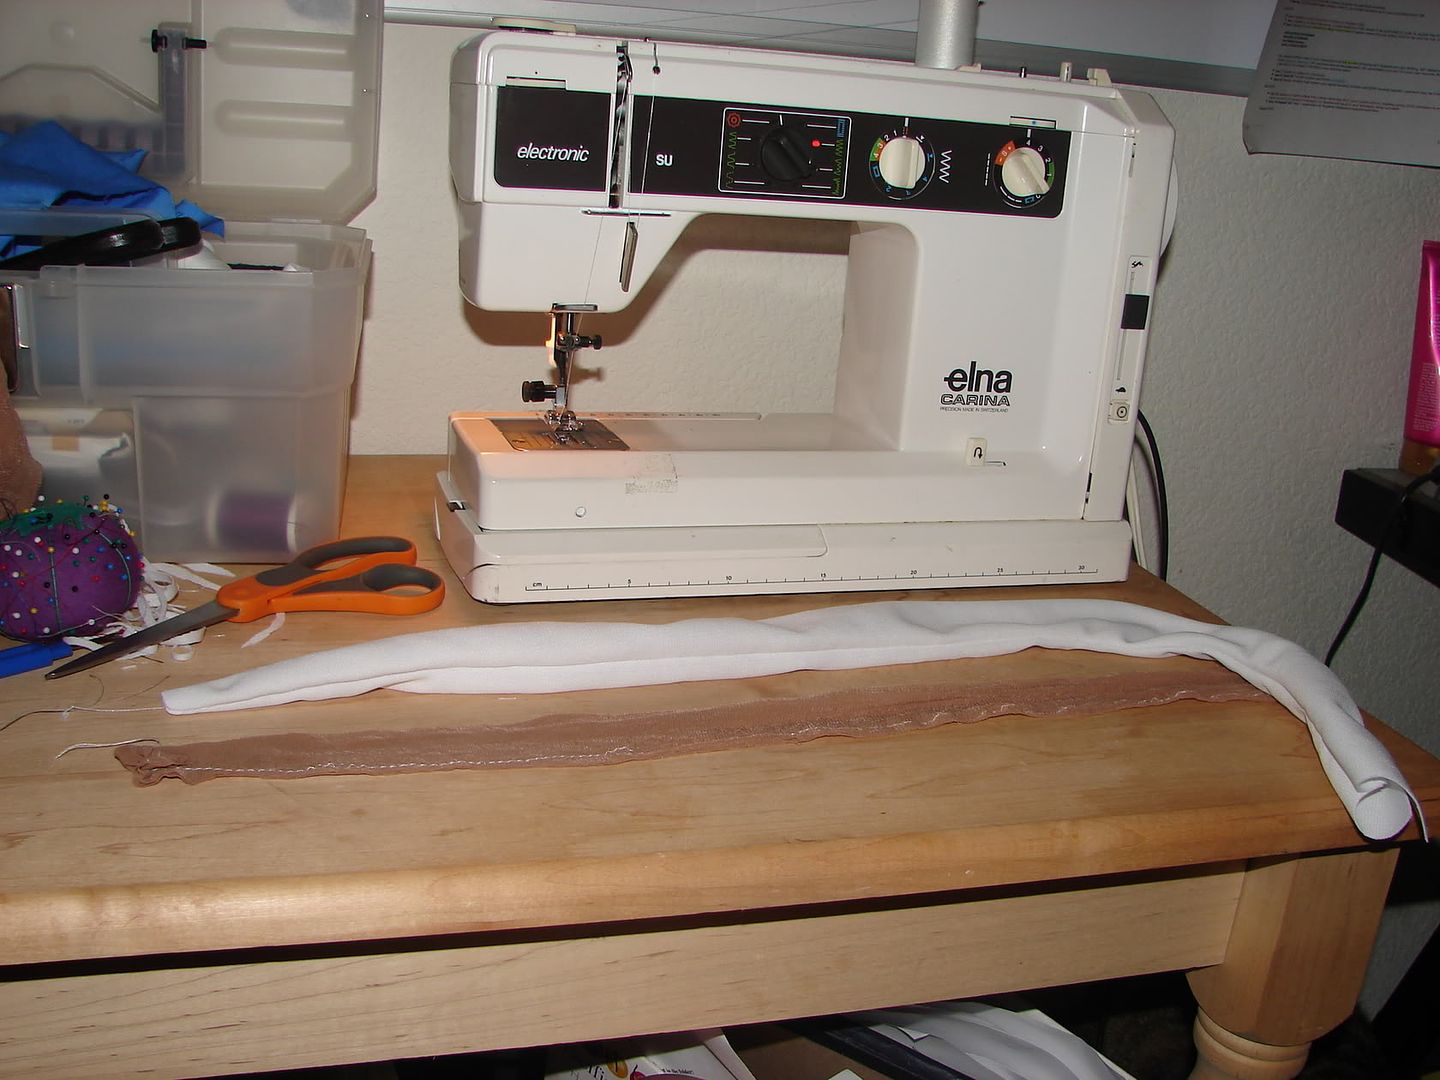
I scrounged up some fabric left over from last year's Castle Crashers costumes and was fortunate to find ONE piece JUST big enough for me to cut a tail out of. After measuring from my tailbone to my knees and rounding up, I settled on a two-foot length (the original distance was something like 20-22 inches, but I knew the tail would hang in a slightly varied manner than my tape measure, so I rounded up to the nearest foot; besides, I'd rather have to make it shorter than wish I'd given myself more length!).
Taping three pieces of printer paper together, I sketched out a rough idea of what the tail should look like. Draenei tails have a certain shape where they stretch horizontally from the butt before sloping down, and I wanted to try to get as close to this aspect as well ...
My original sketch didn't look quite like what I wanted, so after a second one (holding the cut out pattern-paper up against where I would attach the tail and checking in a mirror), I was satisfied with the shape. Taping the pattern to the fabric, I was careful to align the fold where the backside of the tail was, thus eliminating the amount of seam visible on the top/back.
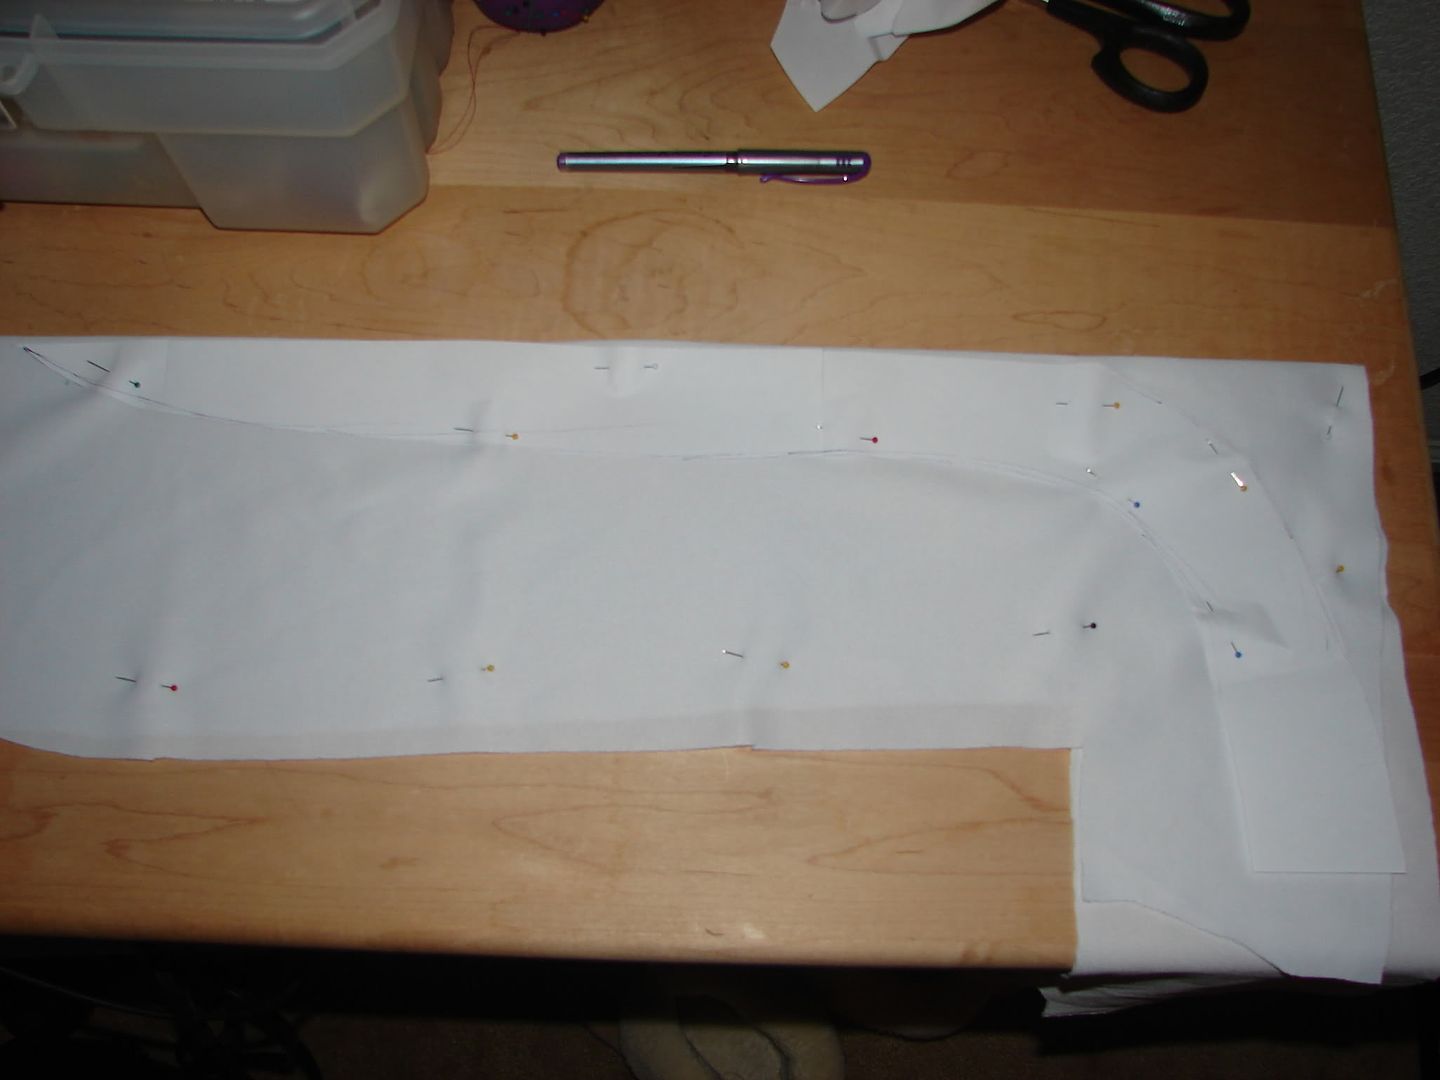
After the fabric was cut, I quickly stitched together (with the machine) the seams, leaving the "top" open where the tail would be attaching to my clothing/tailbone area. Then I pulled out a pair of old nylons, cut the leg off, and trimmed it down to be a similar shape/size to the tail I'd created.
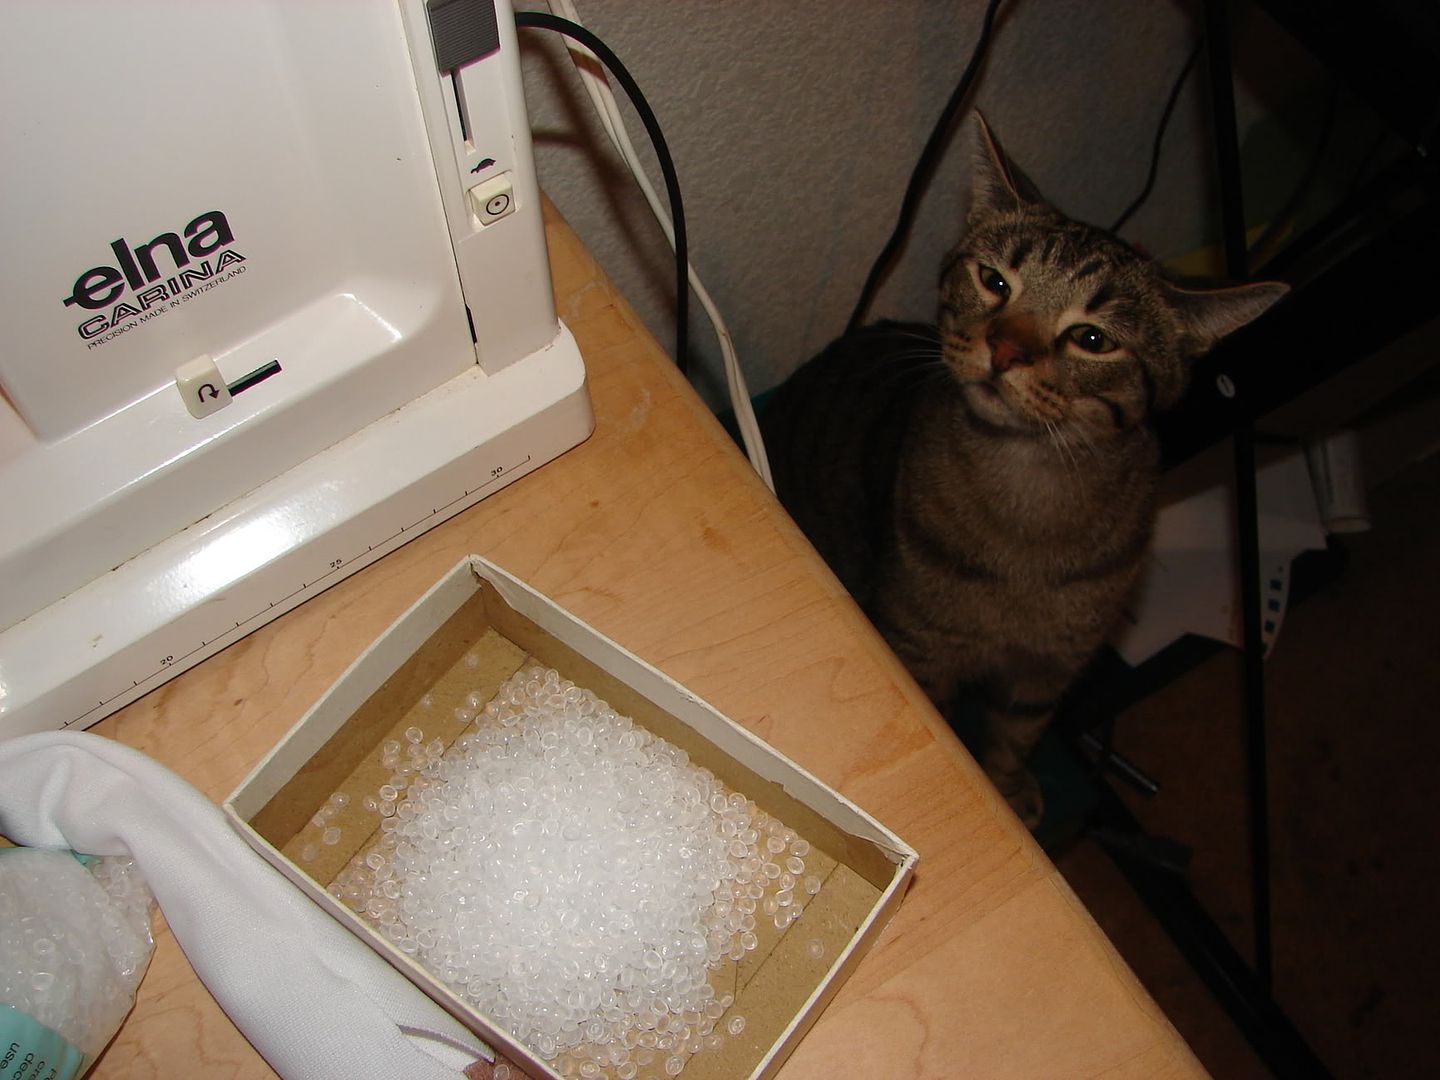
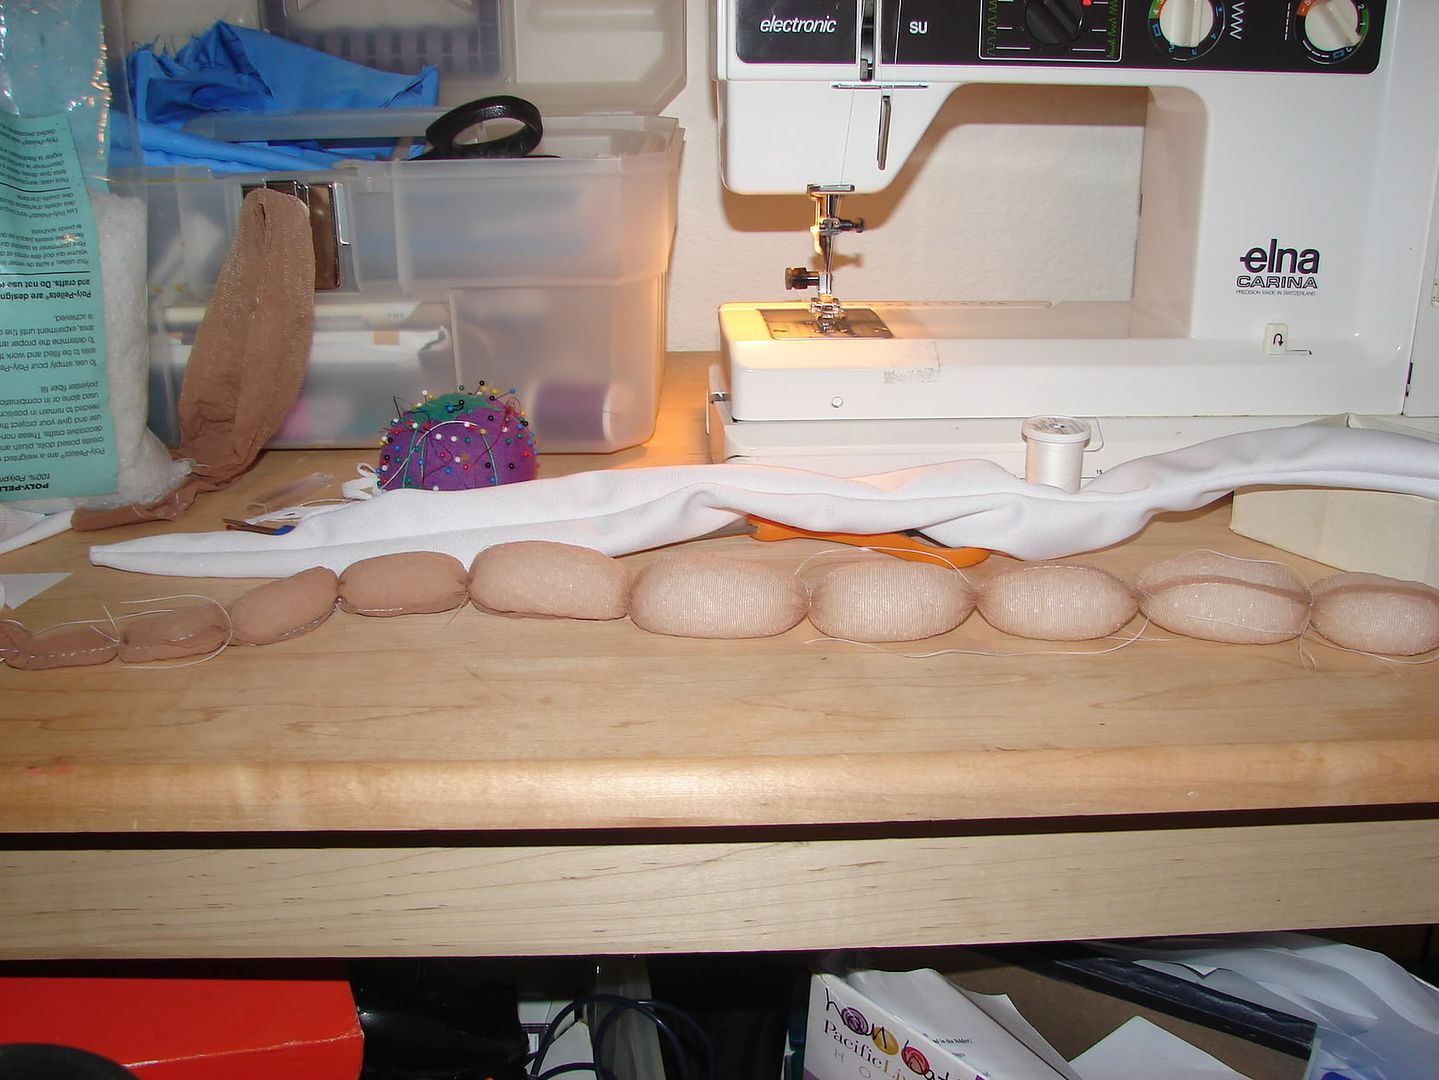
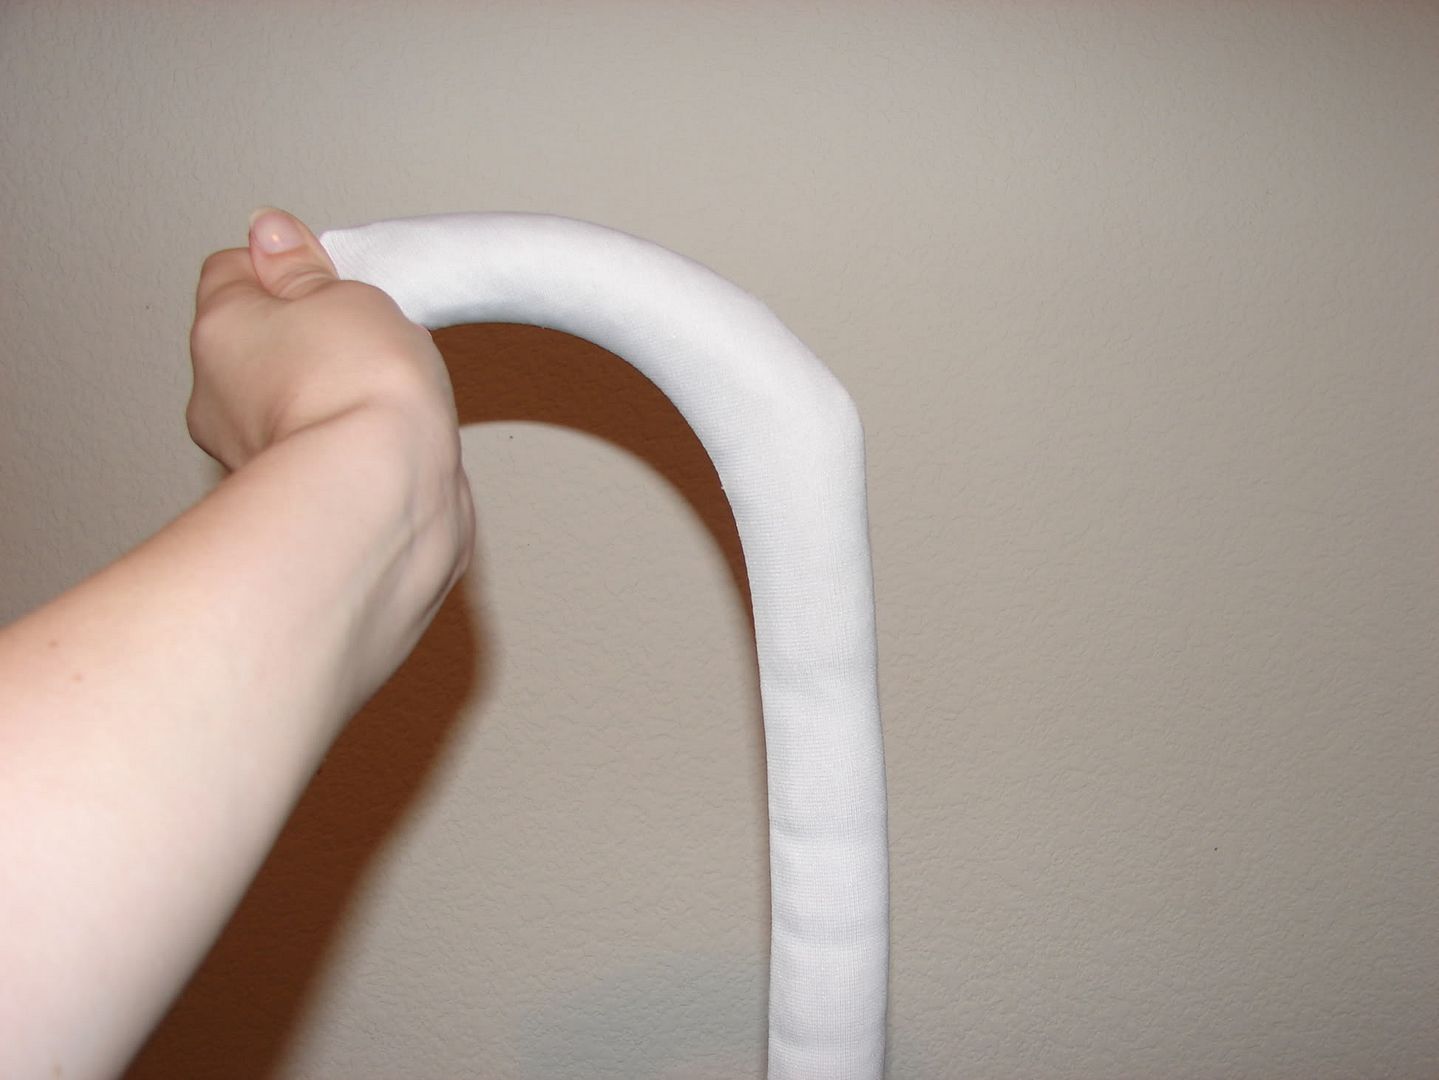
Now, using Poly Pellets bought from my local craft store, I began to stuff the pantyhose by means of a quick paper-rolled funnel stuck in the top opening. Rather than filling the entire stocking, I began to tie little "joints" every inch or so along the length of the nylon like so:
I continued this process until the leg was stuffed entirely and tied the end off to keep the pellets from falling out.
Warning: Poly Pellets being poured in to a box sounds an awful lot like food to curious kitties!
Next, I slipped the mini-spine chain in to the tail and spent a good length of time fighting it in without tearing any of the light fabric. The seam at the top and curve of the tail was considerably smaller than some of my packed vertebrae, but the nylon was stretchy and malleable full of beads, so it eventually all slid in to place. Even though the image of the chain shows very clear divides in between each packed section, that is not how it ultimately sits in the tail. With those gaps, the fabric caves in between and looks awkward, so I was forced to push each segment to sit directly on top of the next. However, since the pellets are sitting in individual pockets instead of in one very large lump, the tail still has life and flexibility, so it works just the same! I just had to add a few more segments at the top. My hand is blocking it in that last shot, but I also used the medical tape to pinch the ends of the wire from stretching too far apart and causing a problem once inside the tail itself. I, however, forgot to take a picture of that ...
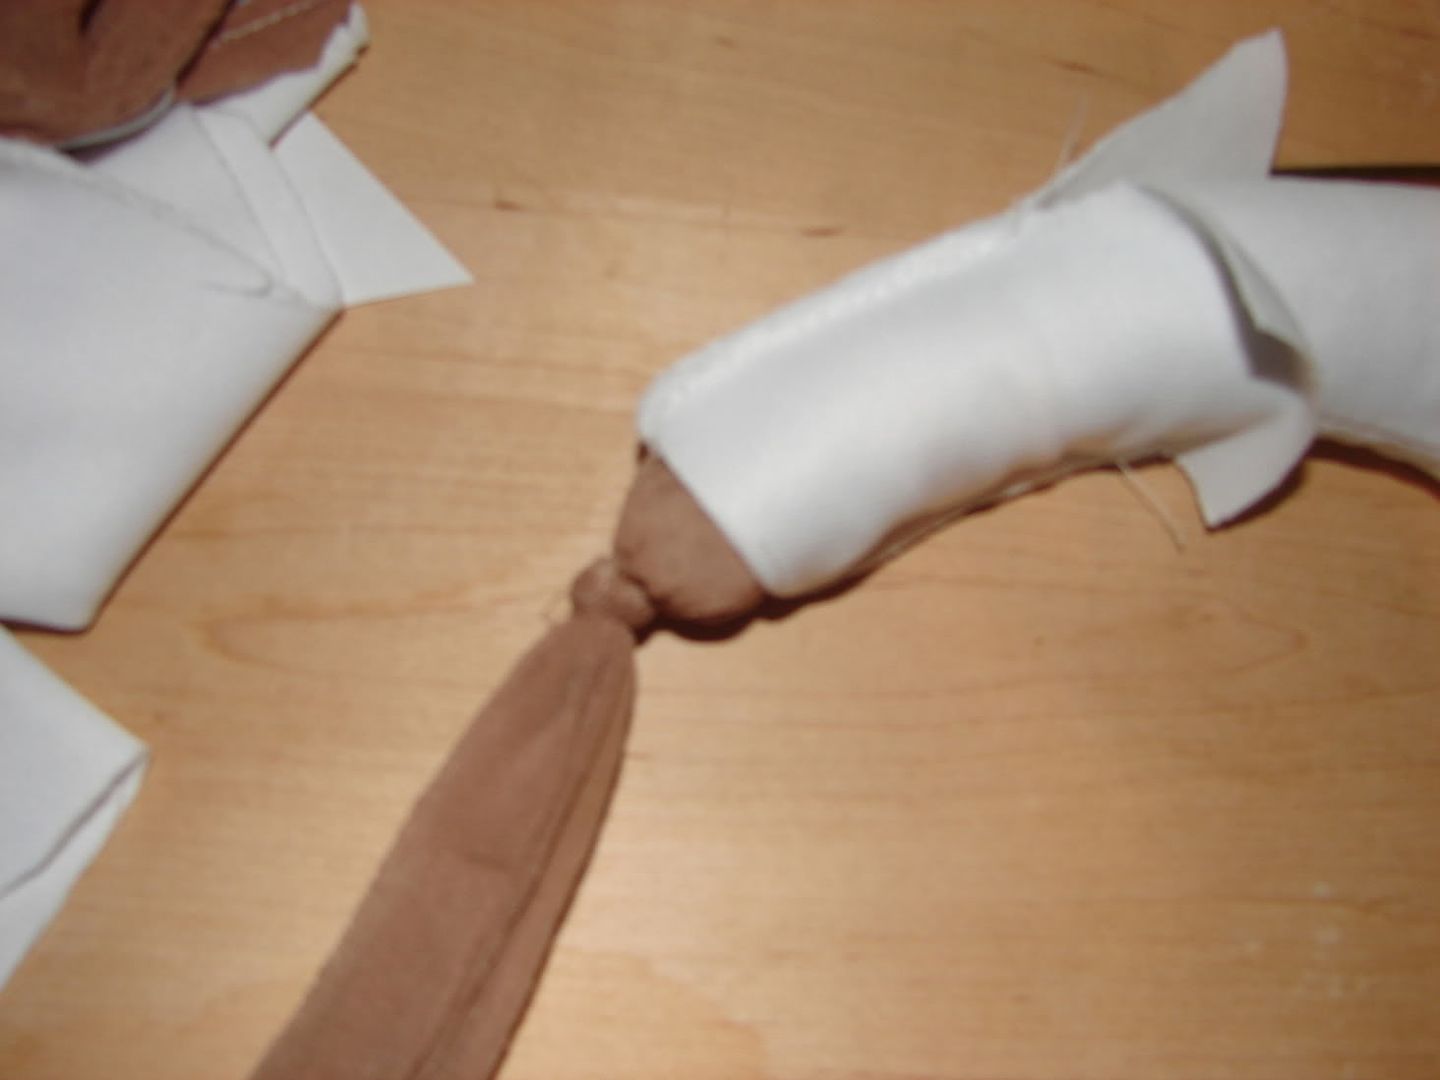
From the curve to the top end of the tail (opening), it's one long pocket, rather than the vertebrae sections. This is because I wanted that piece to be solid so the tail would have the same sort of curve the models' tails have. Even with one solid pocket, though, the tail was pulled immediately down by all its own weight and no amount of pellet packing could convince it otherwise.
So I broke out the hack saw again ...
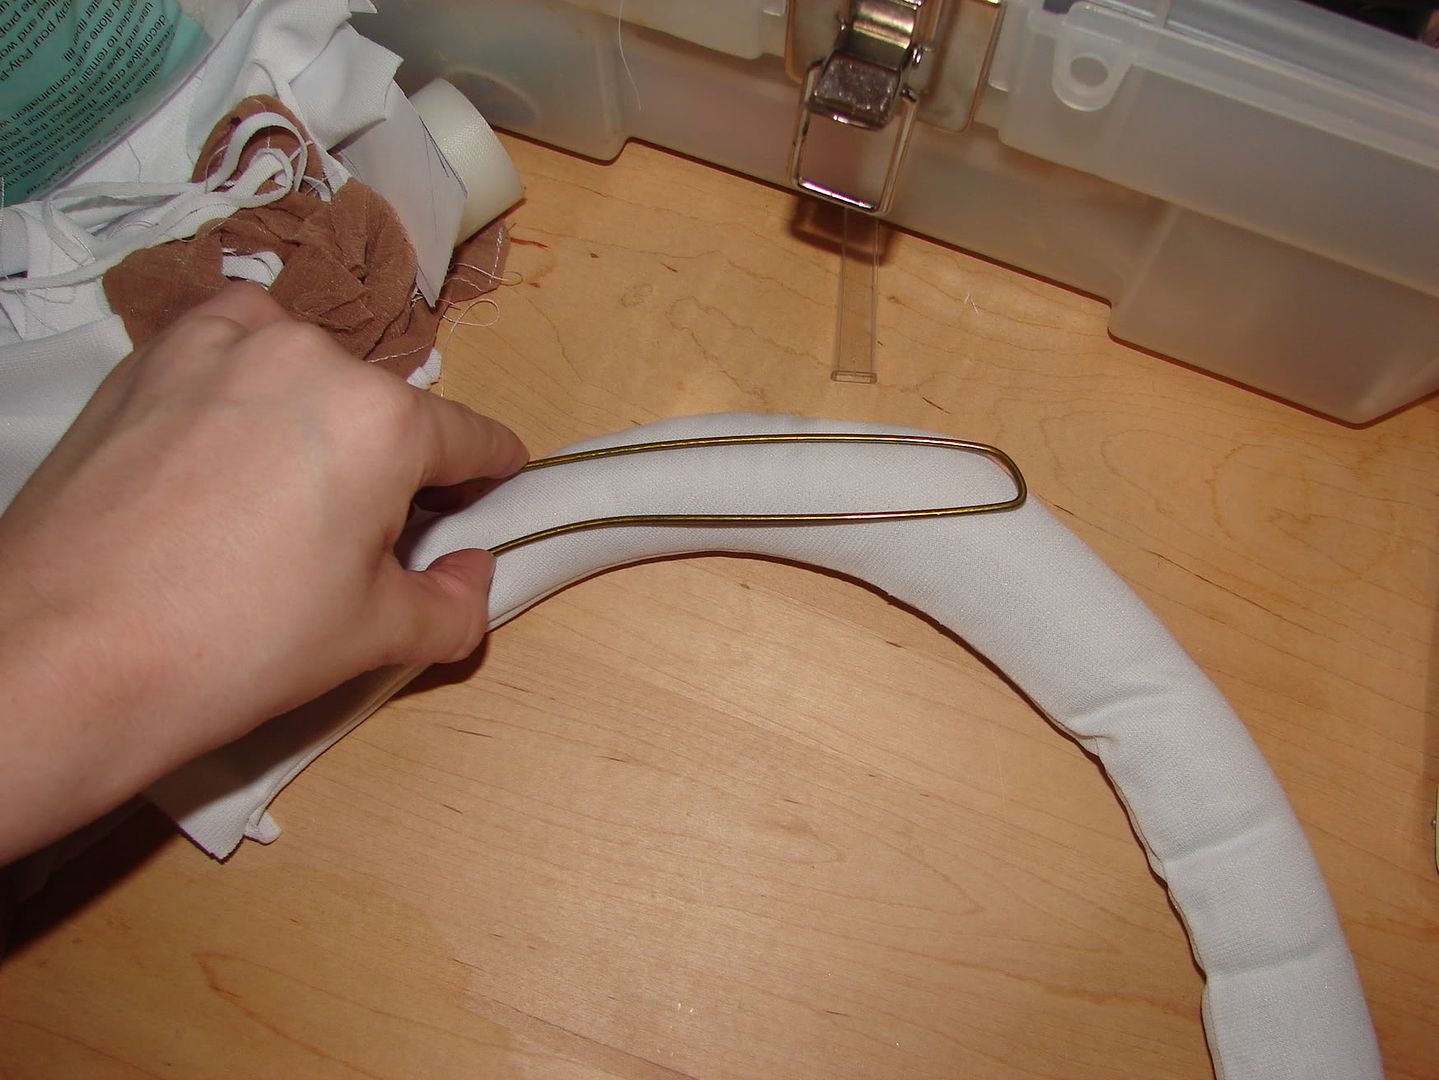
And an old wire hanger. With the right bend, a little cutting, and a little tape later, I had a perfect arch to support my now hefty tail.
Note: This method for stuffing the tail is very heavy, insofar as the prop itself is concerned. It will need to have a solid base to attach to, no frilly stretchy pants here!
With a little medical tape to keep the cut edges of the wires from snagging all of my fabric, I contorted the wire to an appropriate shape for my tail.
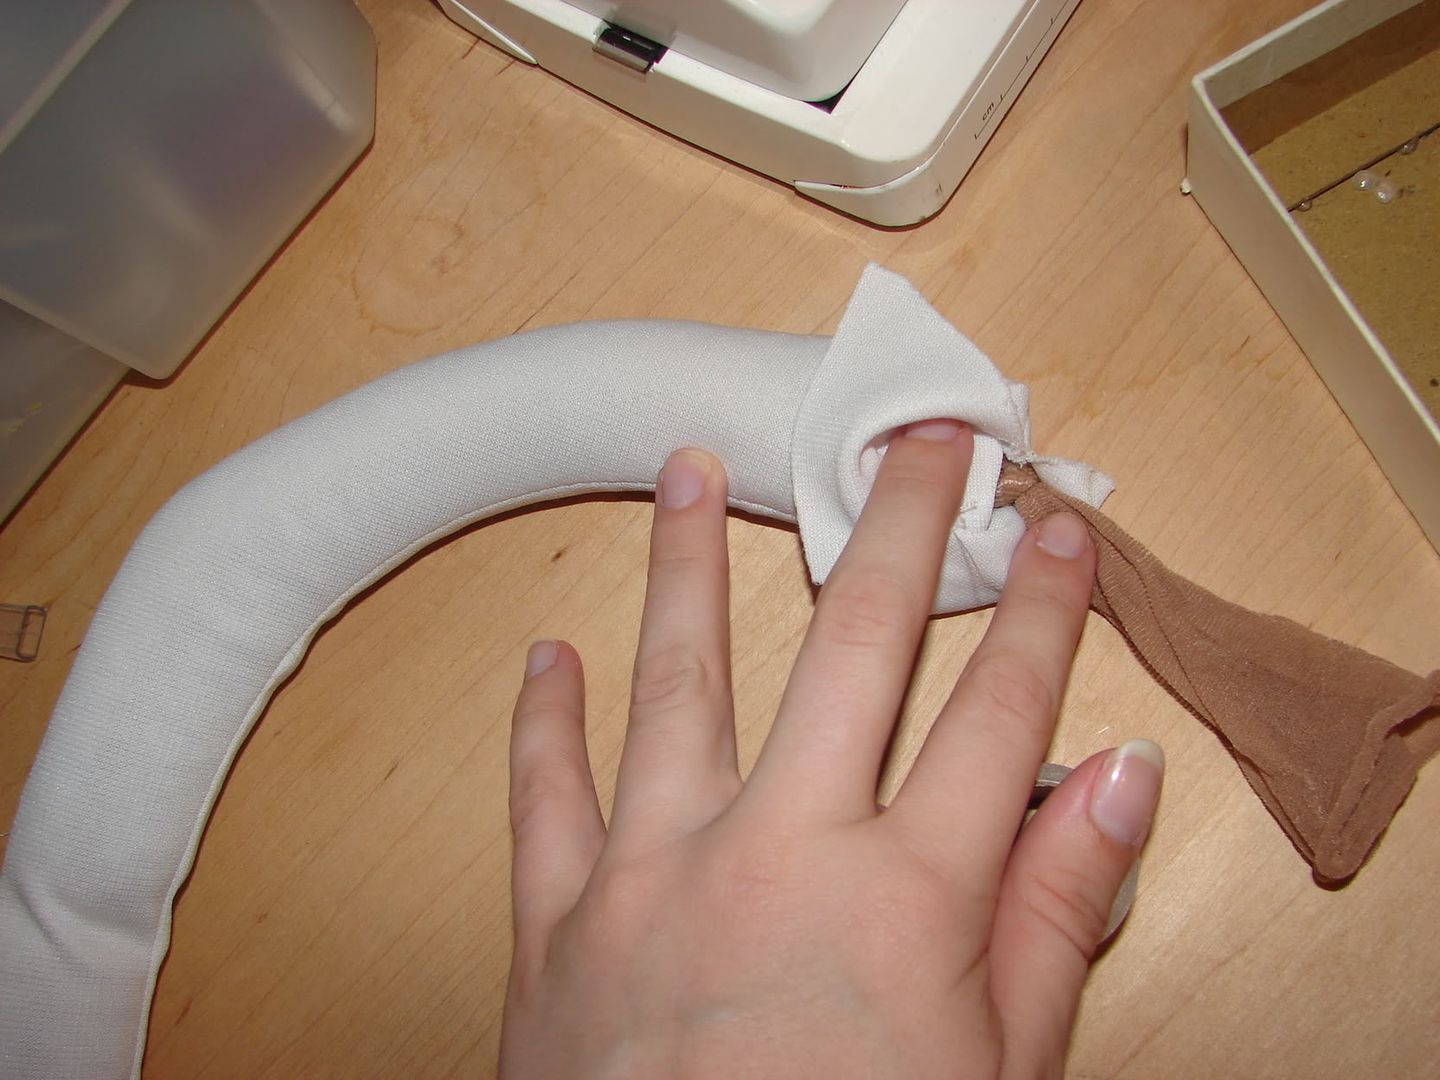
Now it gets tricky. I carefully had to untie the knot I had placed at the end of my nylon and pinch the hanger in so it could sit in the center of the tail, as opposed to getting pushed aside by the lining inside. Once it was forced as far in to the opening as I could make it, I added extra pellets to stuff the base of the tail as full as I could possibly make it, then tied it off again to make sure I didn't end up with a(nother) mess all over my bedroom floor.
And, ta da! My very own draenei tail that won't fall instantly flat! I will have to be specific when I attach to, to ensure it doesn't fall to one side or the other (since the wire is narrowly aligned in the middle, and not an all-around solution), but I already have plans for this.
Since taking those pictures, I have stitched the working portion of the tail closed, with quite a few back and forth passes with the machine, just to be sure. I also have used a little hand stitching to pass through the top of the tail and hold the wire in the center, then again on the bottom side -- all up near the once-opened end. It will be covered later anyway, so the sloppy stitches won't be a problem visually.
Time to rest now. =3
So it's been about a week and I realize this ... as mentioned earlier, this is an "as it evolves" type of journal. For the past week I've been doing a bit of work daily, but not enough to post it on its own.
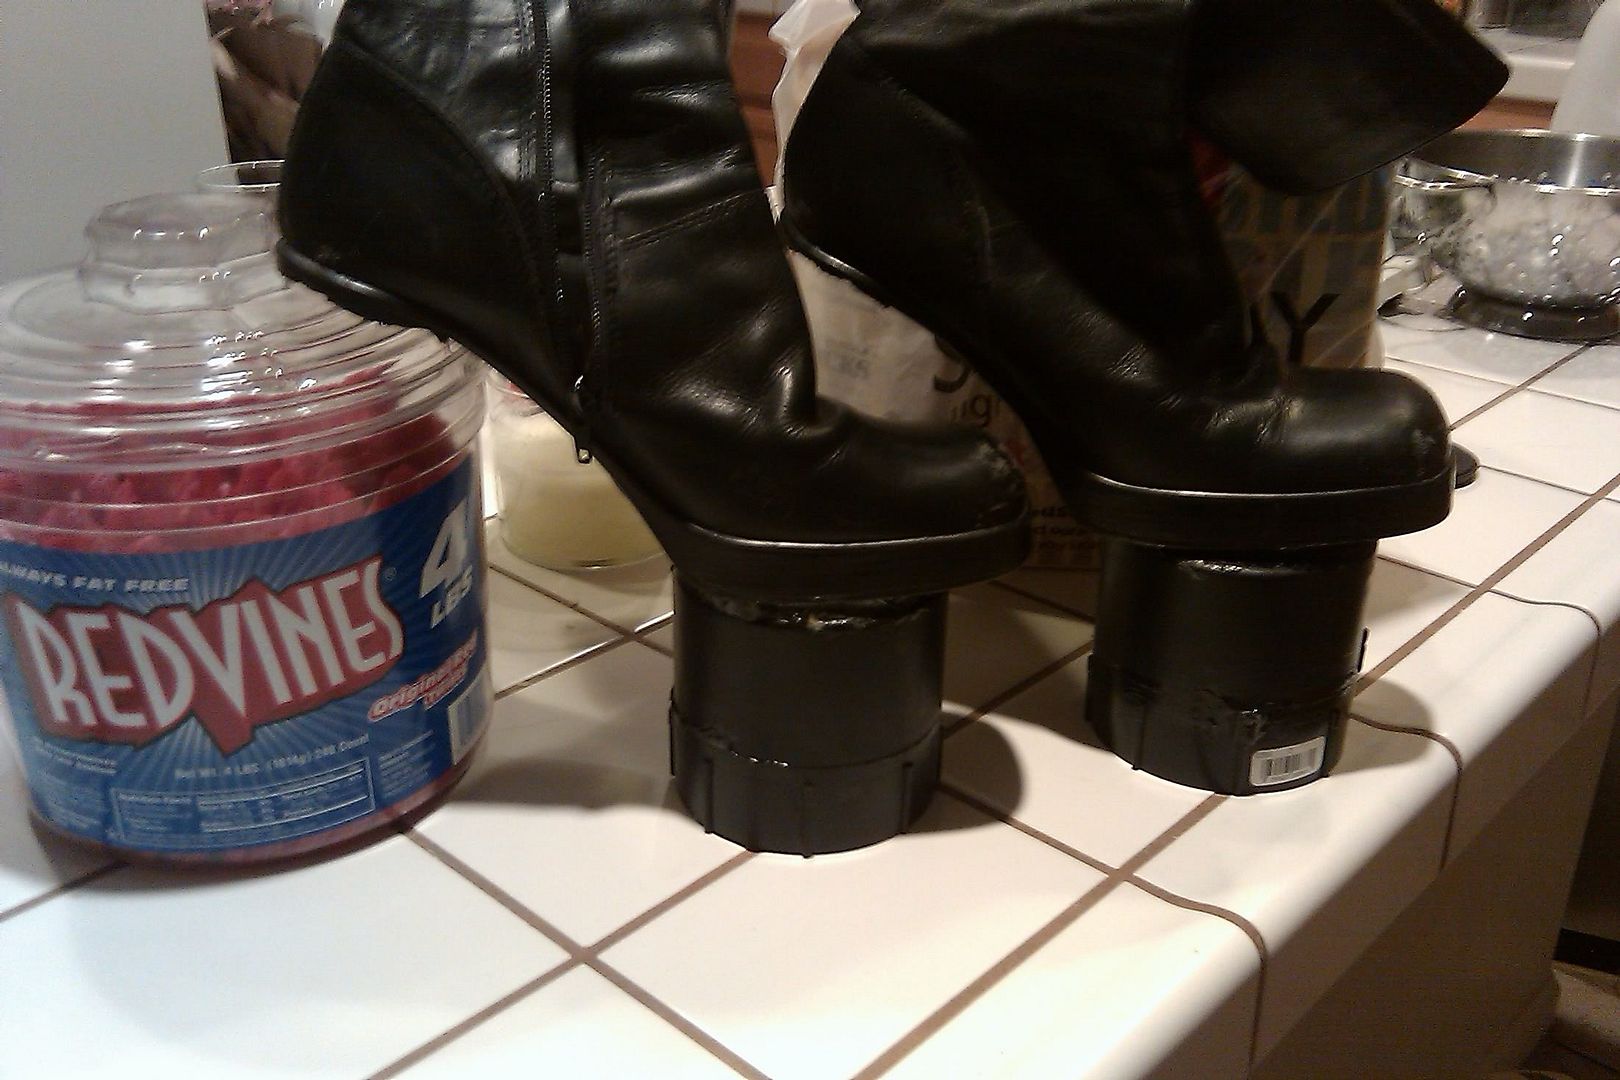
After having cemented the PVC to the base of my boot, I let the adhesive solidify then added a bit more every night until the gaps were completely filled in. Given the nature of the curve of each, there was a small amount of space where the PVC cap curved down and the sole of the shoe arched in the other direction. Thus, they did not adhere smoothly together. After letting it stick as well as I could, I dribbled a bit more in the next day, let it dry, added some more to the crack the next day, let it dry overnight ...
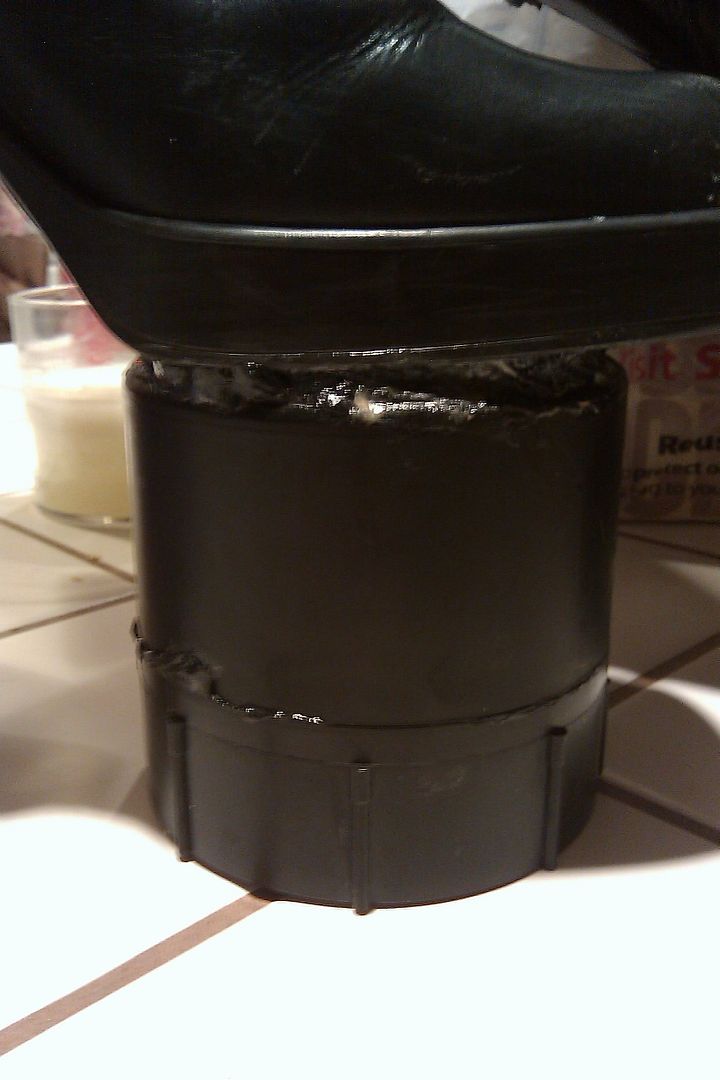
This was a long process, but I think now they're about as stuck as they could be.
Once both booths were secure, I moved on to using fiberglass resin and cloth to do a "just in case" security layer to be doubly sure these boots won't fall apart when I'm walking around on them. Think of paper mache ... on steroids. It's also quite possibly my new favorite thing and I swear that's not the residual fume high talking!
Unfortunately, I forgot to take pictures at this stage, but all I really did was put a layer of the cloth all around the edges and up the arch of the boot for extra reinforcement. I have one boot outside still drying as of yet, so I can snap a shot before I take it to the next stage. For reference, I did a second layer after the first coat of fiberglass had dried. I'm a little paranoid though and I'm sure this may have been totally unnecessary. Oh well.
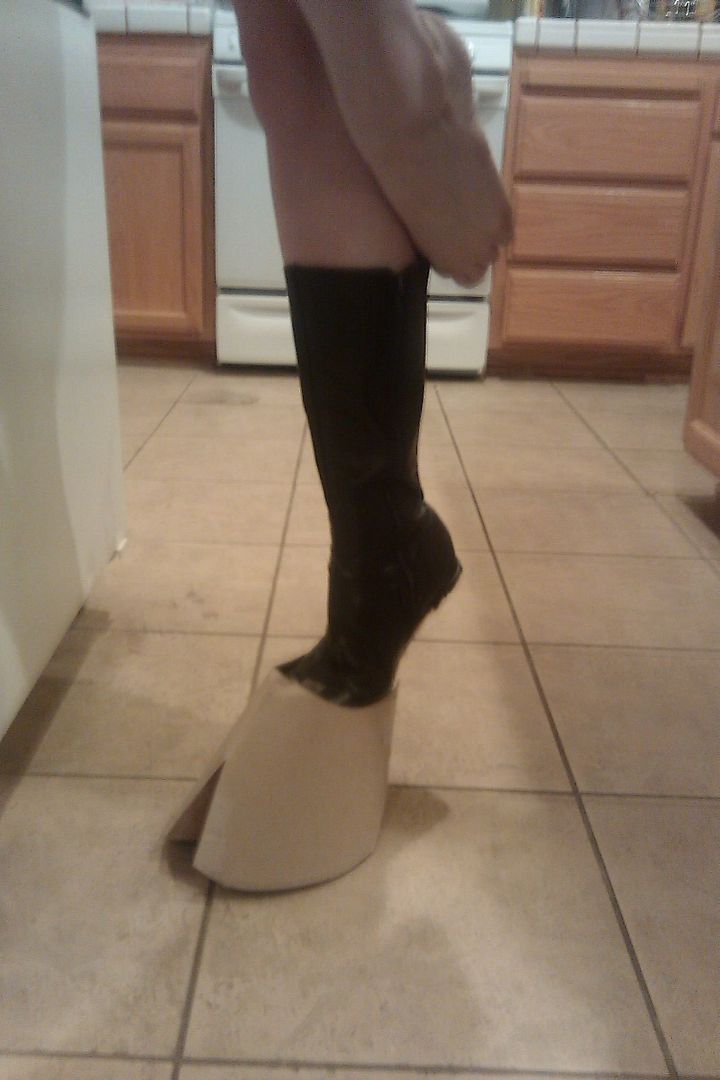
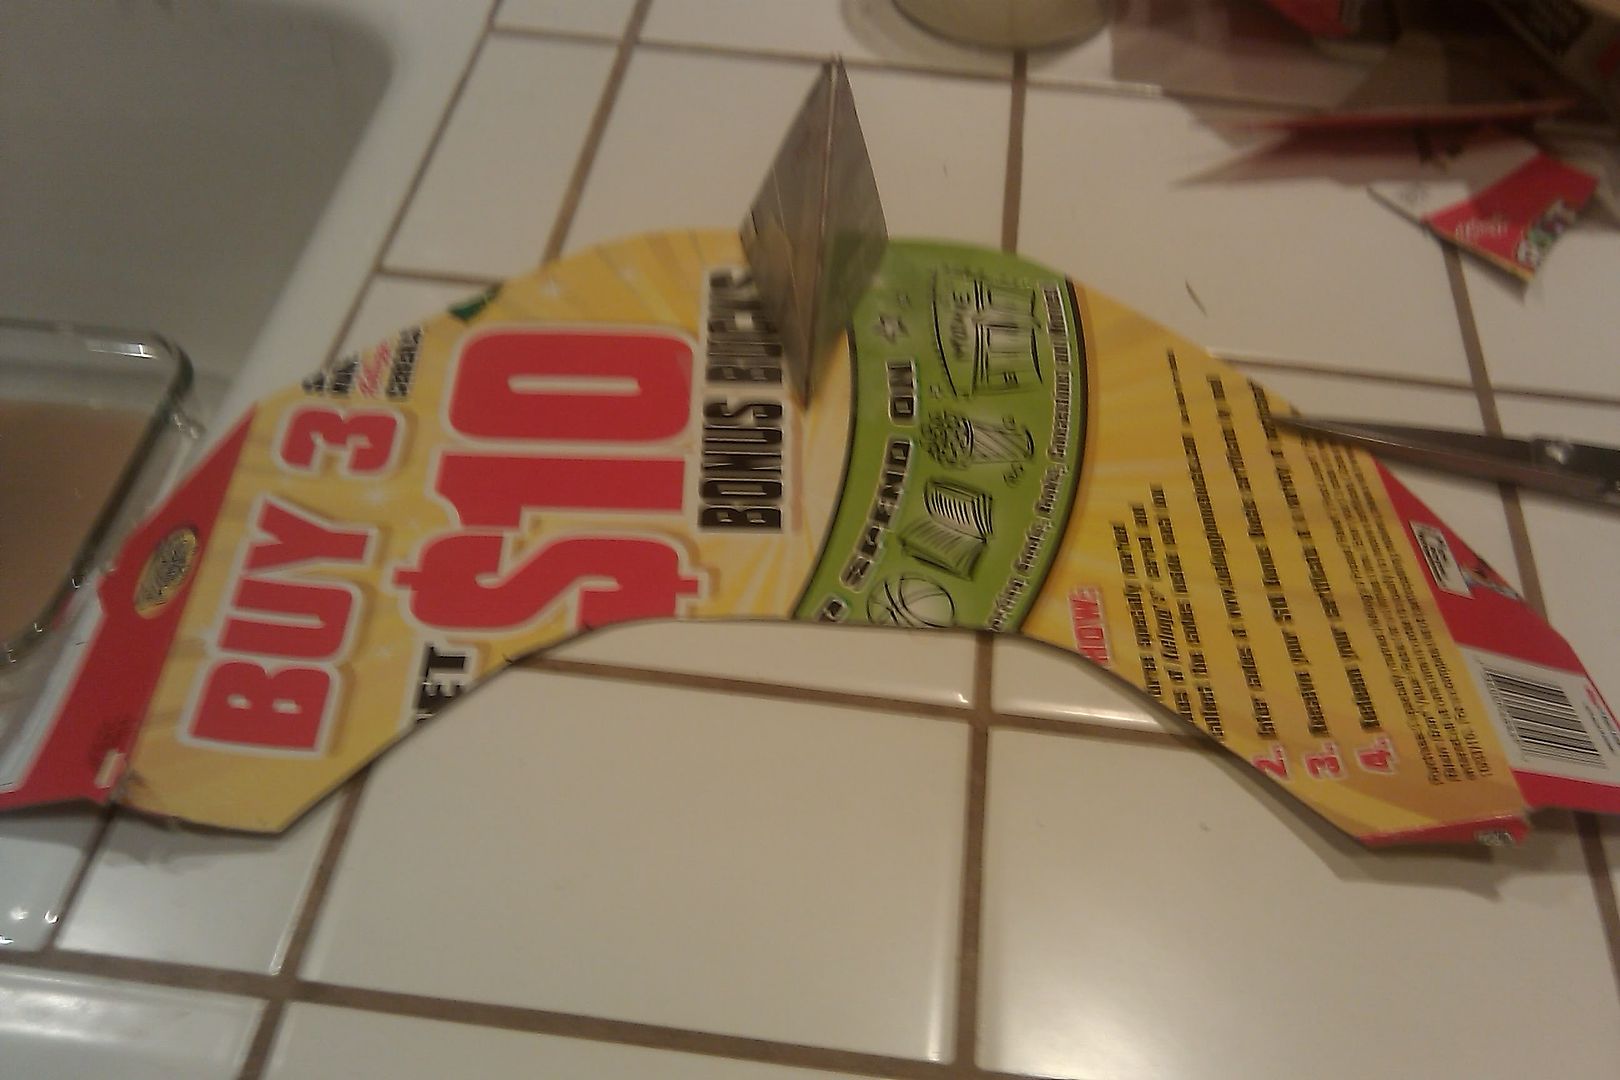
After that, I got to move on to the design part of the feet. Hooves! Using cardboard, I guesstimated and hacked away until I got one well-sized piece that looked almost like a hoof. Holding against the boot that was dry, my friend helped me get the sizing right and use it as a stencil for the second. Once I had the basic shape cut out, I hacked a triangle out of the front and cut a piece to insert and bend the other direction to create my cloven little "toes," like so:
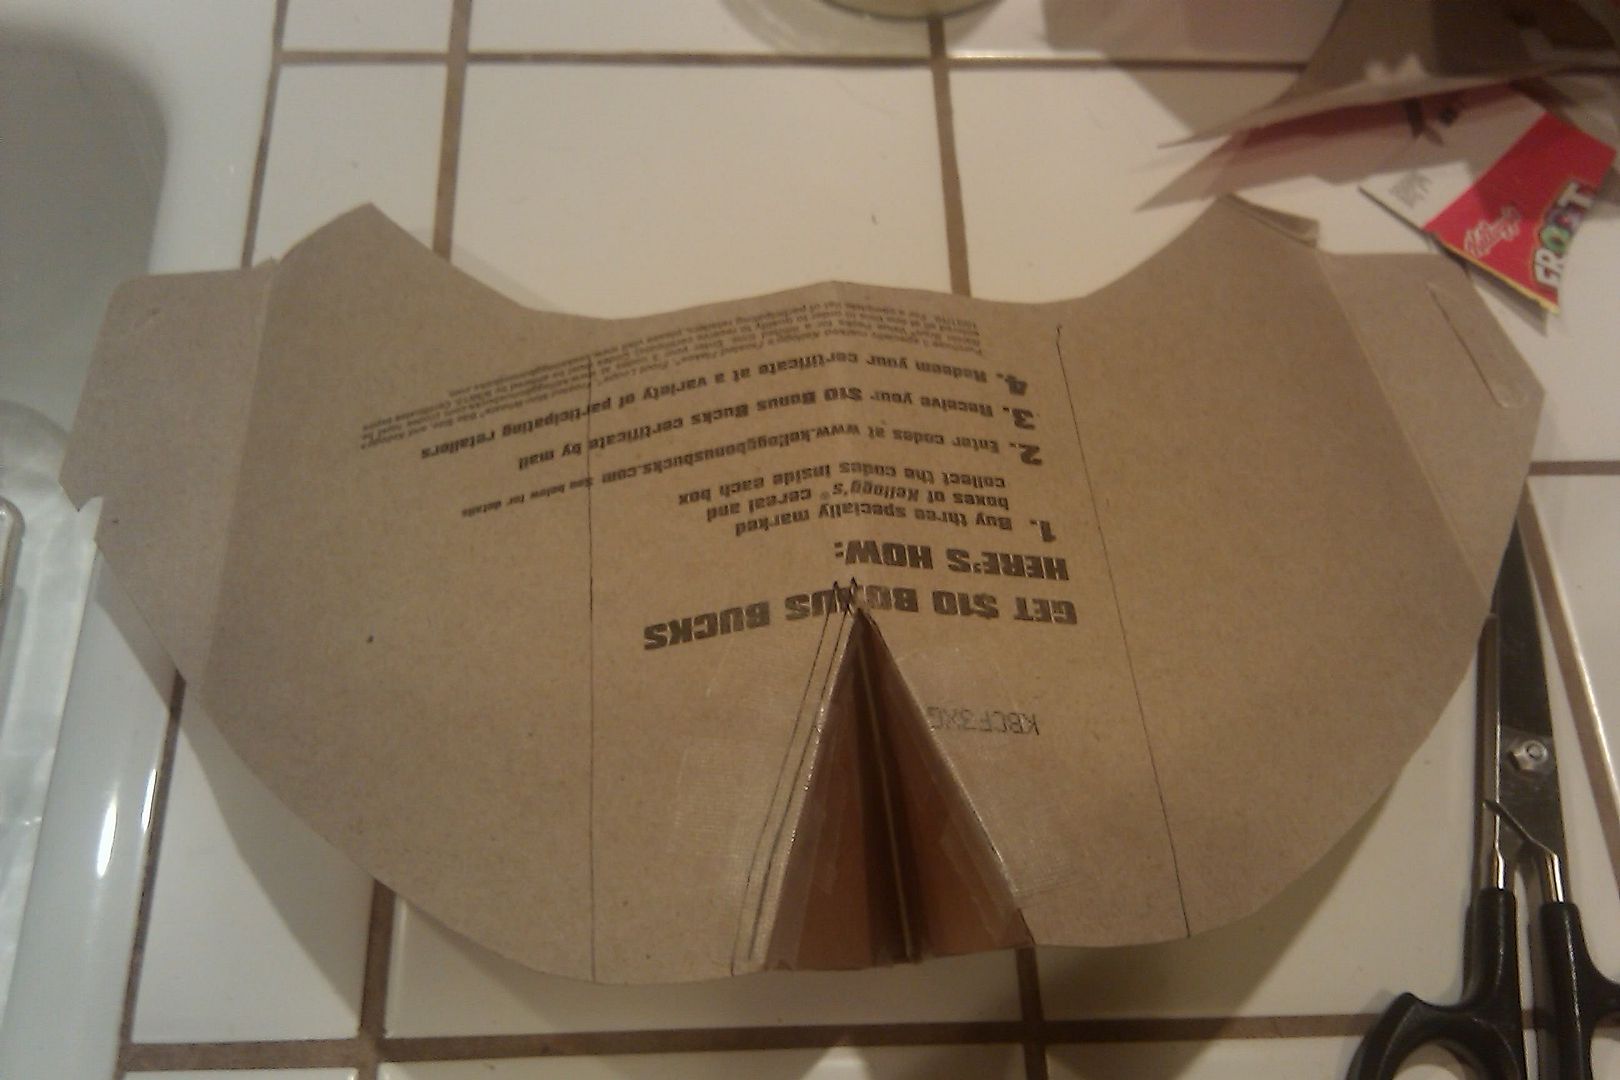
I used tape to hold the pieces together while it was all flat. Truth be told, I have cereal feet. The other hoof is made out of a Fruit Loops box. XD
After we cardboard-sculpted an ample hoof, we used tape to curve it around the base of the shoe. I gave it a test run and must say, I'm pretty pleased so far.
I realize that my template doesn't create a hoof quite as narrow, slender, sleek, or pointy as the draenei models in game have, but I think this will be easier to handle for walking. Too much extra "toe" length and I fear I'd be tripping over it and jabbing it in to the floor all the time.
Using more of Mom's recycling, I made a base for my foot, taped it together and moved on to the next phase.
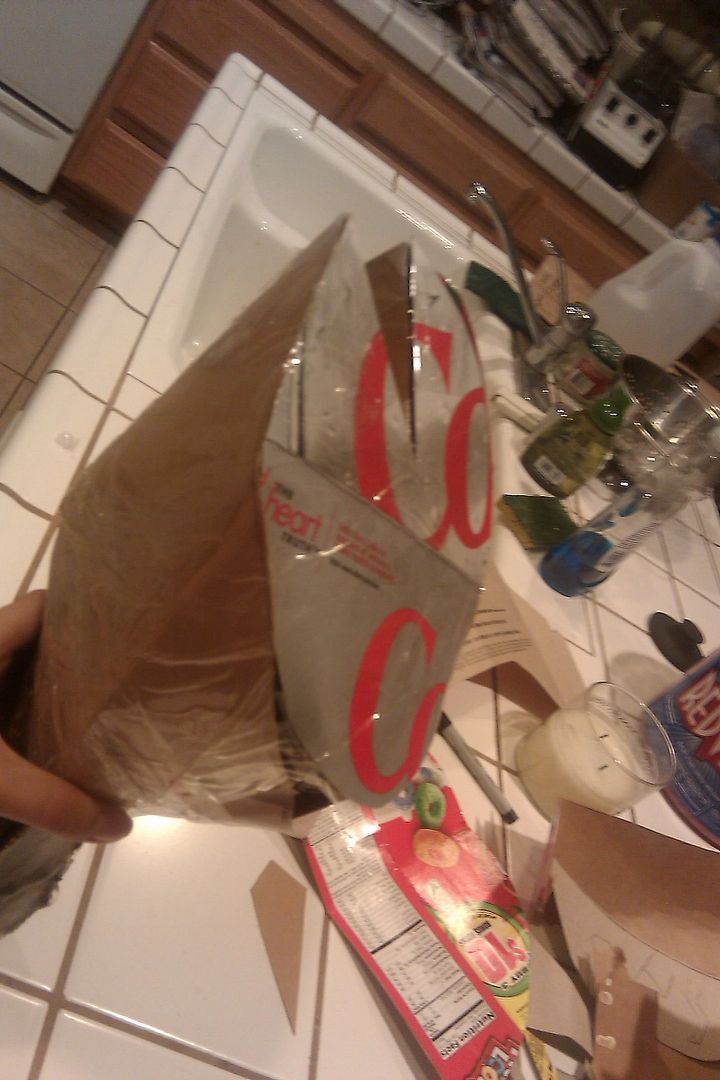
The pieces don't join perfectly, but that's okay. I took the foot outside and used more of my favorite fiberglass resin and cloth to smooth over, seam it all together, and reinforce the hoof with ridiculous durability.
That too is also drying. Now I have to wait for my friend to have enough free time to come over and help me attach the other hoof. It's been created, but couldn't be applied to the boot until after the PVC reinforcing fiberglass had dried.
I will say this: if you plan on trying to use the fiberglass resin and cloth technique, I strongly suggest having another pair of hands available. That stuff is messy and very difficult to work with, especially solo. I attempted to do one of the boots on my own and ended up with the liquid hardener tube falling in my resin mix, my hand glued to the paintbrush, my other hand stuck to the boot, and ultimately, a still-wet-boot dropped in the dirt. I had to pull a poor tiny worm out (silk worm sized) of the chemical mix and I don't think he survived. =(
After doing sufficient digging yesterday, I found an old pair to Steve Maddens in the garage that I hadn't used since my junior high years. I'm surprised they still fit, but not going to look a gift horse in the mouth. I'm just happy I don't have to drop the money on a pair of cheap boots I'll be miserable wearing. Also, I'd feel kind of bad for the poor things if I took them home just to take a hacksaw to them. At least I know the boots I sacrificed today had a good life prior. They carried me through my odd phases of wanting to be trendy, but still being awkward in anything other than Converse (you may note the ridiculously thick heels), and also having a slight pull towards the punky-goth genre. Ah, youth.
My friend came over to help me, which was incredibly useful. I don't think I could have taken these apart without her. Using a hacksaw, we slowly chipped away at the rubber heel. Mm, nothing like the smell of burning rubber in the morning!
As we sawed, we were confounded by how quickly it became difficult. Our motto became, "When all else fails, cut it in half!" After dividing down the heel we realized that the rubber actually encased a much harder plastic heel base. Oh, Steve, you sneaky, sneaky man.
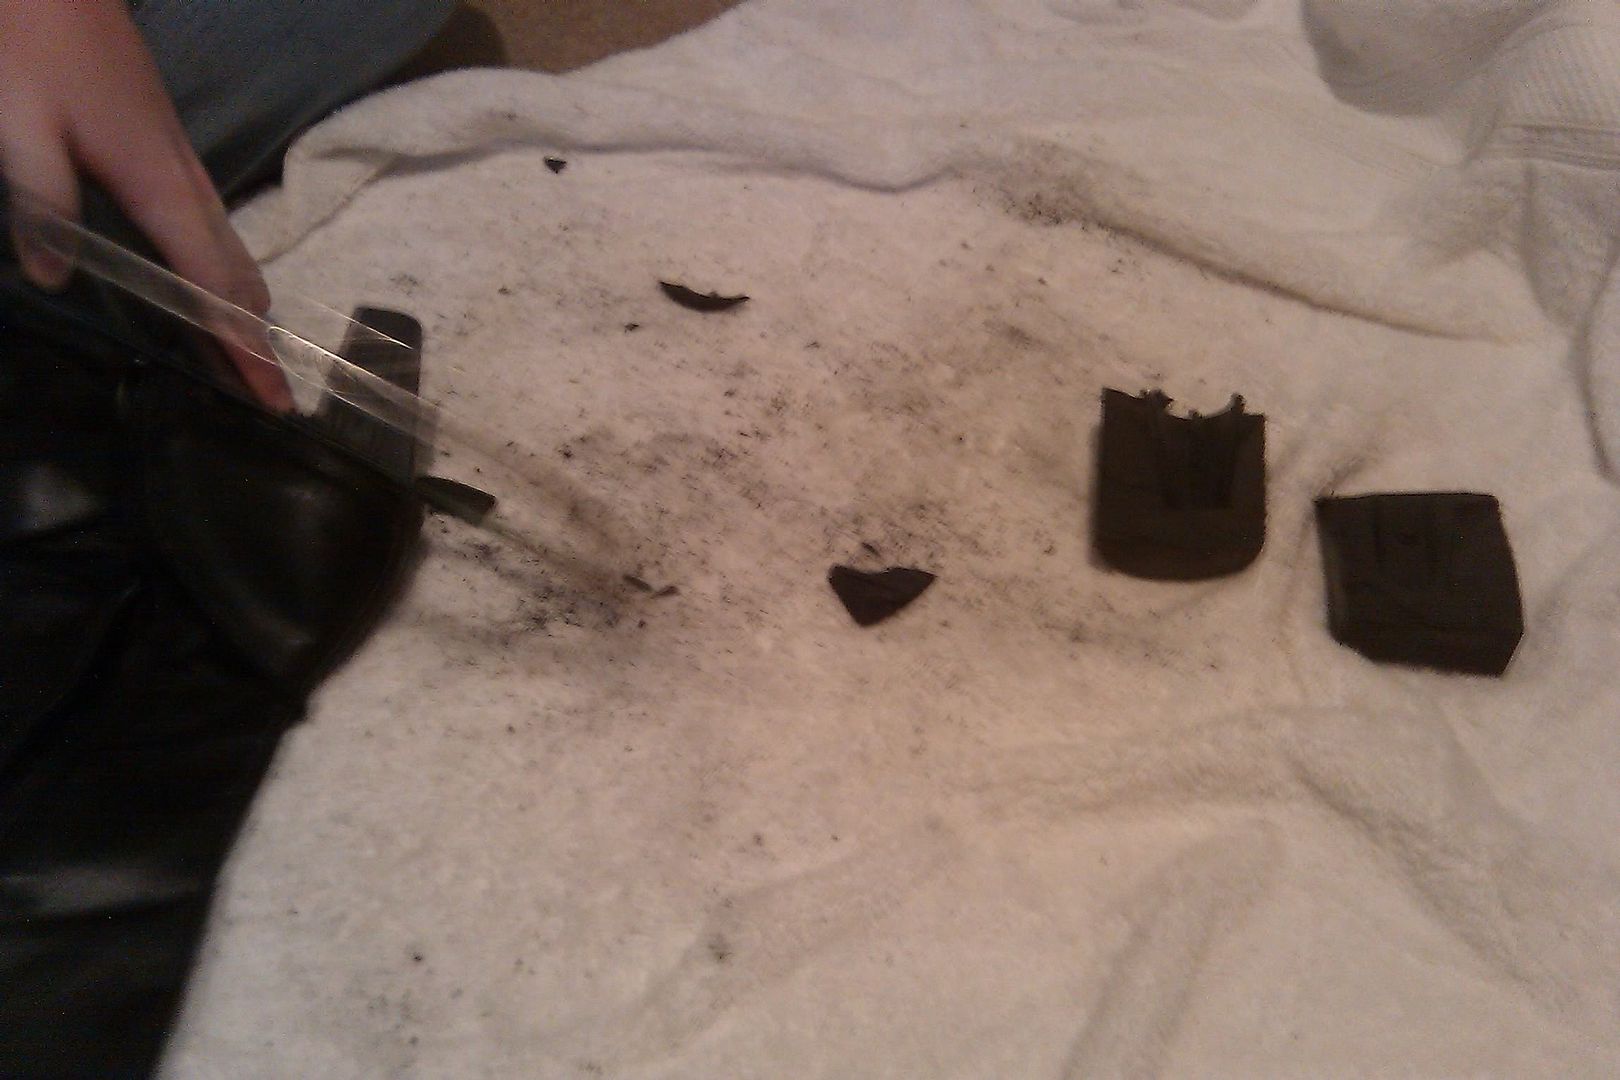
One boot with the remnants of the semi-dismantled pair. You can see where the rubber was hollow to allow for the mini-heel inside.
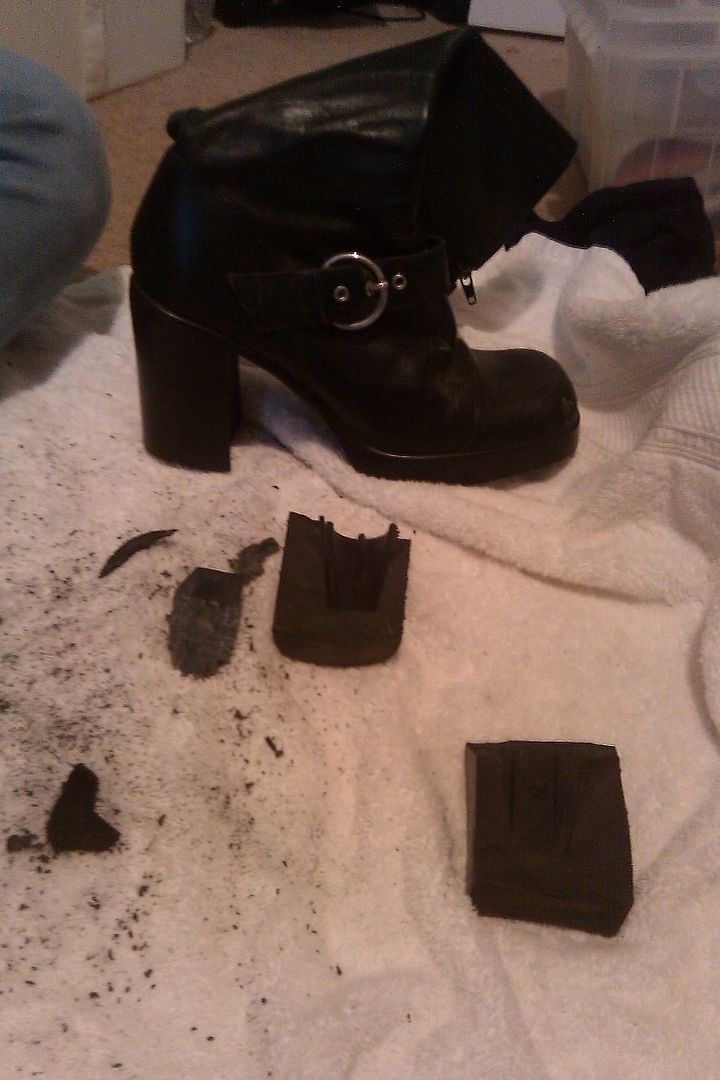
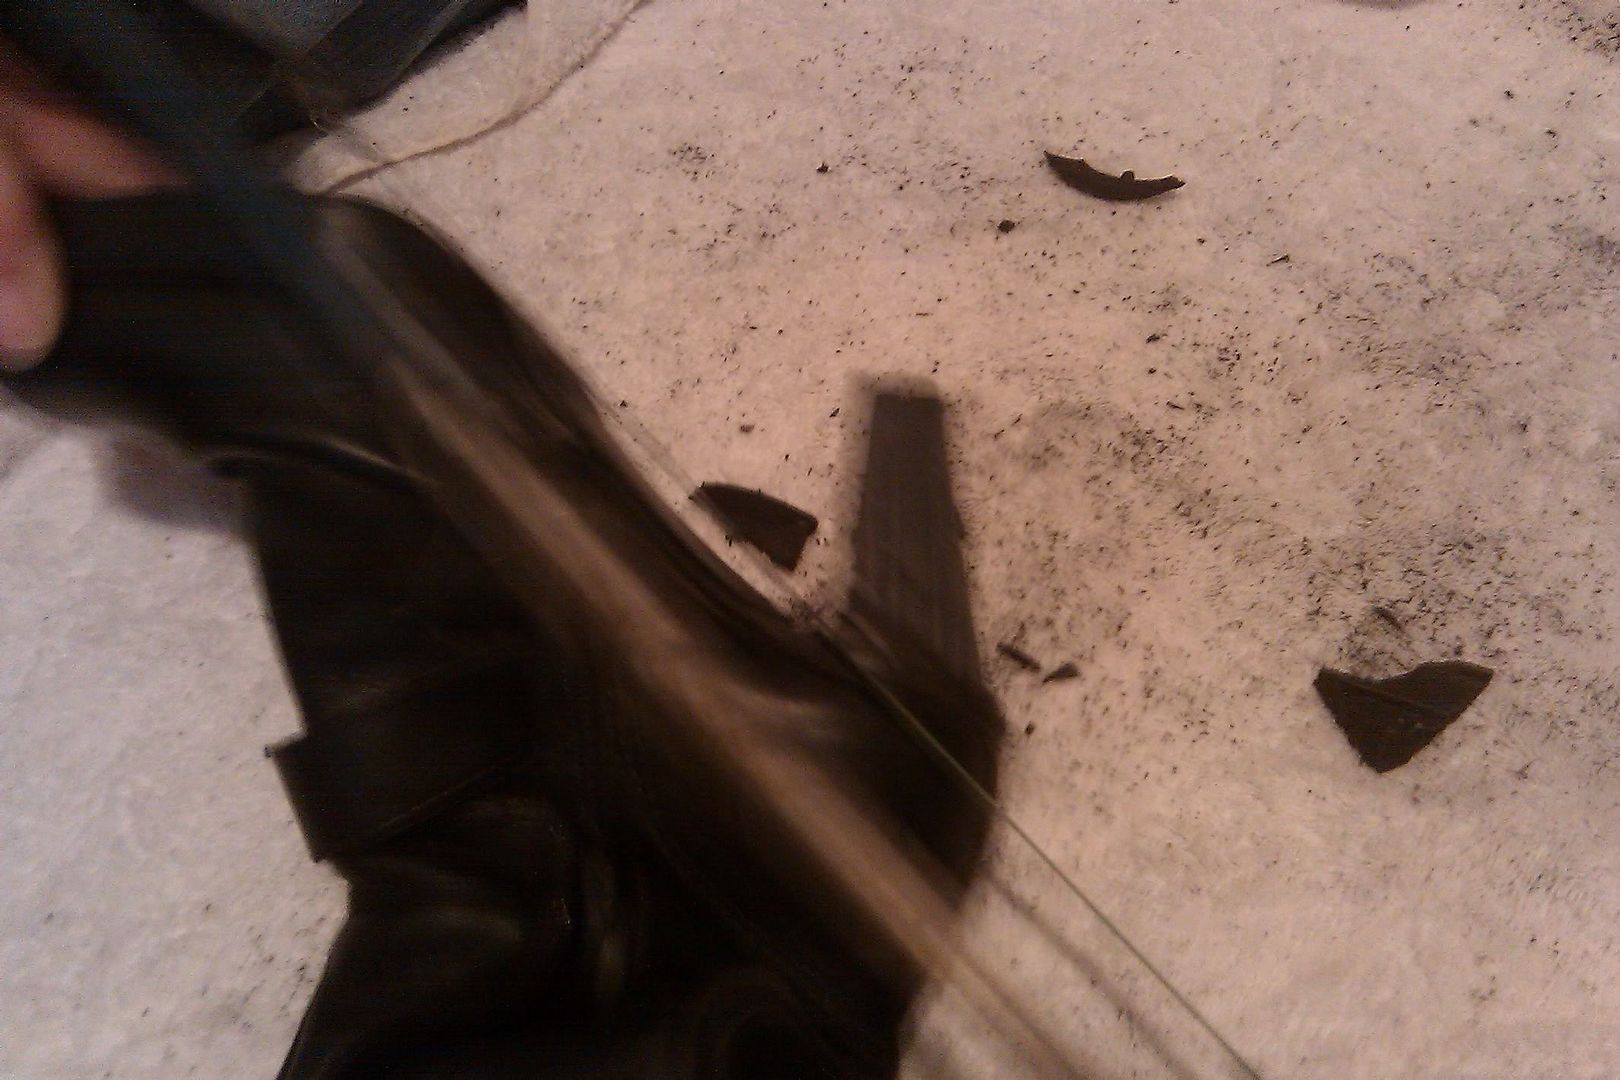
Here you see the tiny inner heel as we try to saw through it, and the clunky heel remains on the side:
The smaller, tougher heel was also screwed in to the sole, quite well, actually.
This gives another view of that same little beast:
After much sawing, breaking, and rubber shredding later ... viola!
I have one funny looking boot. I also removed the buckle strap from the boot with a pair of awesome heavy duty scissors that don't back down against copper pennies, let alone old leather boots.
At this point, I'm going to say that was the most difficult part of the project ... I don't think anything else could be as difficult as those couple hours we spent trying to break a nailed in, screwed on, welded piece of plastic without destroying the integrity of the boot/sole itself.
After this, we headed to the local Lowe's to pick up supplies for the next step. We looked at blocks of wood first, but ultimately decided to go with PVC pipe. Kind of lazy, perhaps, but I lack the tools to shape wood and the pipes come pre-cut. It was just a matter of finding a size that fit on the base of the boot well enough for me to balance on. I got some weird looks, slipping in to a deformed, heel-less knee-high and standing one-legged on PVC pipe caps in the middle of the aisle. I think they were just jealous.
We finally decided on a good size cap for the width of the base, but it wasn't quite the height I was looking for. Face it, a 5'4" draenei just isn't going to cut it. Looking through a few more bins, we found an insert that fit well inside the cap we had decided on, then headed over to the adhesive aisle to buy all sorts of PVC cement, sand paper, and a cheap paintbrush. Things are a little fuzzy here, as I'm not totally pleased with the process I did today and will be heading out within the next day or two to try to get a replacement.
Here are the bits of PVC I brought home:
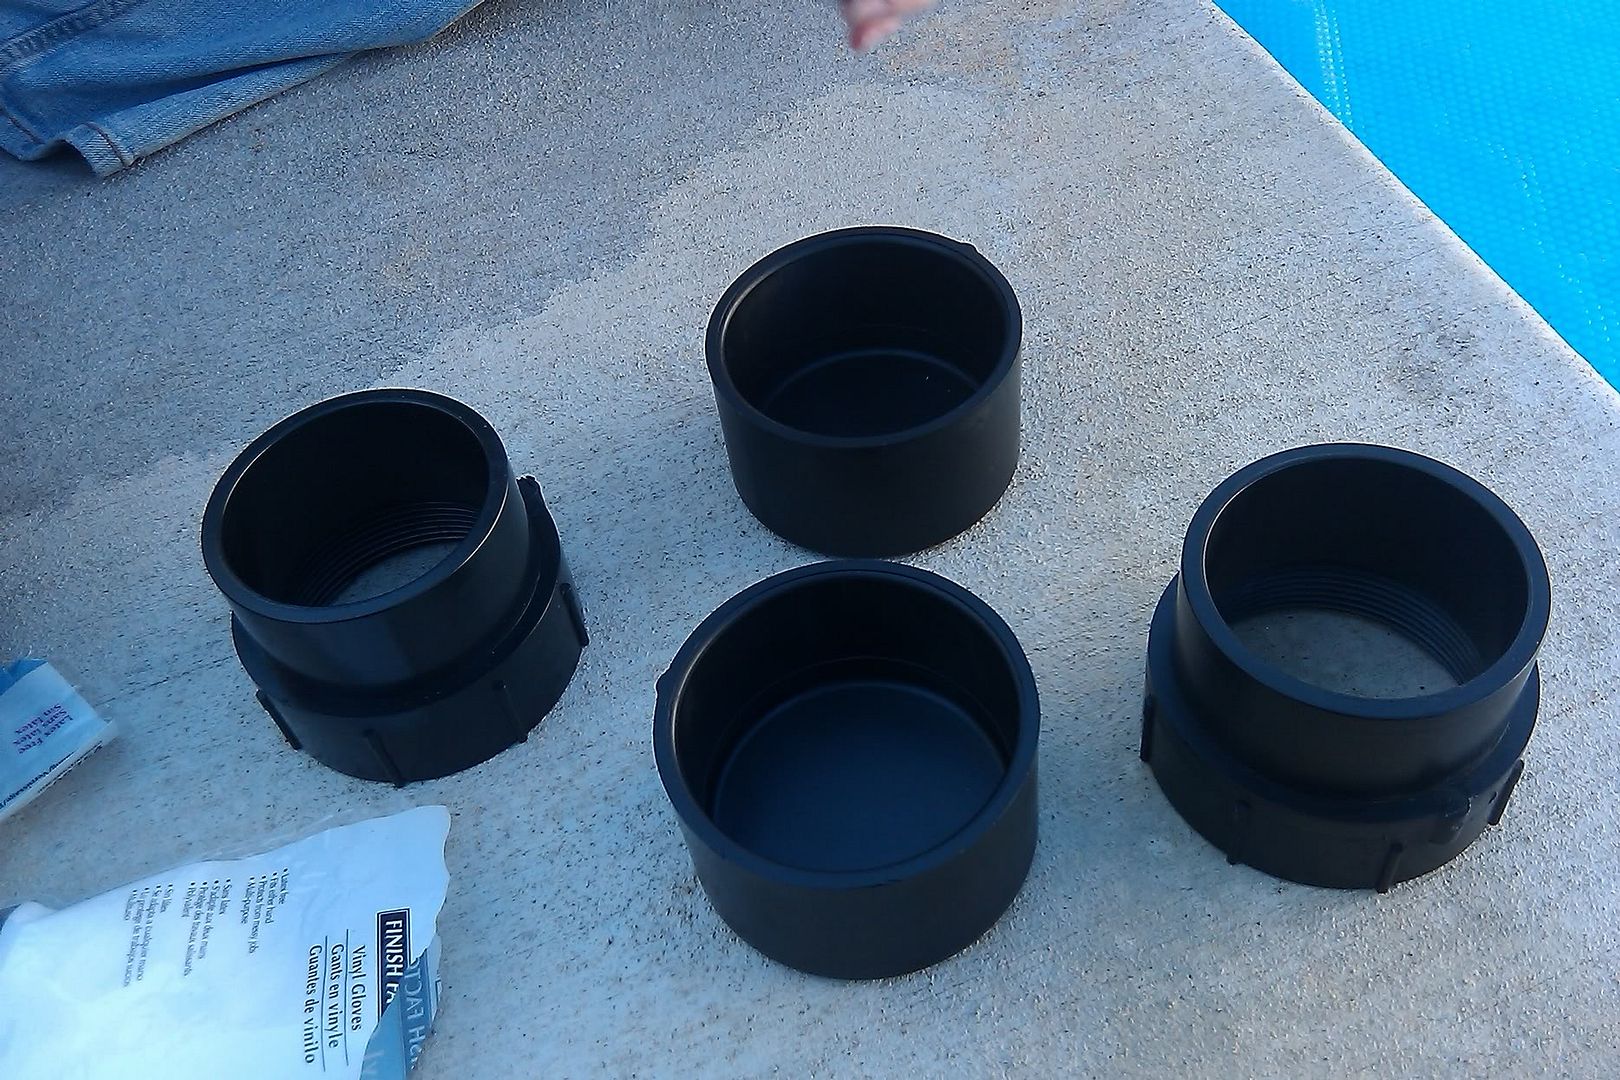
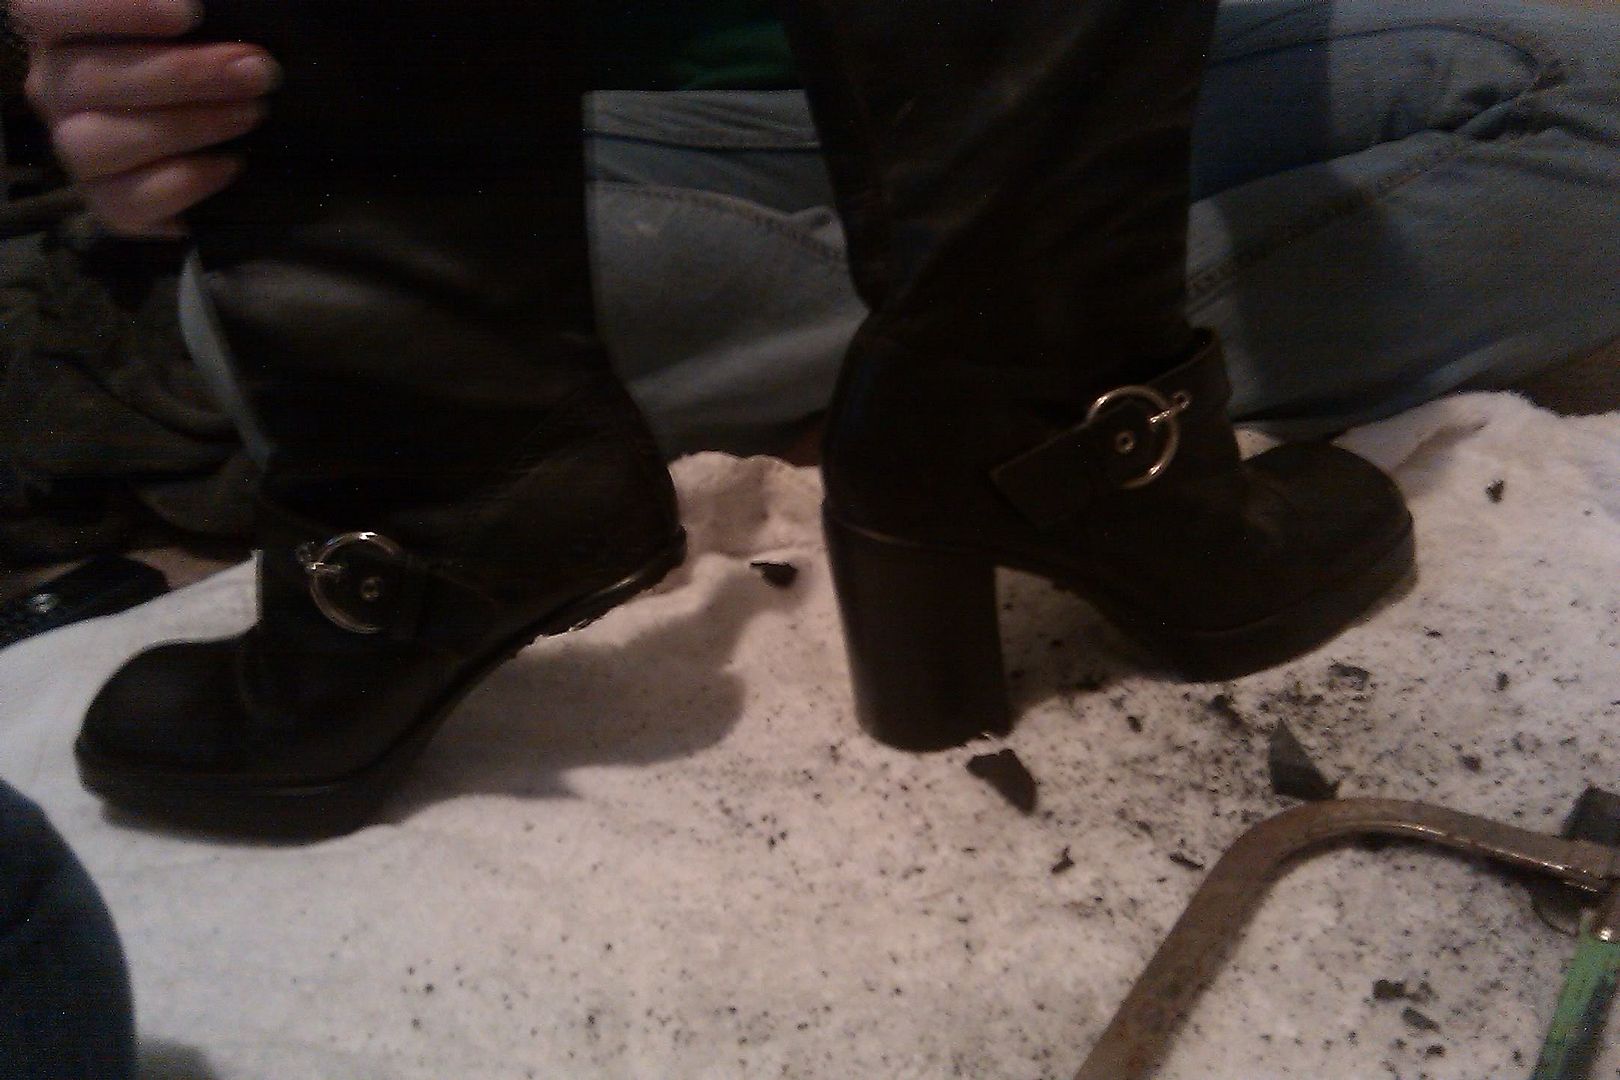
We joined the inserts with the caps first and let them dry, then started the process of adhering the caps to the boots ...
Hours later, they are still holding well.
I'm going to let them rest for the night, and then I'll be going out after work tomorrow to look in to buying some more heavy duty adhesive/putty to compensate for the opposing curves on the cap and boot soles. Then I will be applying fiberglass resin to reinforce further as well as blend the line from boot to PVC a bit.
I'm already real excited.
All stories have beginnings. This is mine. Also, I'm a big fan of stumbling across a well-made costume and then finding the creator's blog of his/her experience making the costume. Brilliant, and so very helpful. Maybe someday someone will feel the same about this project of mine.
At this point, I feel it is pertinent to mention that this will not be entirely linear. If you're looking for a straightforward tutorial that reads "This is my costume, this is how I did it" with a nice simple layout, you should probably continue to look elsewhere. This is a trial-by-error process for me and I will be experimenting with the project as I go. I may do one thing one day, then change it entirely a week later, and the only notation will be in the updates. I have a learning curve and I plan on using it over the next couple of months as I work.
Halloween is inching closer (some people say I'm a little early, I feel like I'm jumping on this year rather late!) and I am preparing for my most ambitious costume yet. It's something I've wanted to make for years now, but have been too afraid, lacked confidence, or just too lazy (guilty) to actually do. But one trip to Lowe's, sixty dollars, and a destroyed pair of Steve Maddens later, and I'm pretty much committed!
I will be a draenei this year and no one can stop me!
I've scoured the internet for multiple methods of creating the digitgrade effect on the legs, and still have my own personal drawn up prototypes from years ago. Mashing many styles together, I've started a project that I'm real excited about.
My initial hesitant for this year came from funding; I'm a poor college student with a heap of financial burden (family trouble; ugh) to sort through, so I don't quite have the budget I like for this project. Before I could give myself the official go-ahead with this undertaking, I did lots of shredding around the house. Digging through storage bins, turning the garage upside-down, pulling things out of closets that no one knew we even had ... I think I've found ample supplies here to complete my goal and keep the shopping to a minimum of some of the random things ... like PVC pipe and adhesives.
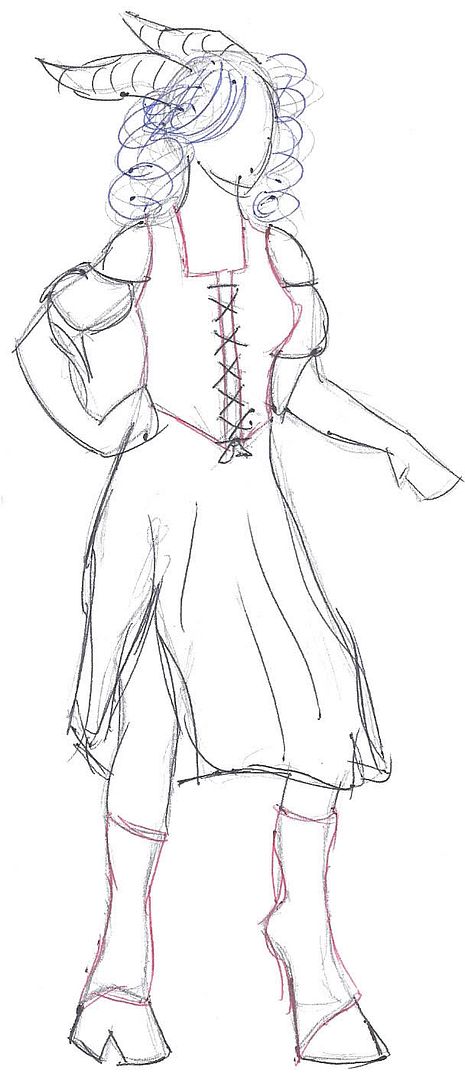
My original idea was to reuse an old pirate costume from years ago, and simply make the prosthetic horns/tentacles/tail/feet. Figured it would be the most cost efficient way to go about this whole thing. I'd be a somewhat wenchy draenei, but a draenei nonetheless. With this in mind (though not entirely pleased with wearing a bulky shirt and floofy shirt on such a sleek character), I set out to plan for the rest ...
I drew up a sketch of what my costume would look like using the old garments. As I mentioned earlier, I wasn't really thrilled with the piratey look.
Side note: the blue wig is also a reused piece, from my costume last year wherein I retrofitted the Castle Crashers armor style, made it girly, and dressed up with three of my friends as the sexiest, silliest Crashers ever! Instead of helmets, we used colored wigs because where we worked, helmets and masks aren't allowed ... also, crazy wigs are way too much fun. For the draenei, I will be curling and styling the wig in a new manner. I am so glad I shelled out the extra bucks for the expensive wig that doesn't melt with the right heat tools. (unfortunately, the straight hair was too much to handle at work, so I ended up braiding it to the sides, if it's curled and tied back properly, I hope to avoid this problem again)
Back to the draenei.
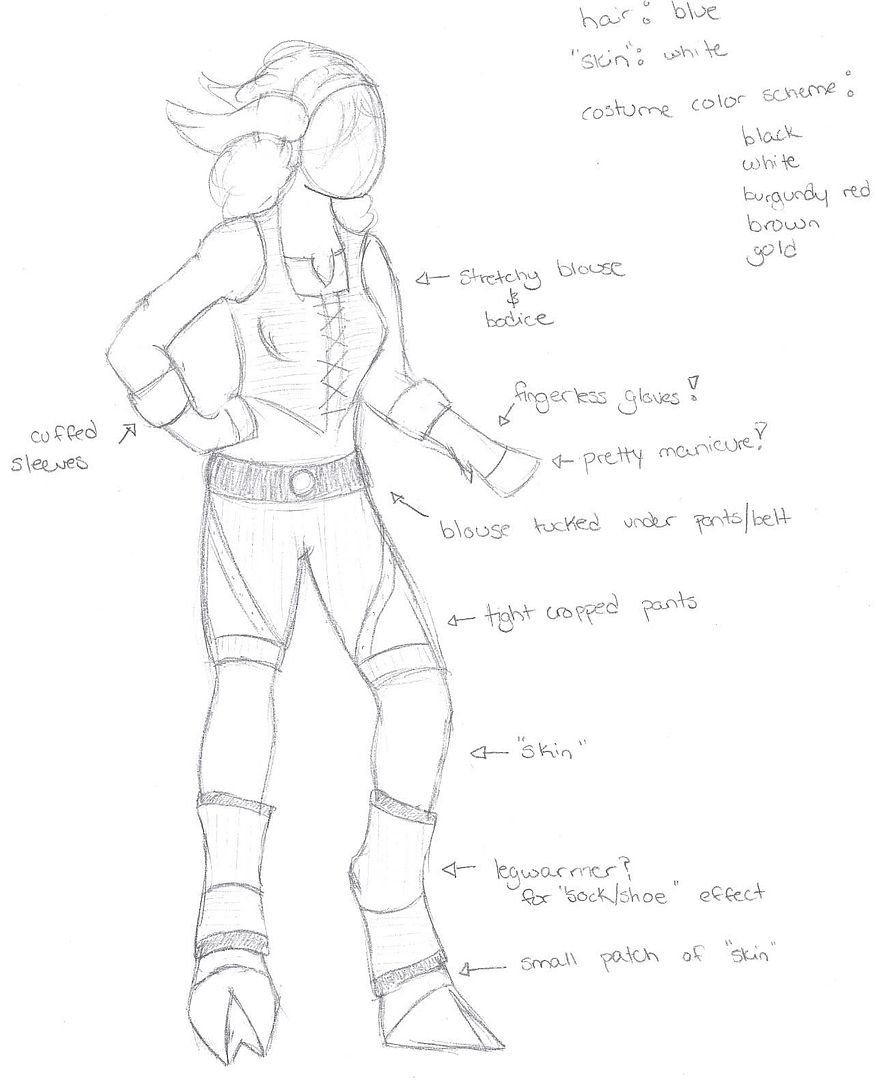
I believe this particular Wao race looks best with the legs being showcased. Doesn't necessarily have to be bare, but at least streamlined under the clothing. That's when I remembered my old pair of brown leggings from yet another costume years ago ...
Thus led to this quick planning sketch. It's rough still and very possibly may change, but given the color of the pieces I had at home, I did a very quick wash over in Photoshop to give myself a visual of the scheme I was working with. I then wandered around in game for a while, looking at all the draenei NPCs I could find.
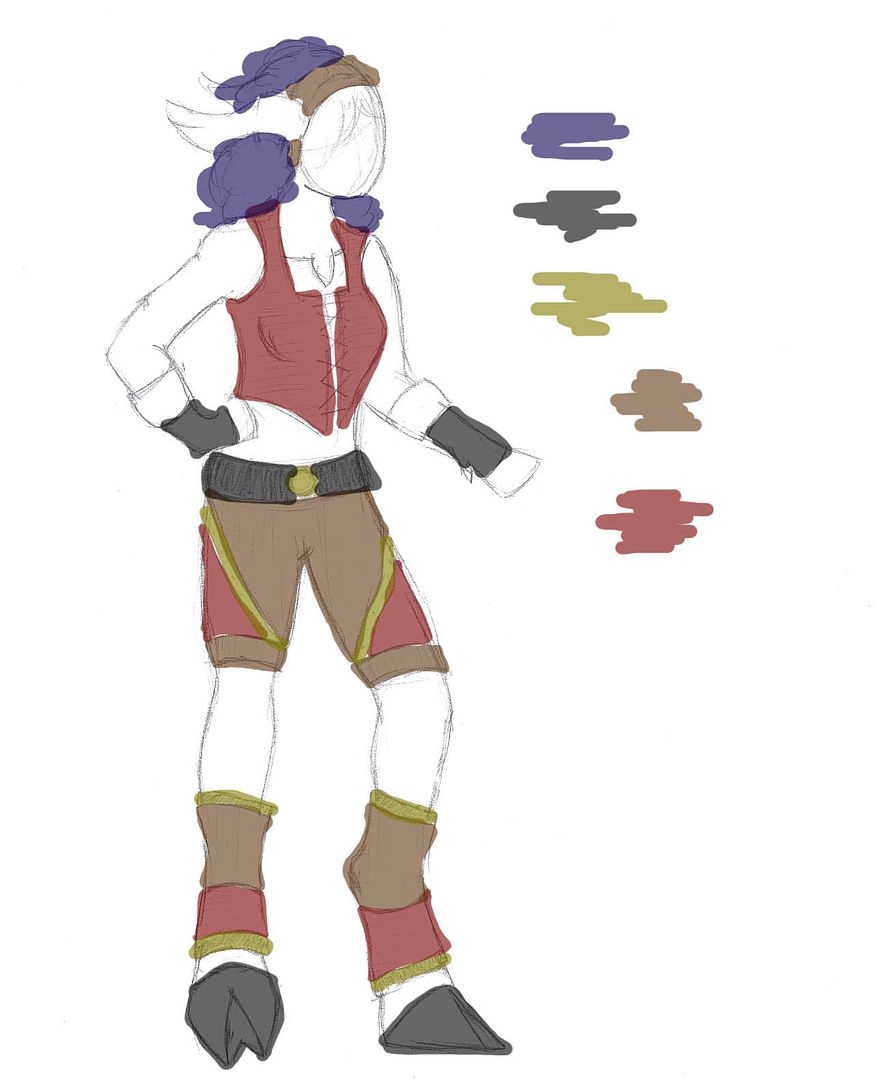
ven the ones considered "simple" in their garments have such elaborate clothing (we're talking start zone included)! I guess I'm just one of the plain, poor, civilian draenei. I'll just go hang out in Lower Shatt ...
Either way, I'm excited and feeling very ambitious. Here goes!

