After having cemented the PVC to the base of my boot, I let the adhesive solidify then added a bit more every night until the gaps were completely filled in. Given the nature of the curve of each, there was a small amount of space where the PVC cap curved down and the sole of the shoe arched in the other direction. Thus, they did not adhere smoothly together. After letting it stick as well as I could, I dribbled a bit more in the next day, let it dry, added some more to the crack the next day, let it dry overnight ...
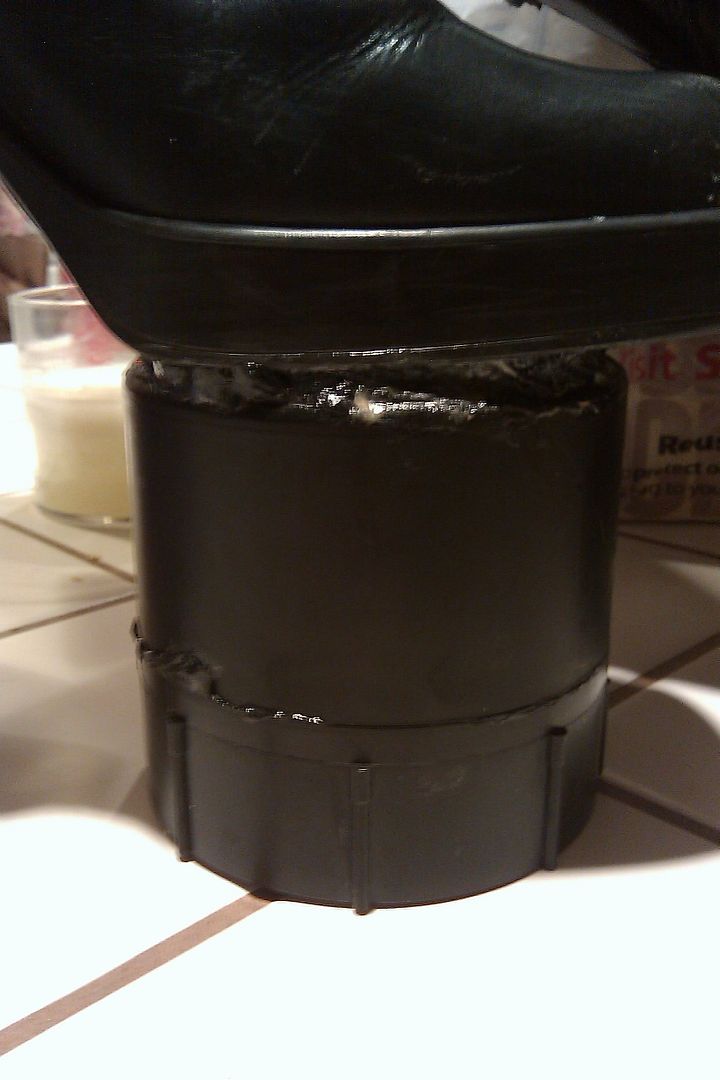
This was a long process, but I think now they're about as stuck as they could be.
Once both booths were secure, I moved on to using fiberglass resin and cloth to do a "just in case" security layer to be doubly sure these boots won't fall apart when I'm walking around on them. Think of paper mache ... on steroids. It's also quite possibly my new favorite thing and I swear that's not the residual fume high talking!
Unfortunately, I forgot to take pictures at this stage, but all I really did was put a layer of the cloth all around the edges and up the arch of the boot for extra reinforcement. I have one boot outside still drying as of yet, so I can snap a shot before I take it to the next stage. For reference, I did a second layer after the first coat of fiberglass had dried. I'm a little paranoid though and I'm sure this may have been totally unnecessary. Oh well.
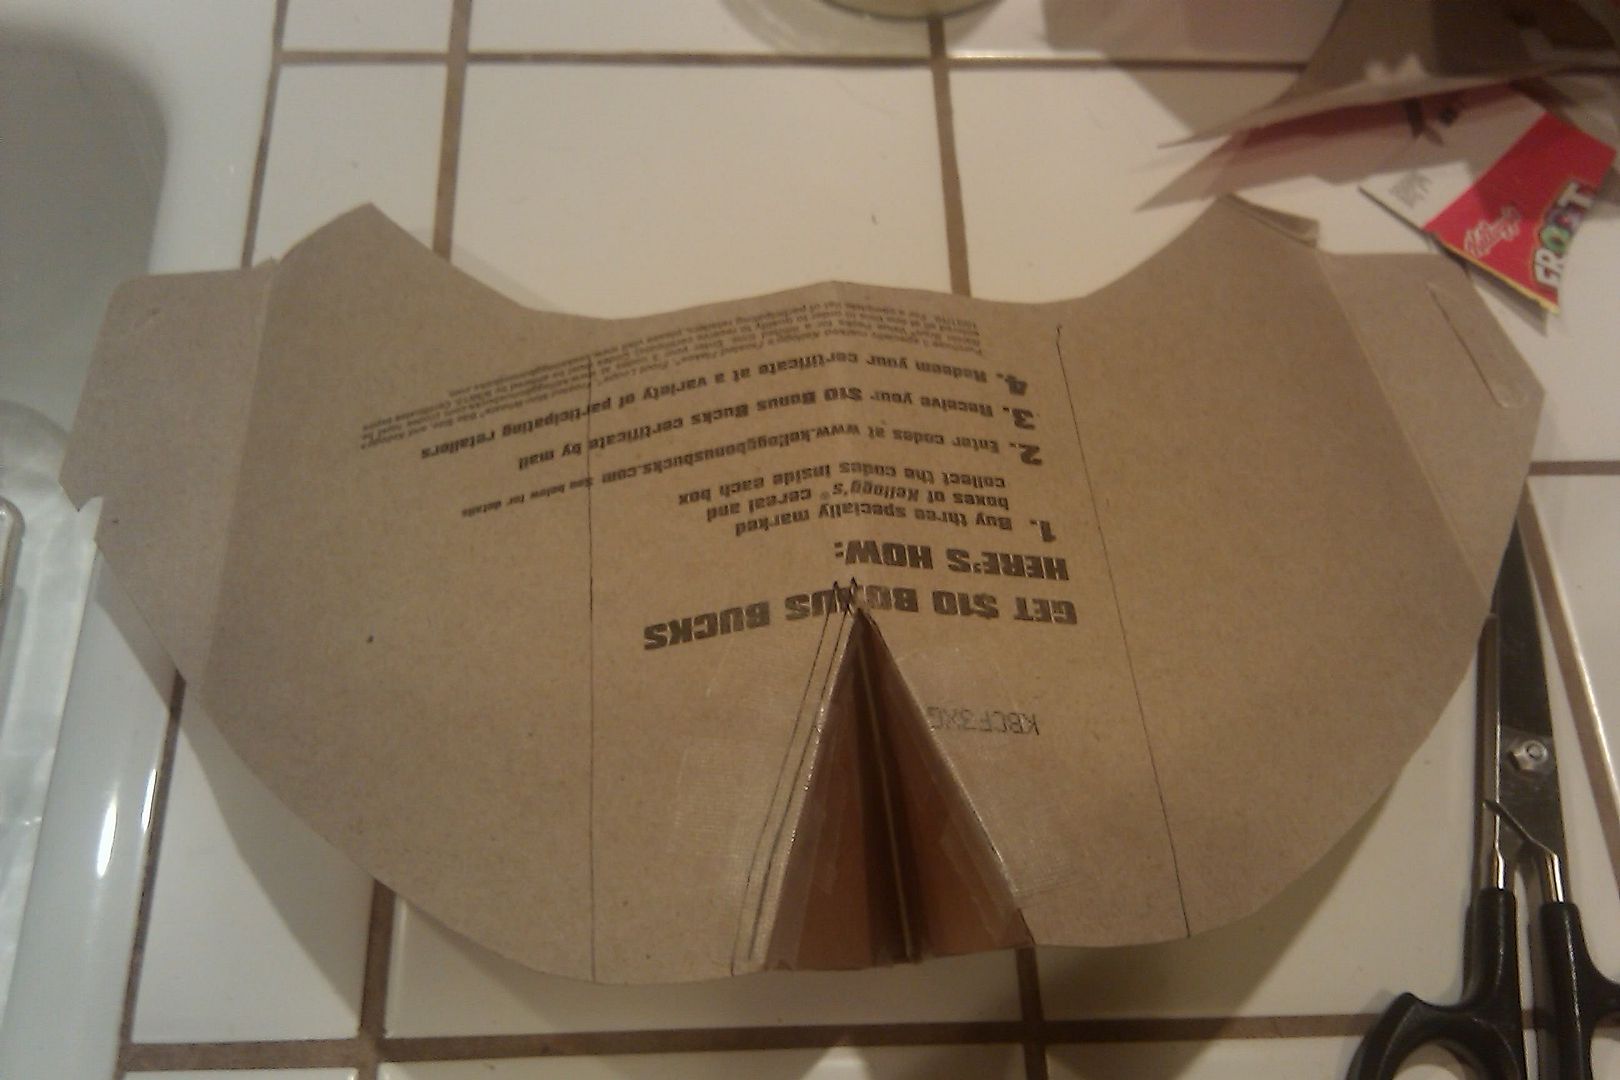
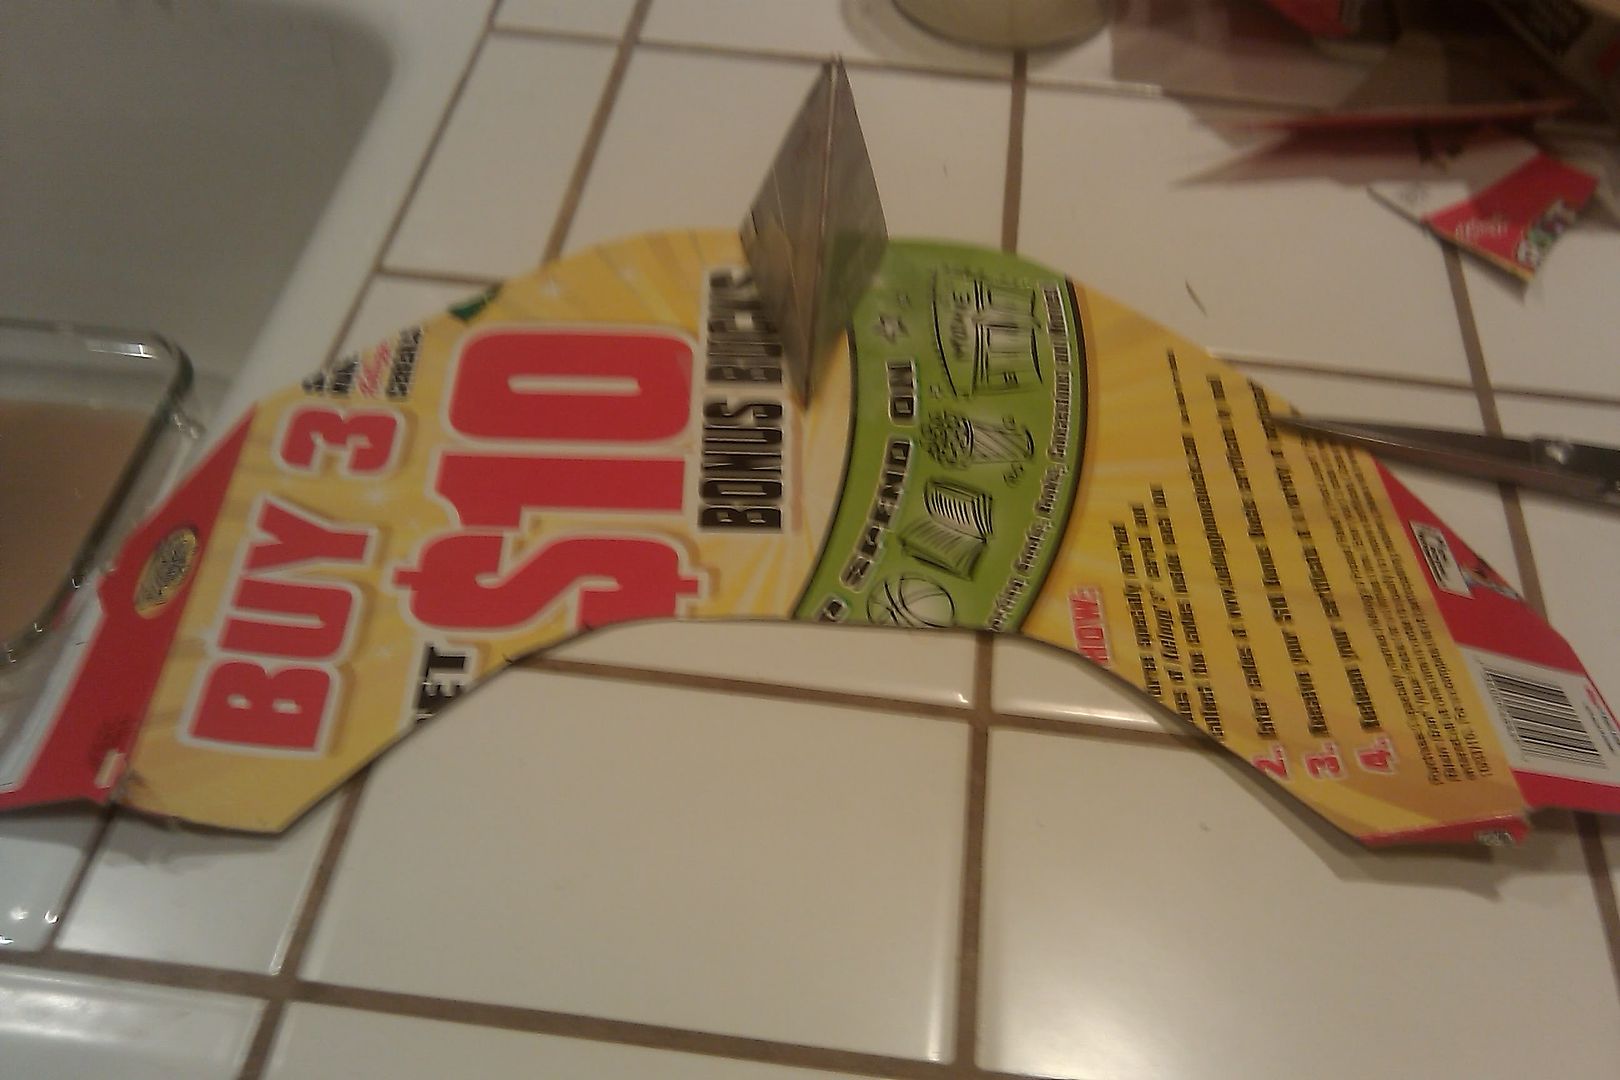
After that, I got to move on to the design part of the feet. Hooves! Using cardboard, I guesstimated and hacked away until I got one well-sized piece that looked almost like a hoof. Holding against the boot that was dry, my friend helped me get the sizing right and use it as a stencil for the second. Once I had the basic shape cut out, I hacked a triangle out of the front and cut a piece to insert and bend the other direction to create my cloven little "toes," like so:
After we cardboard-sculpted an ample hoof, we used tape to curve it around the base of the shoe. I gave it a test run and must say, I'm pretty pleased so far.
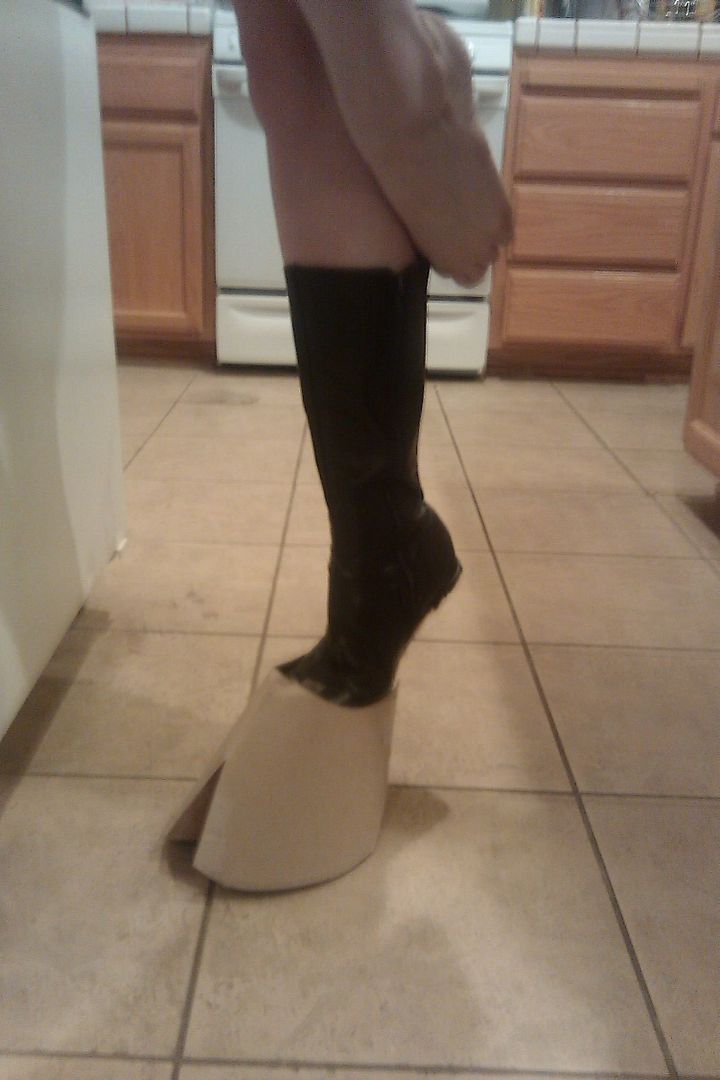
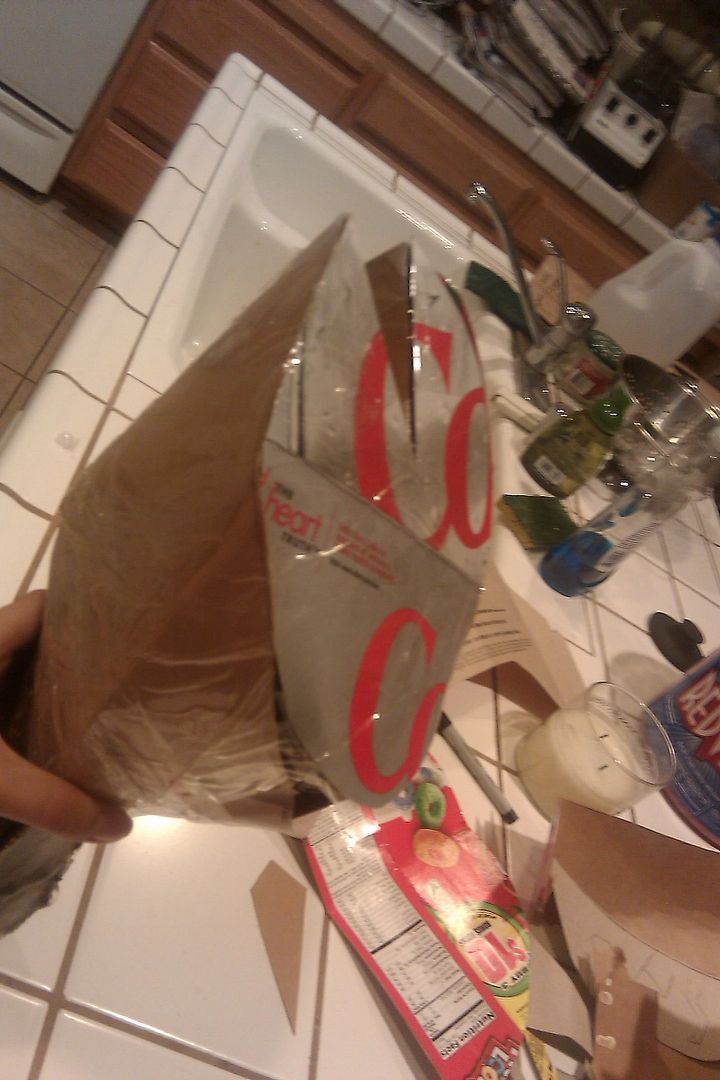
Using more of Mom's recycling, I made a base for my foot, taped it together and moved on to the next phase.
That too is also drying. Now I have to wait for my friend to have enough free time to come over and help me attach the other hoof. It's been created, but couldn't be applied to the boot until after the PVC reinforcing fiberglass had dried.
I will say this: if you plan on trying to use the fiberglass resin and cloth technique, I strongly suggest having another pair of hands available. That stuff is messy and very difficult to work with, especially solo. I attempted to do one of the boots on my own and ended up with the liquid hardener tube falling in my resin mix, my hand glued to the paintbrush, my other hand stuck to the boot, and ultimately, a still-wet-boot dropped in the dirt. I had to pull a poor tiny worm out (silk worm sized) of the chemical mix and I don't think he survived. =(
No comments:
Post a Comment