Sunday, November 14, 2010

Halloween Crashing!

Having completed this year's costume, with a brief reference to my endeavors the year before, I now have the time to do a quick summary post on what exactly last year's project was. I'm excited to share this and make this blog look a little less lonely.

I had a pair of friends from work and we decided we all wanted to dress up together. I'd recently introduced said friends to Castle Crashers and they were sort of on a high the way a little kid wants to play with a new toy all the time. "Let's be that!"

There were only three of us total, so we enlisted a fourth -- a new hire at work and new partner in crime to our little social group. There were many ideas on what we would do for the costume itself. We knew we couldn't wear masks at work; anything that obscures the face is not allowed. I did lots of sketches that involved a cutaway headpiece that we could finish up with makeup. If anyone is interested in seeing those, please speak up and I'll see if I can find them ... they got scrapped quickly due to lack of interest and the limit of comfort they'd have to wear all day. At best, I can explain it in further depth if someone wants to know about them.

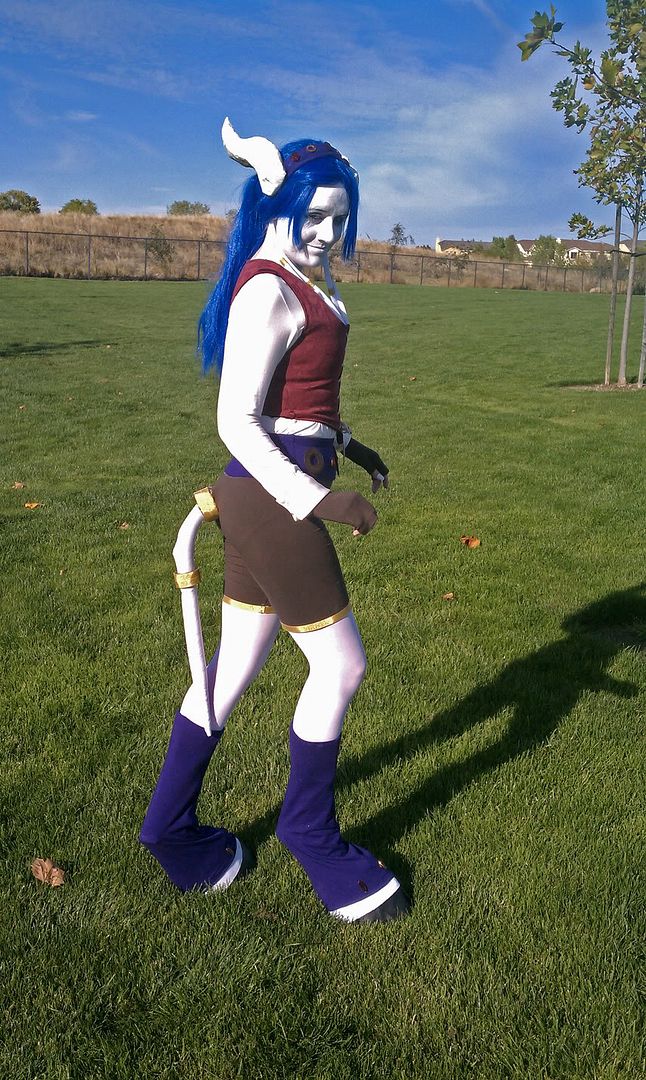
Once I trashed the idea of a helmet, I decided that we should make the Castle Crashers our own. We were women and we'd rock those Crashers with our own special sexy appeal -- while remaining 100% clothed and not exposing skin (I'm so against the 'I'm sexy because it's a miniskirt and a crop top' costume; that's trashy .. I prefer classy!). I started some pencil sketches to try and figure out what we could do. After a few drafts, I finally came to a collection of designs I loaded up on the computer and colored quickly.

(I am not an artist, drawing/coloring is not my thing, I do it just to get visual ideas of what I plan to create; please be kind to my silly sketches!)

I presented my drawing to my cohorts and they were extremely pleased and stoked to get started on the process.


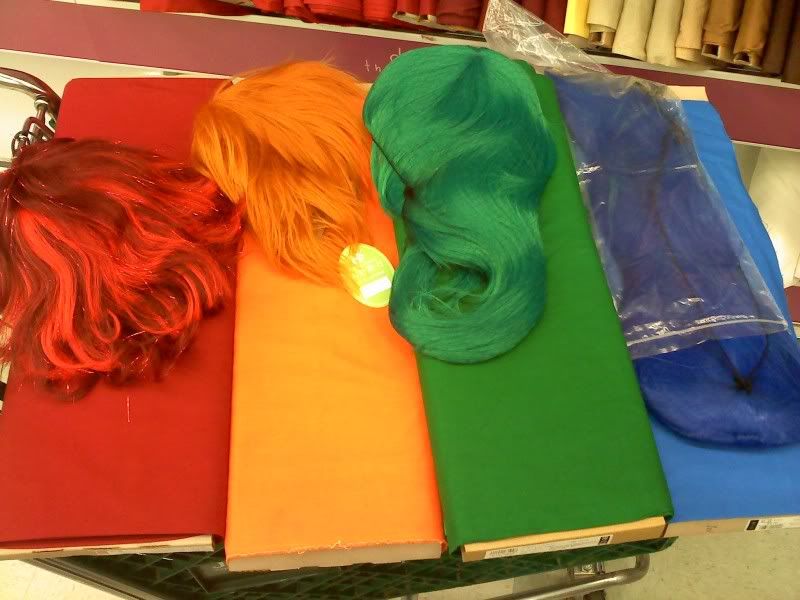
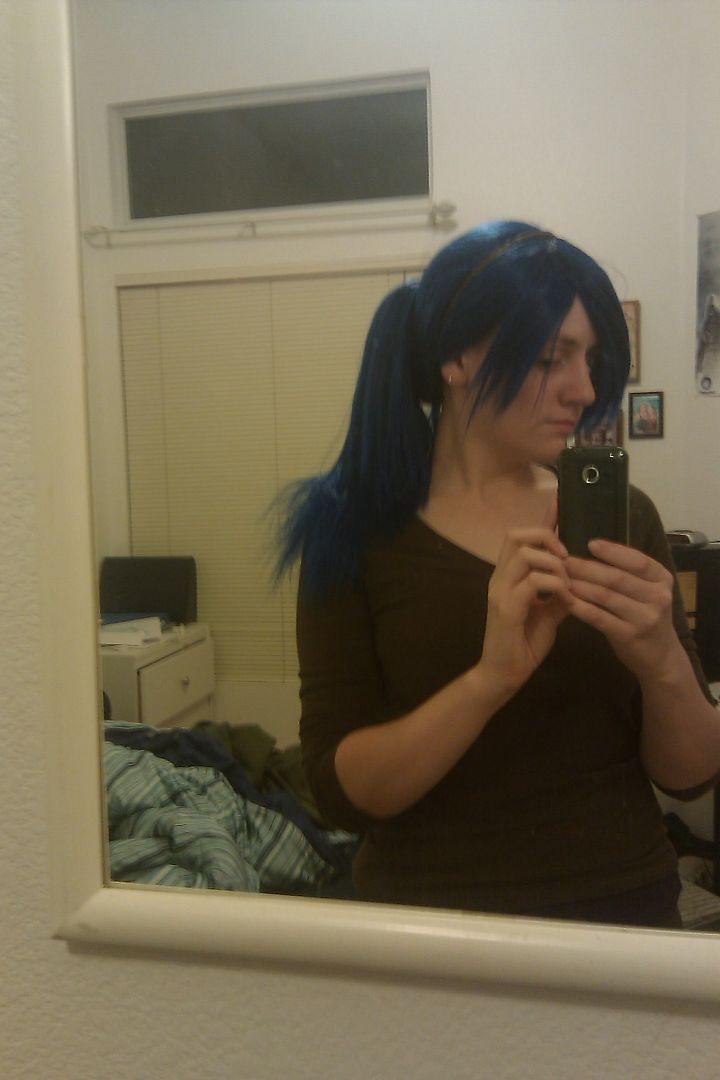
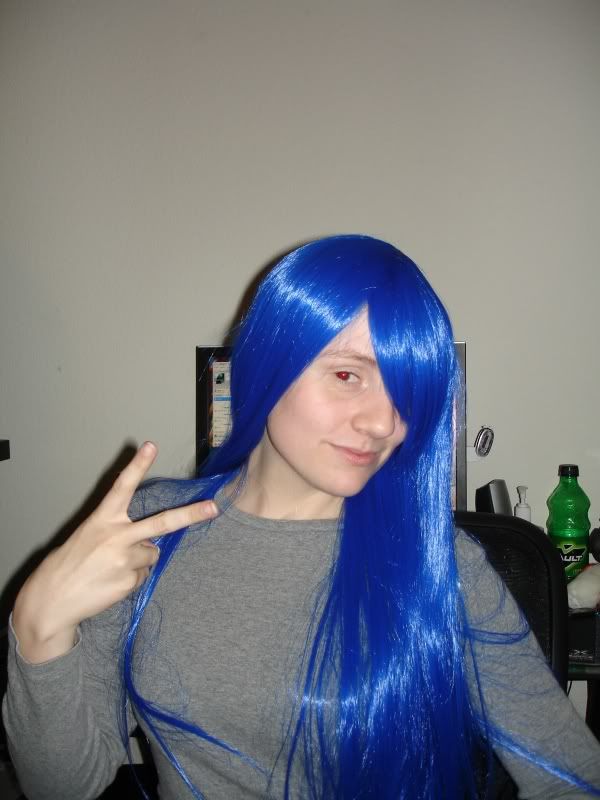
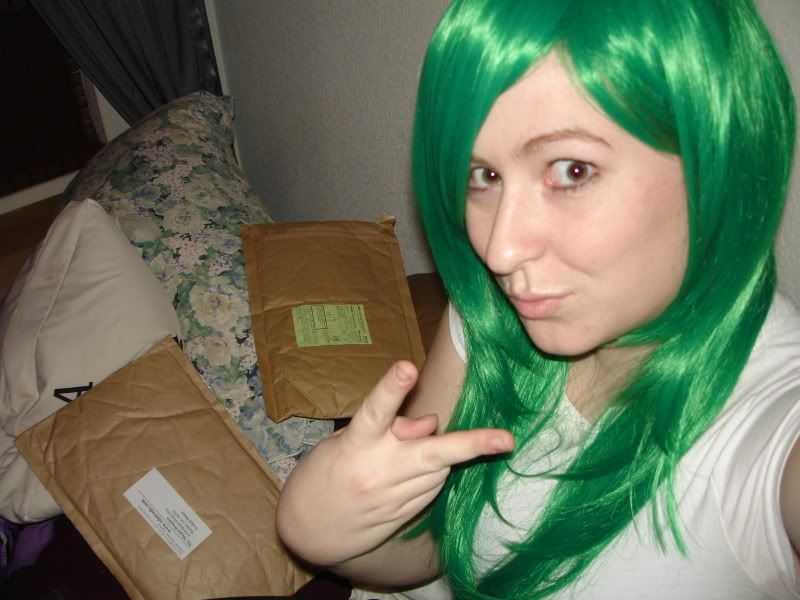
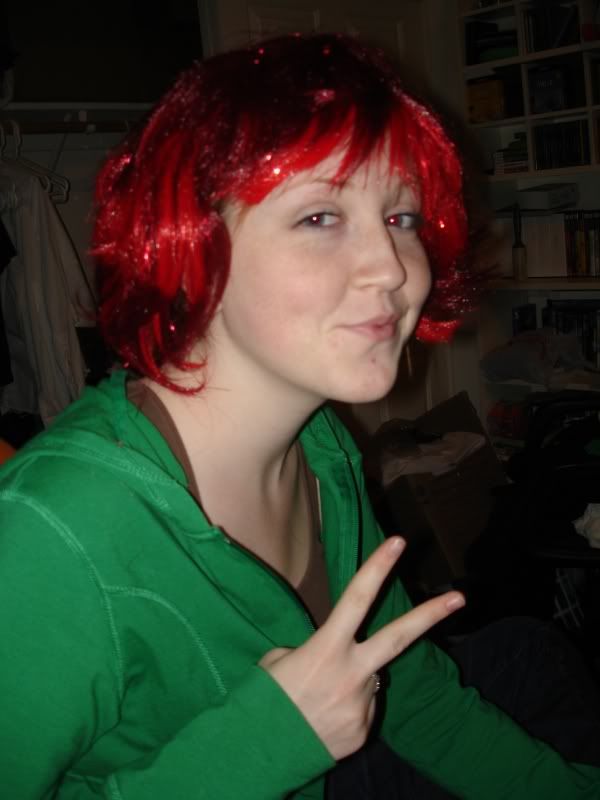
We decided that the first step would be wigs; we had to get wigs to match our fabrics to. We began shopping around online immediately. The blue, green, and orange were full fledged cosplay wigs we ordered from China or Japan (they came from different places). The red one was pretty standard and poorly made. It ended up getting scrapped in the final costume because she didn't want to wear it. She was a redhead anyway (as with the green-wig lovely lady and myself in blue) so it worked out fine. Naturally, once we got the wigs, we had to pose in a stereotypical manner as to honor their location of origin ... Yeah, maybe we're a little offensive. Shhh.

Once we had our wigs, we could shop for fabric!


In the meantime, while we'd been waiting for the wigs to arrive, we bounced around and window shopped until we found acceptable footwear. Yes, pricey. But they're reusable and quite comfortable. Worth it, we all agreed.

We had also done some window shopping at the fabric stores to find patterns. I can't find the patterns at the moment (last year's stuff got packed away and my lethargy dictates that I not destroy the storage space in order to try and find them), but after browsing around online I do believe we used variation A of this B5554 pattern for our dresses. We altered the length for sexy purposes. For our waist cinches, we used M2337, but ditched the laces in the front in favor of eye hooks in the back.

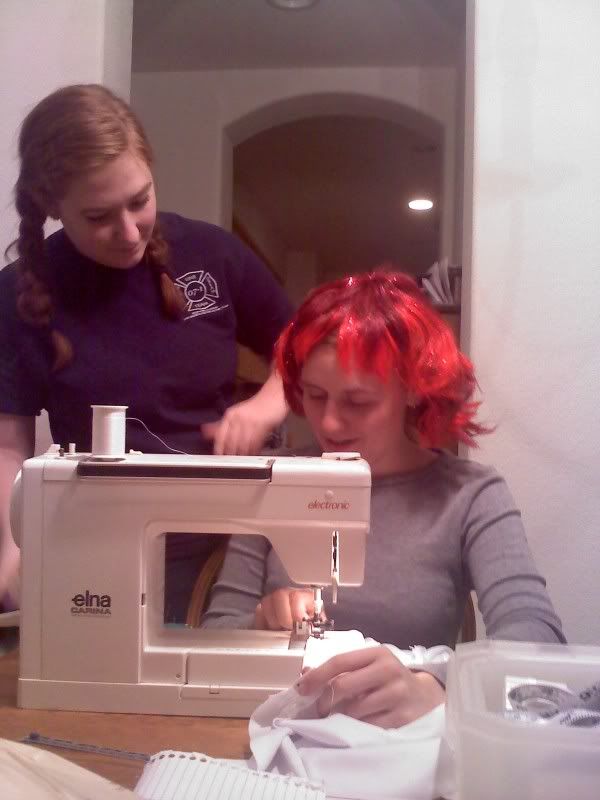
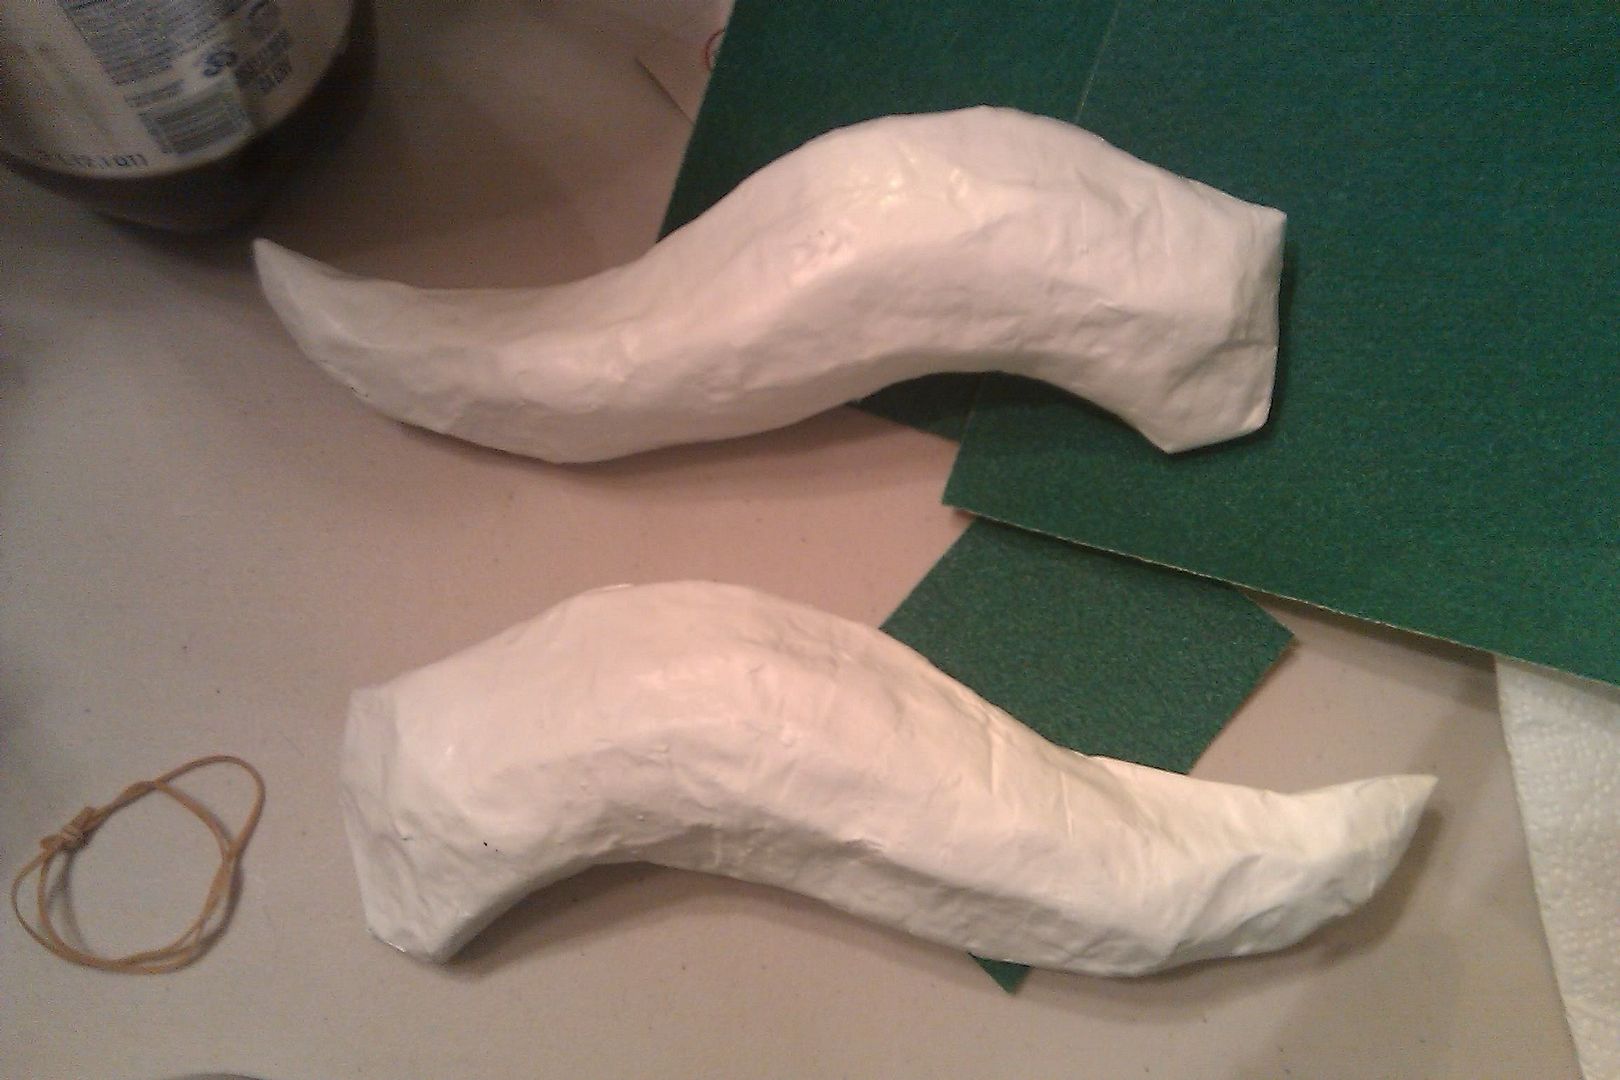
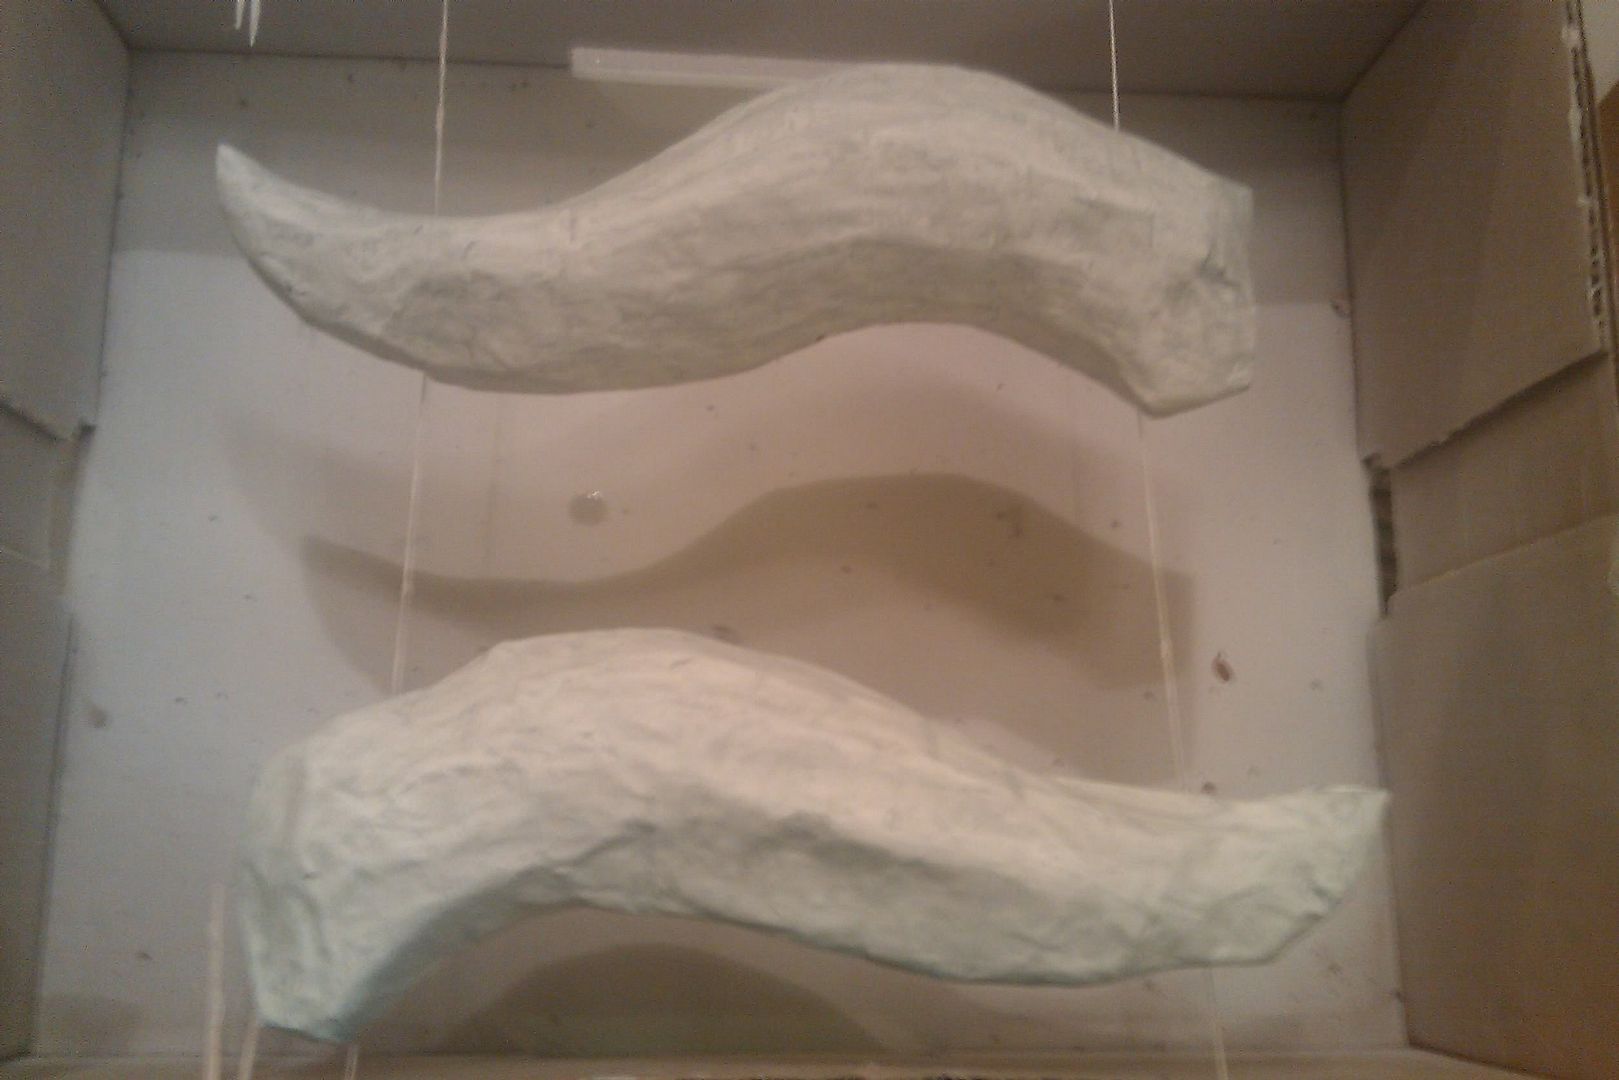
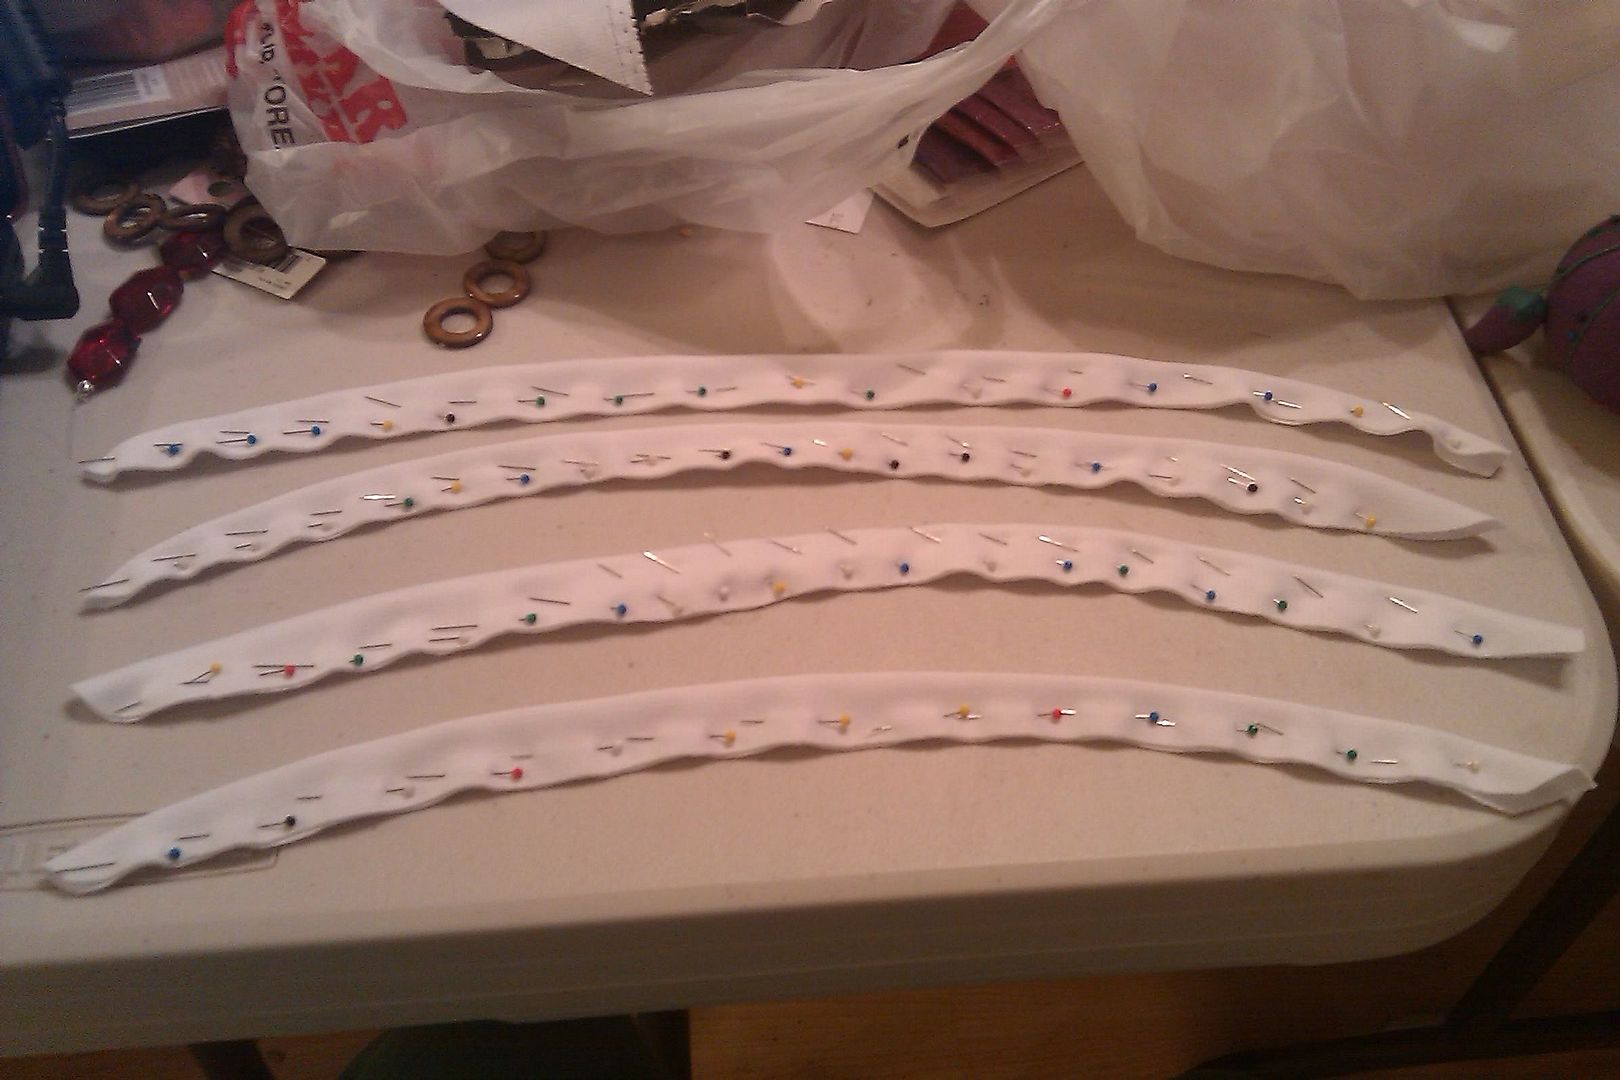
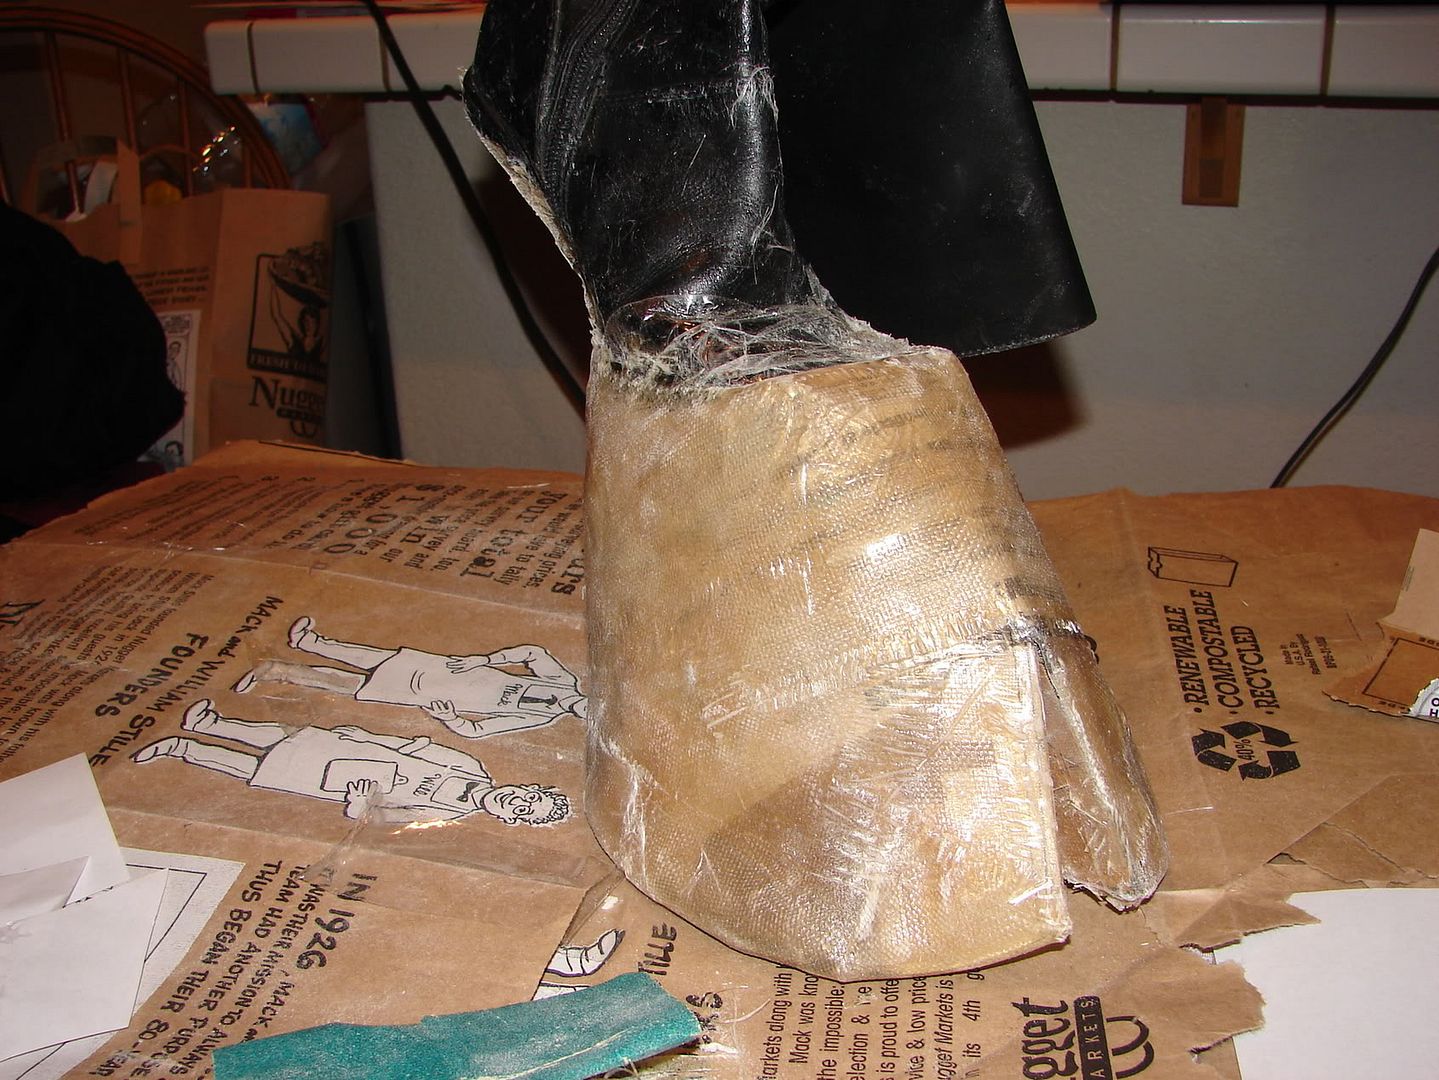
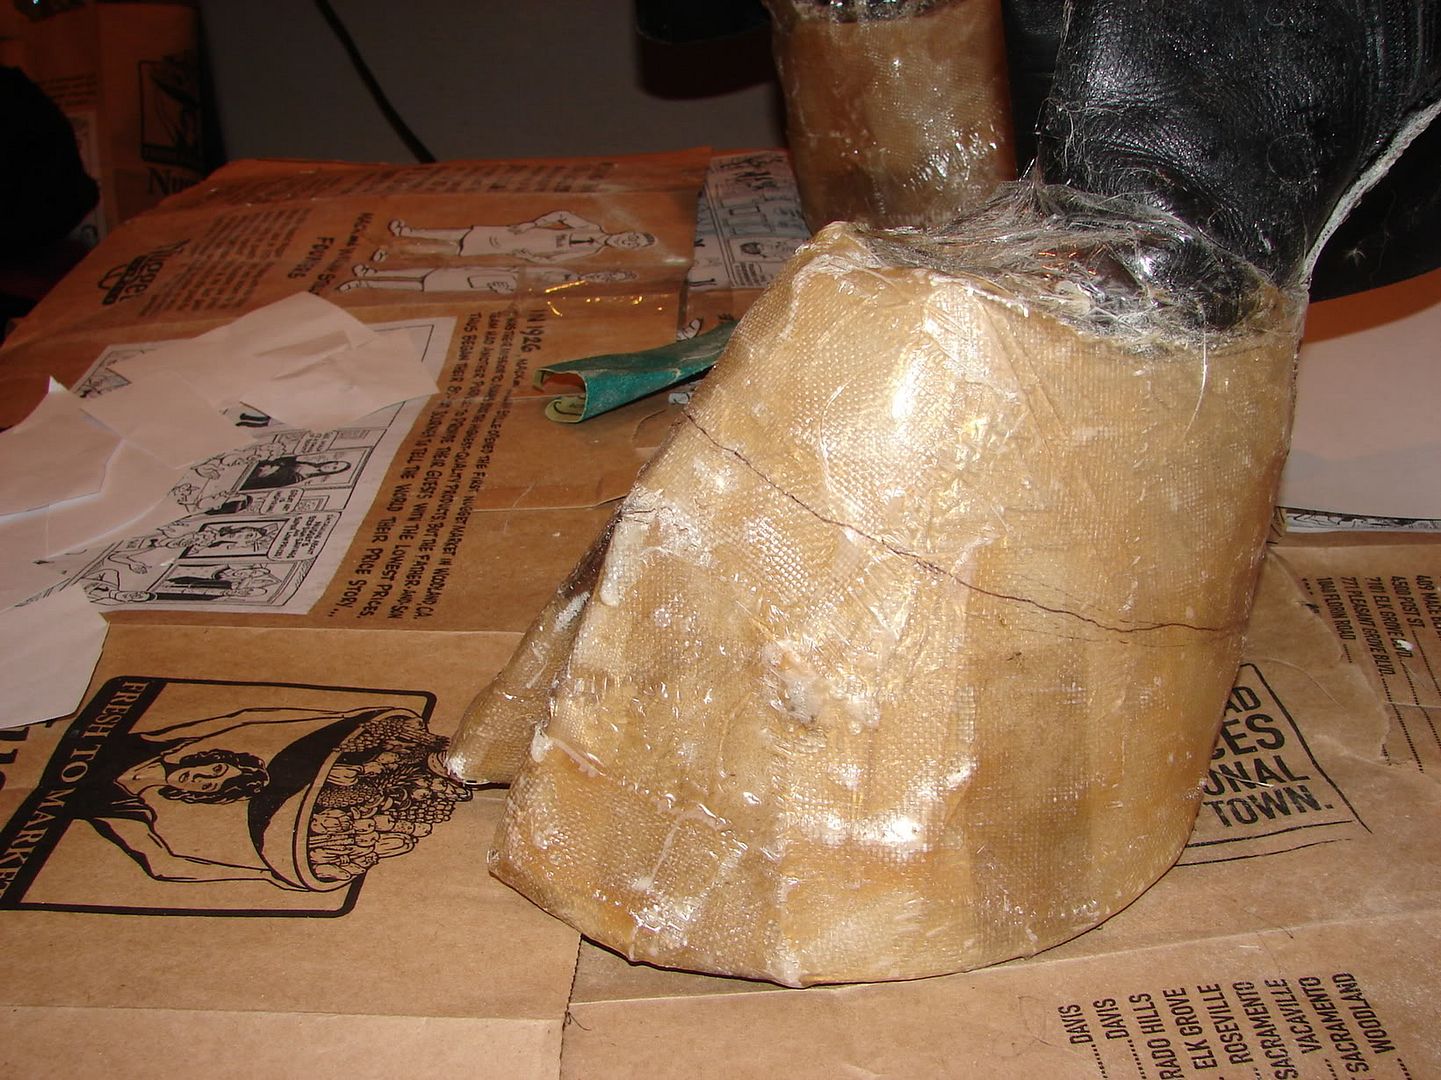
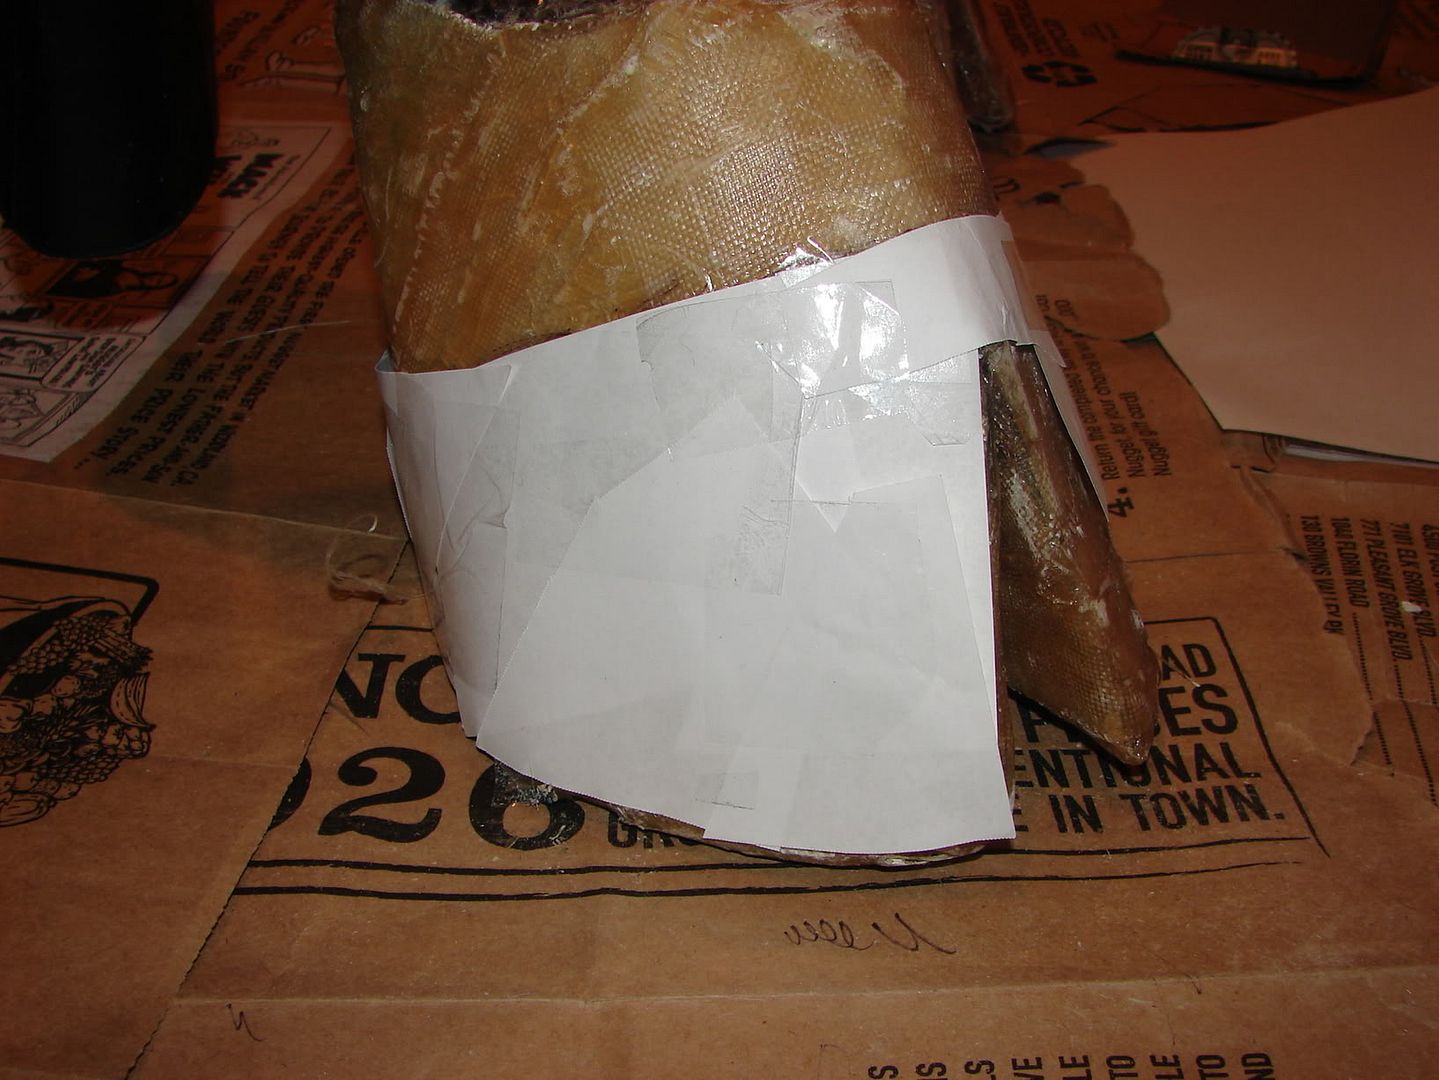
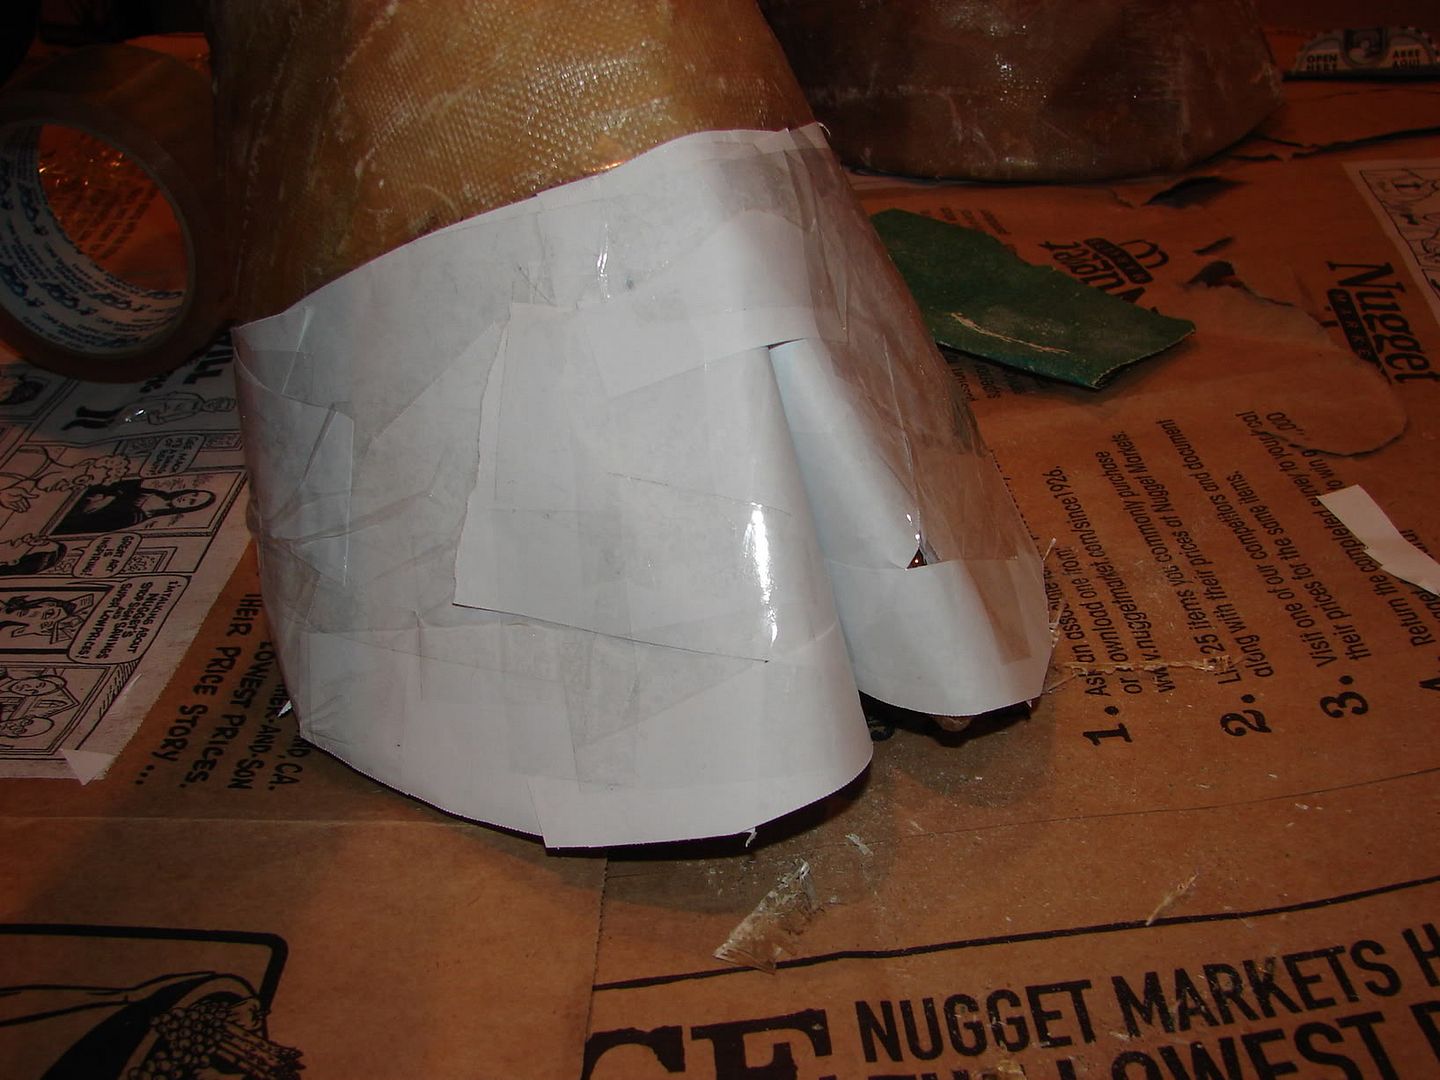
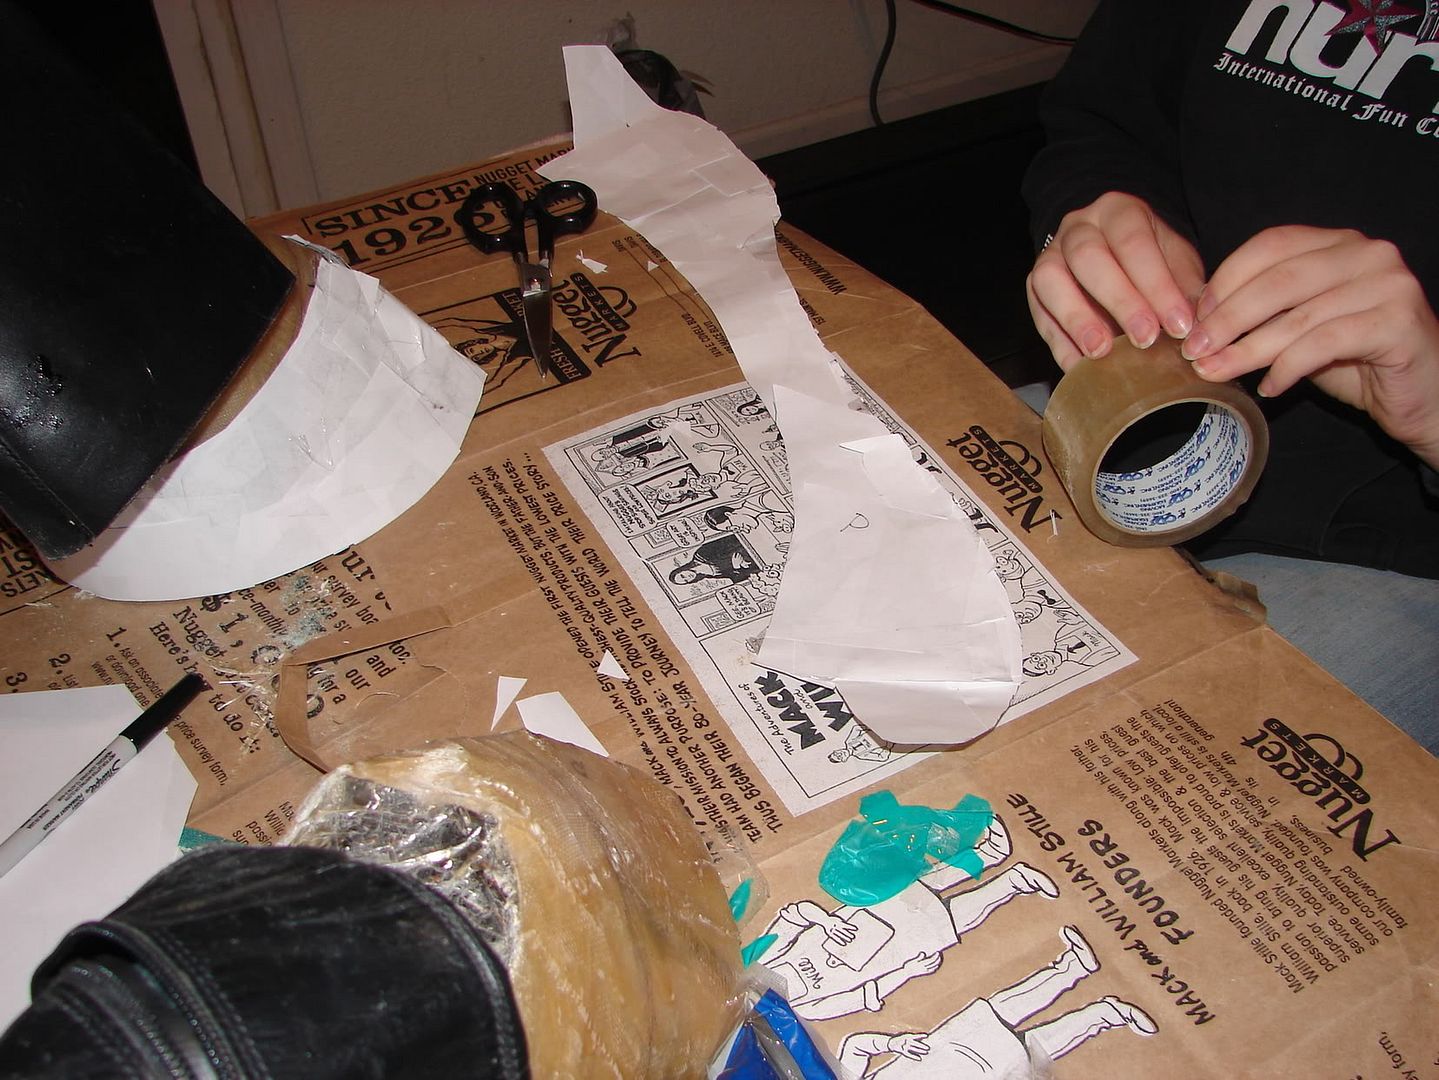
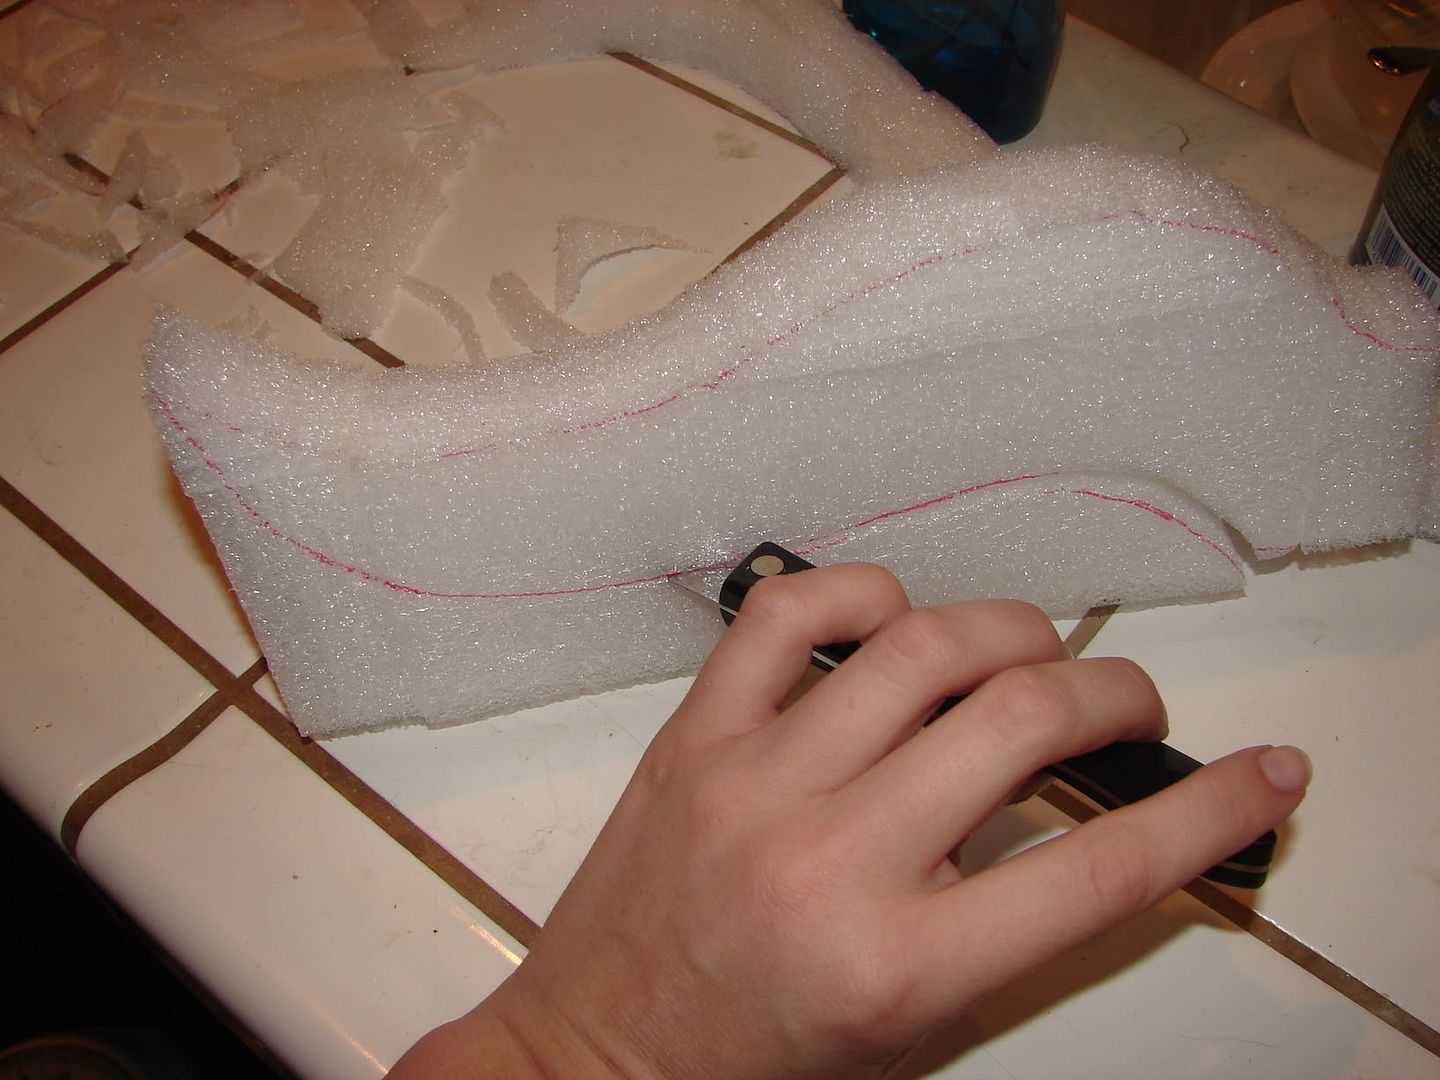
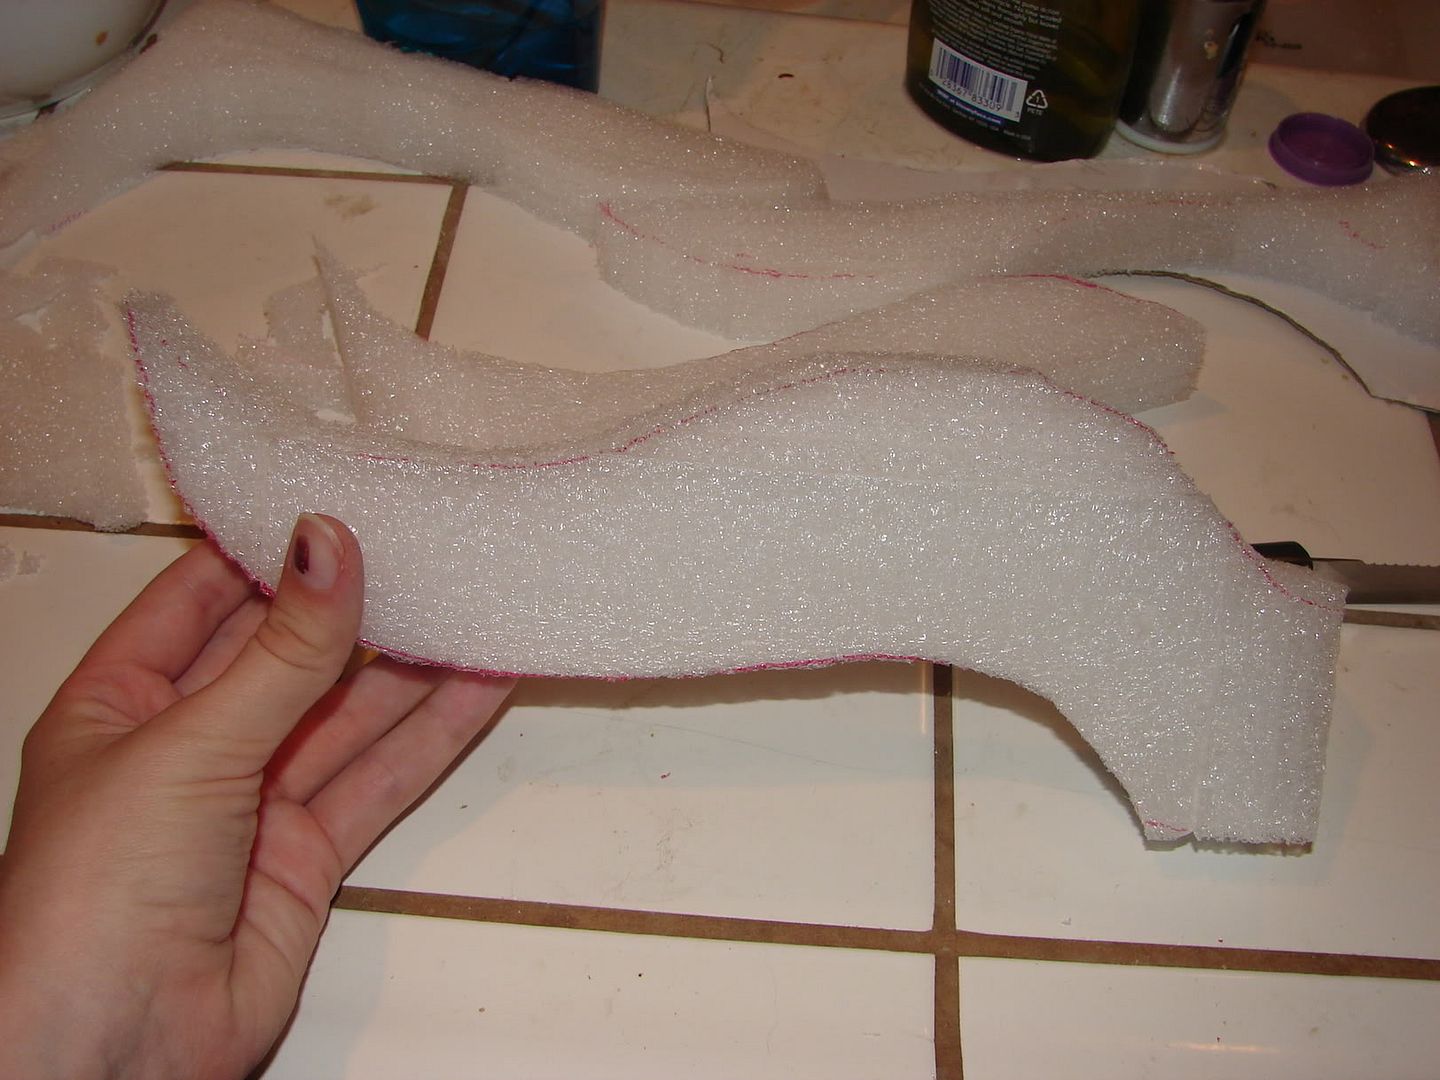
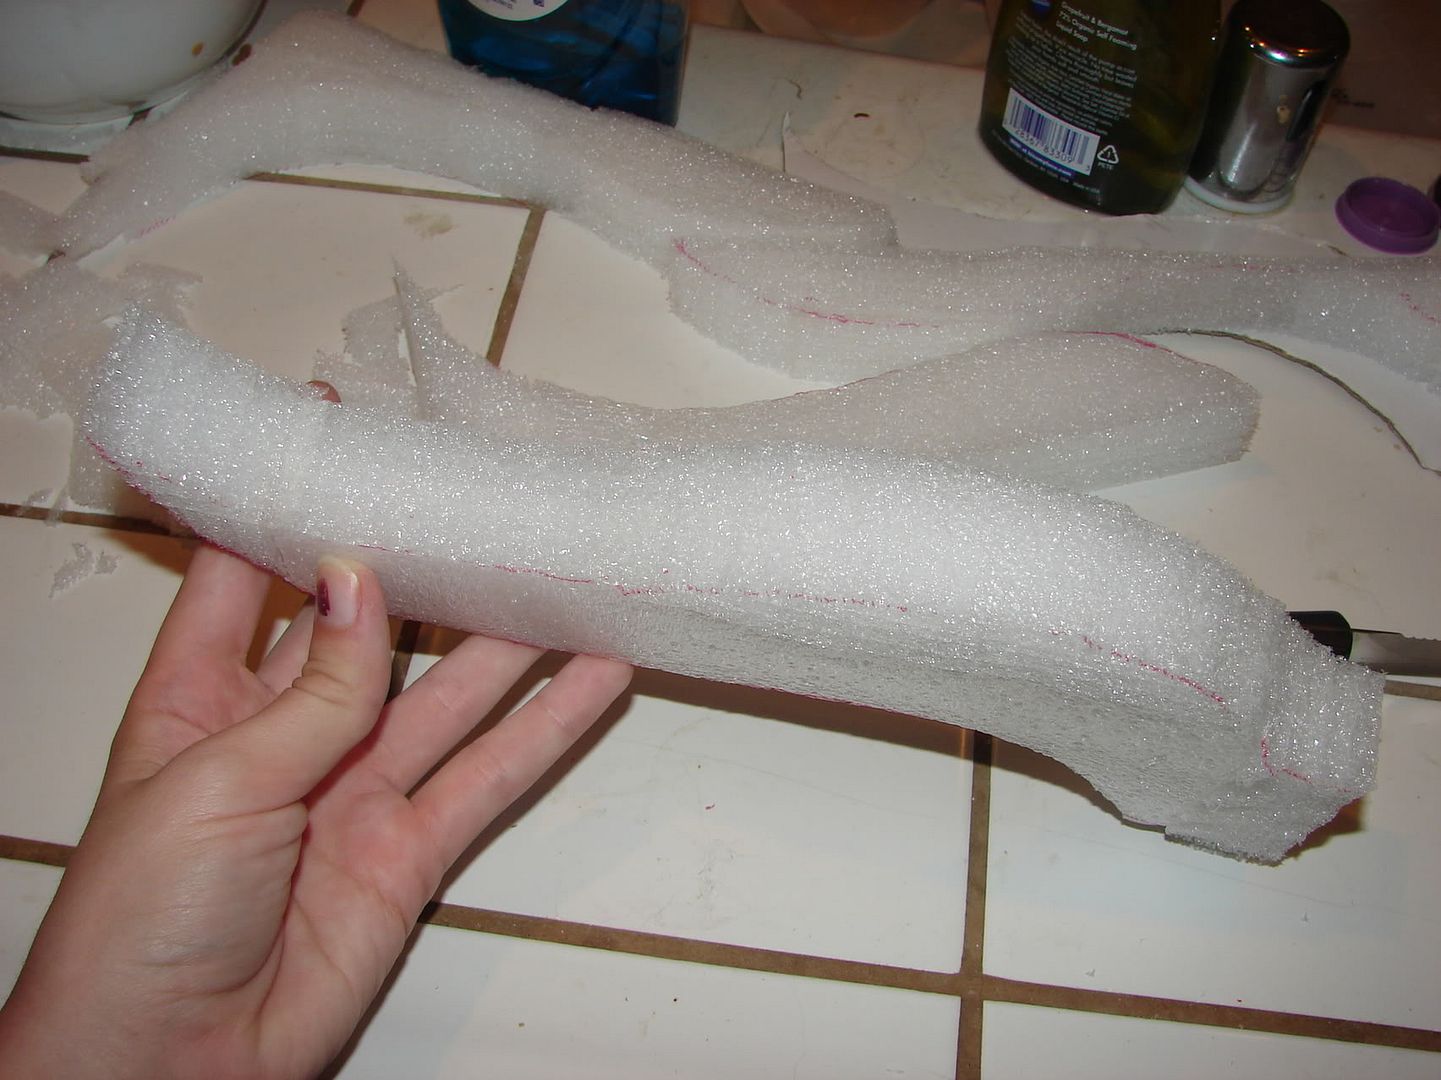
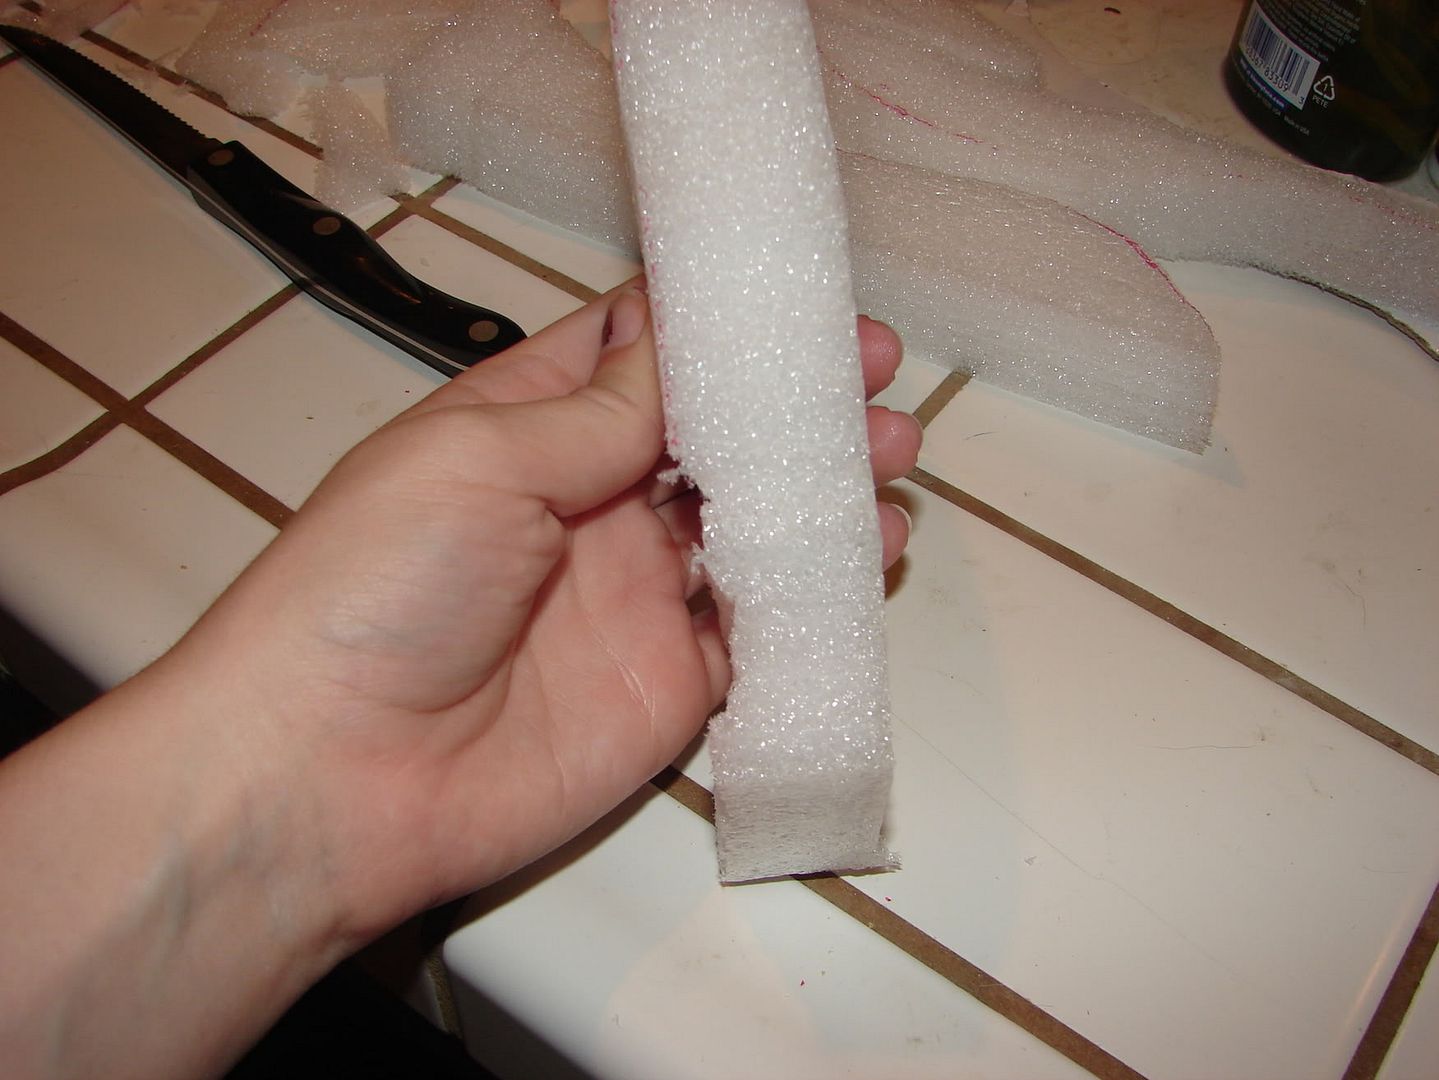
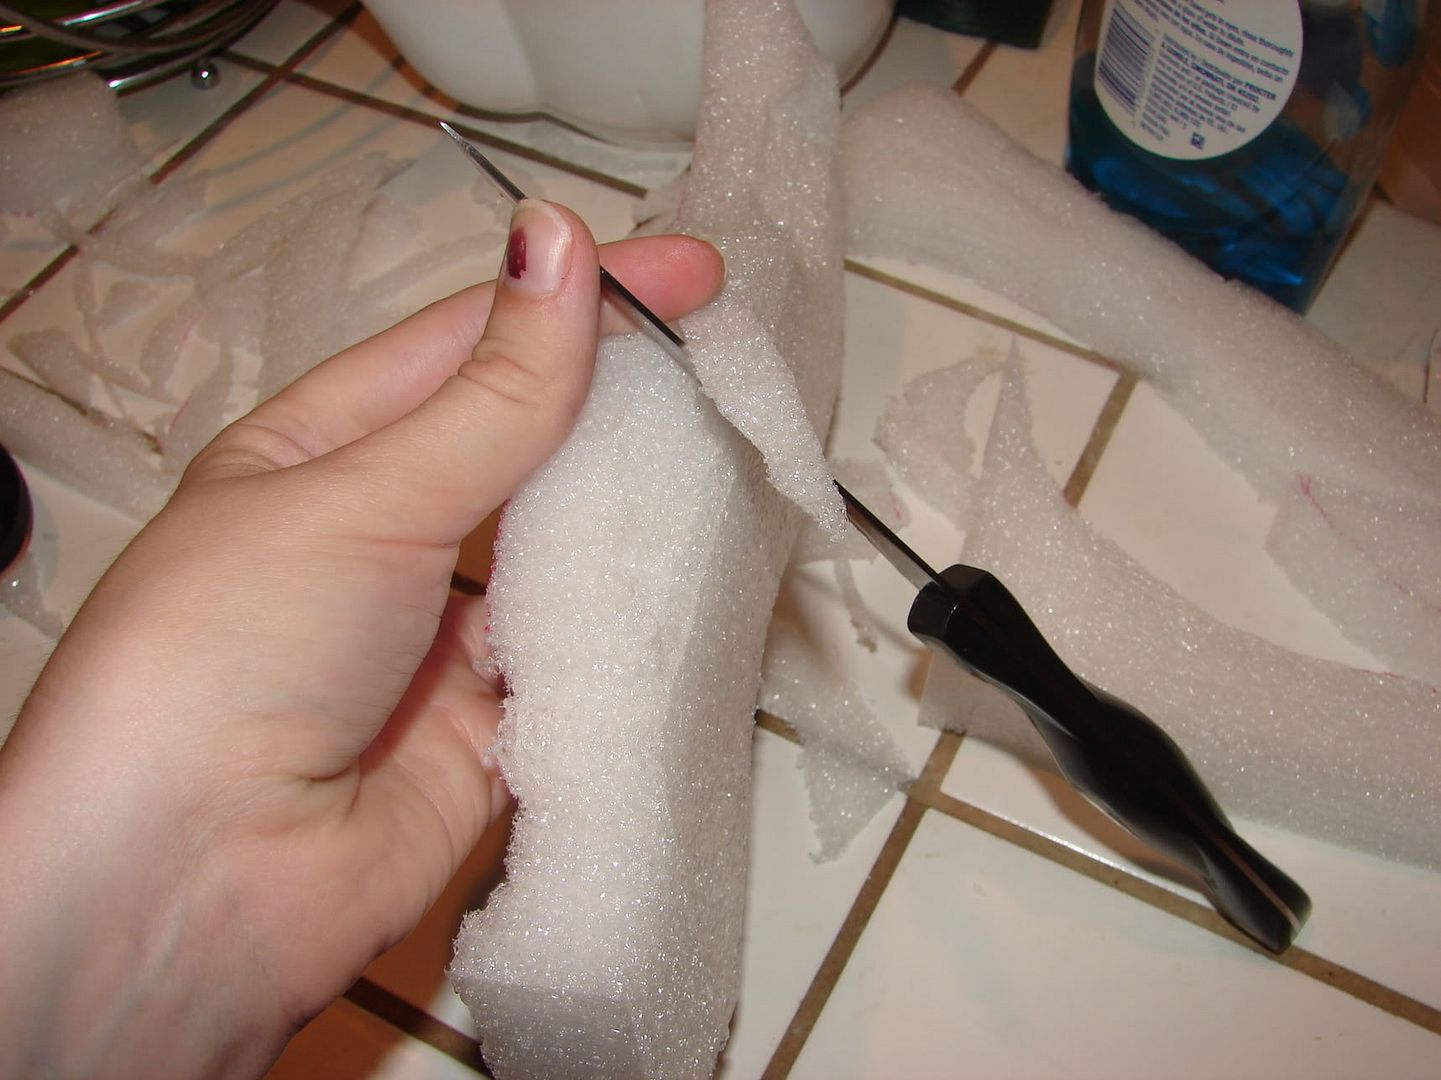
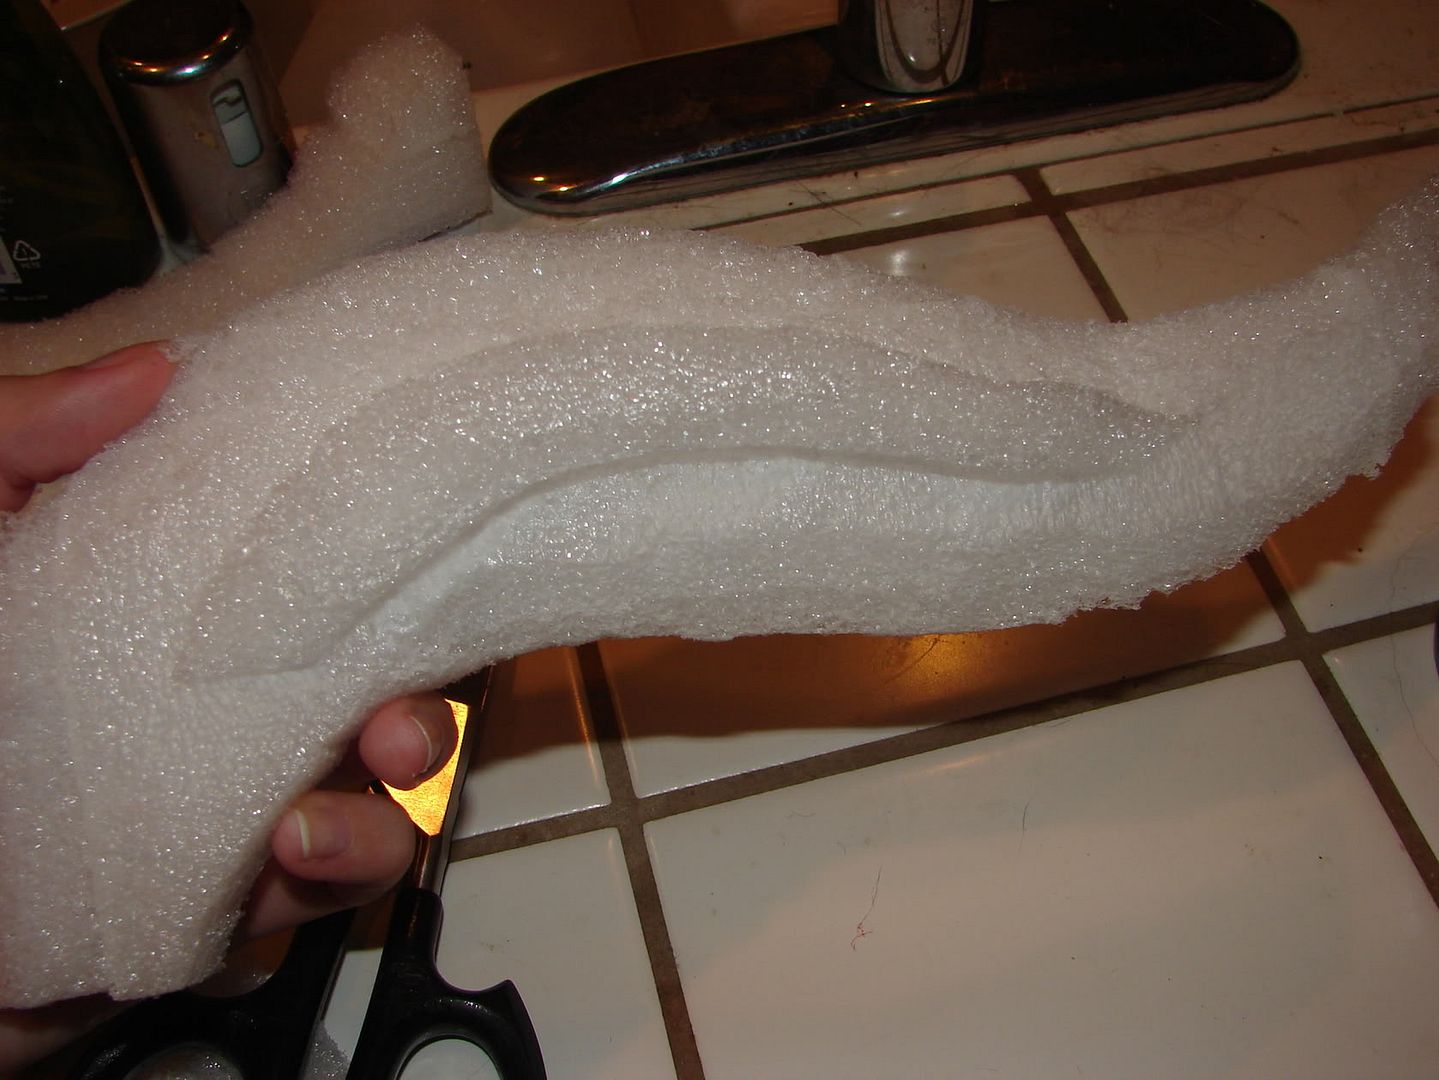
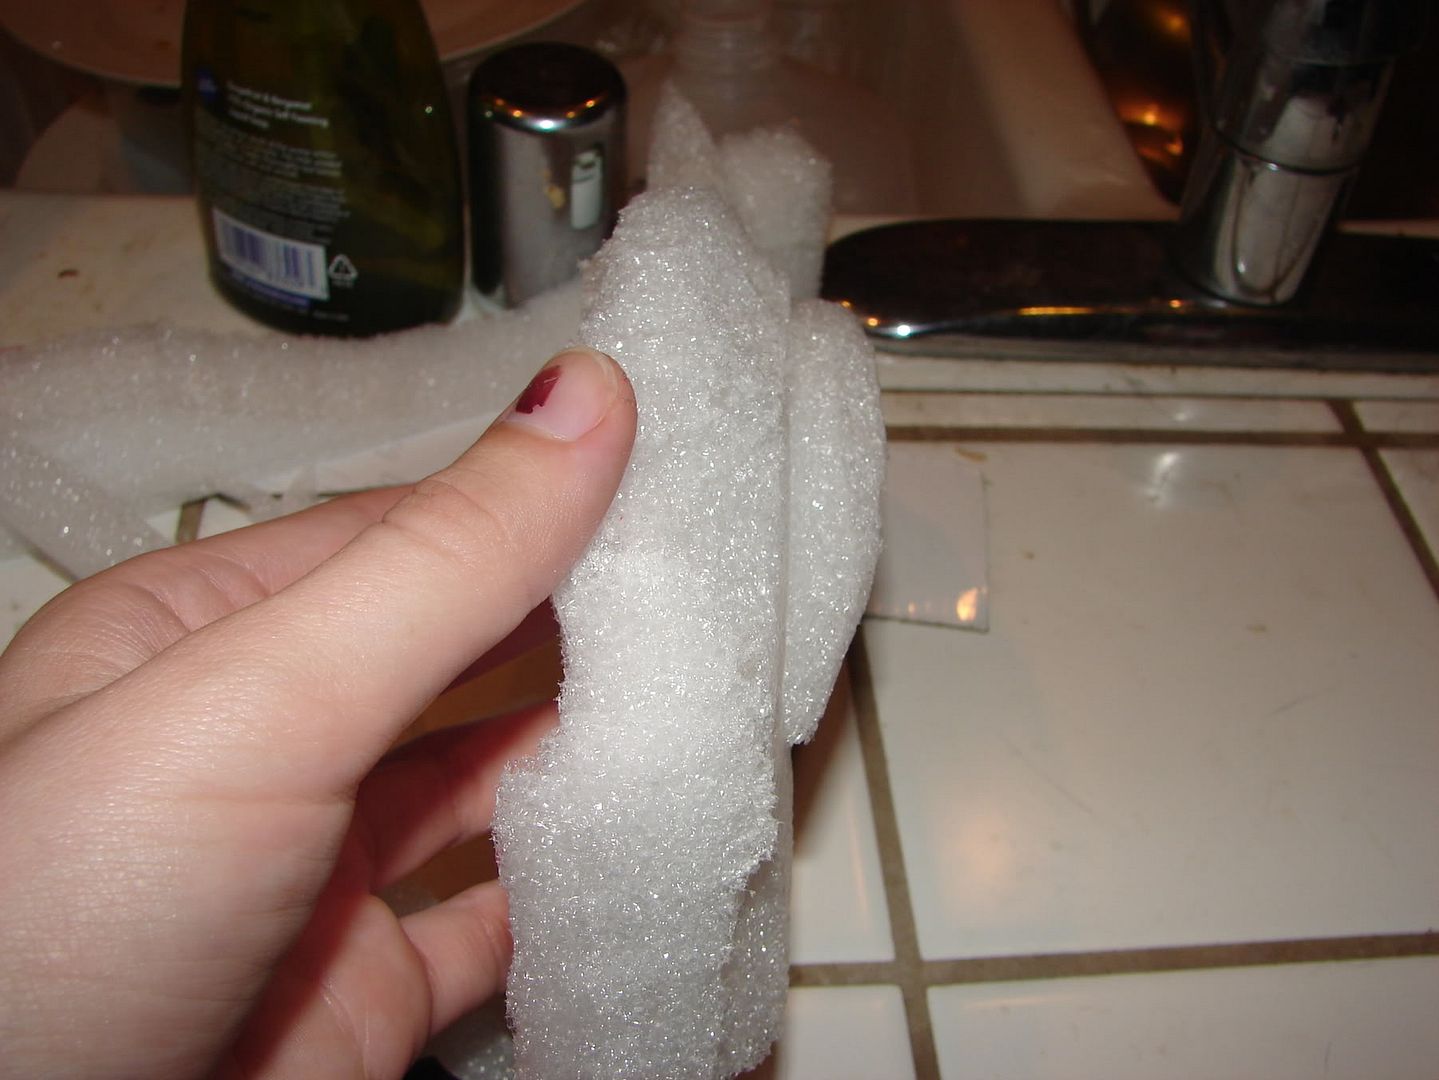
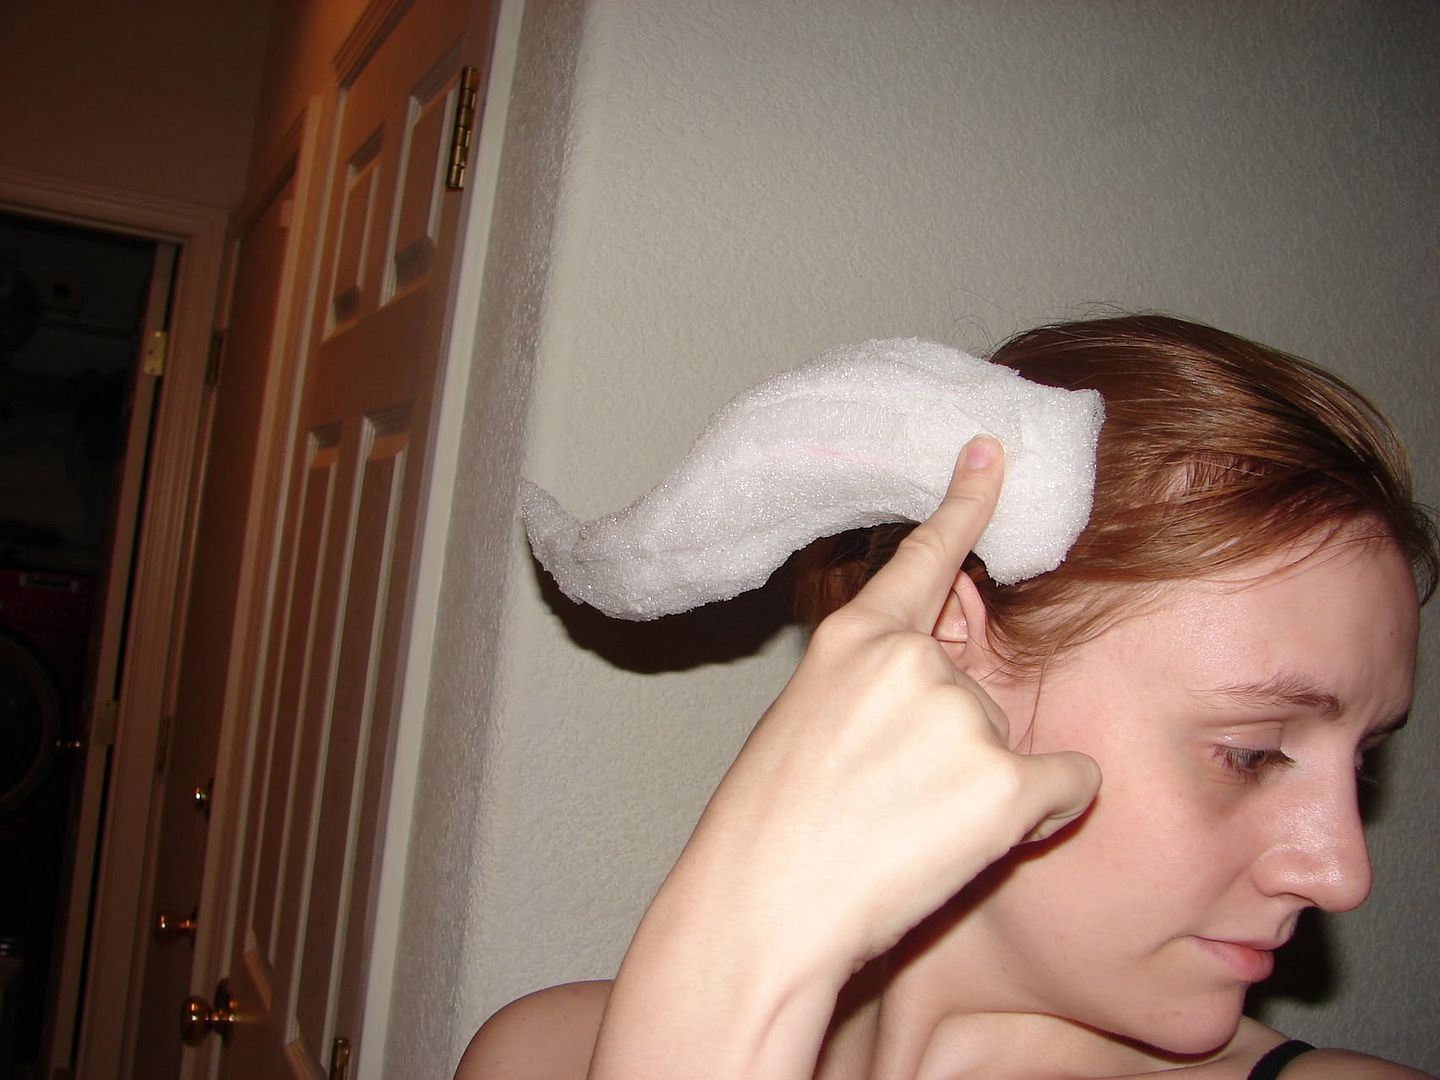
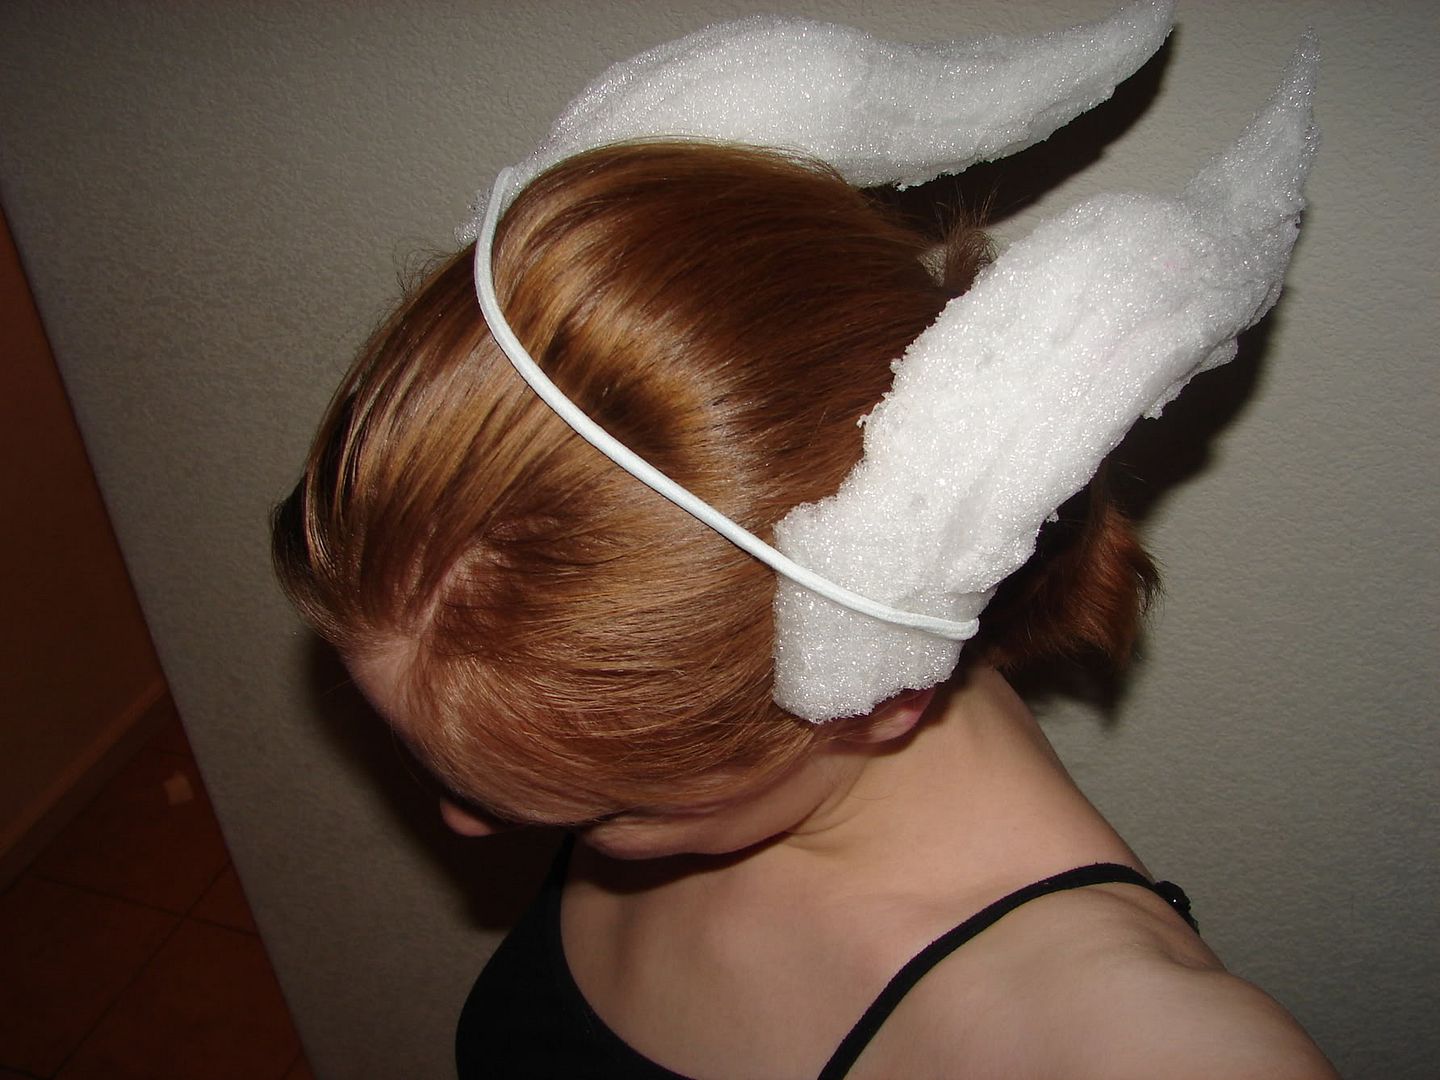
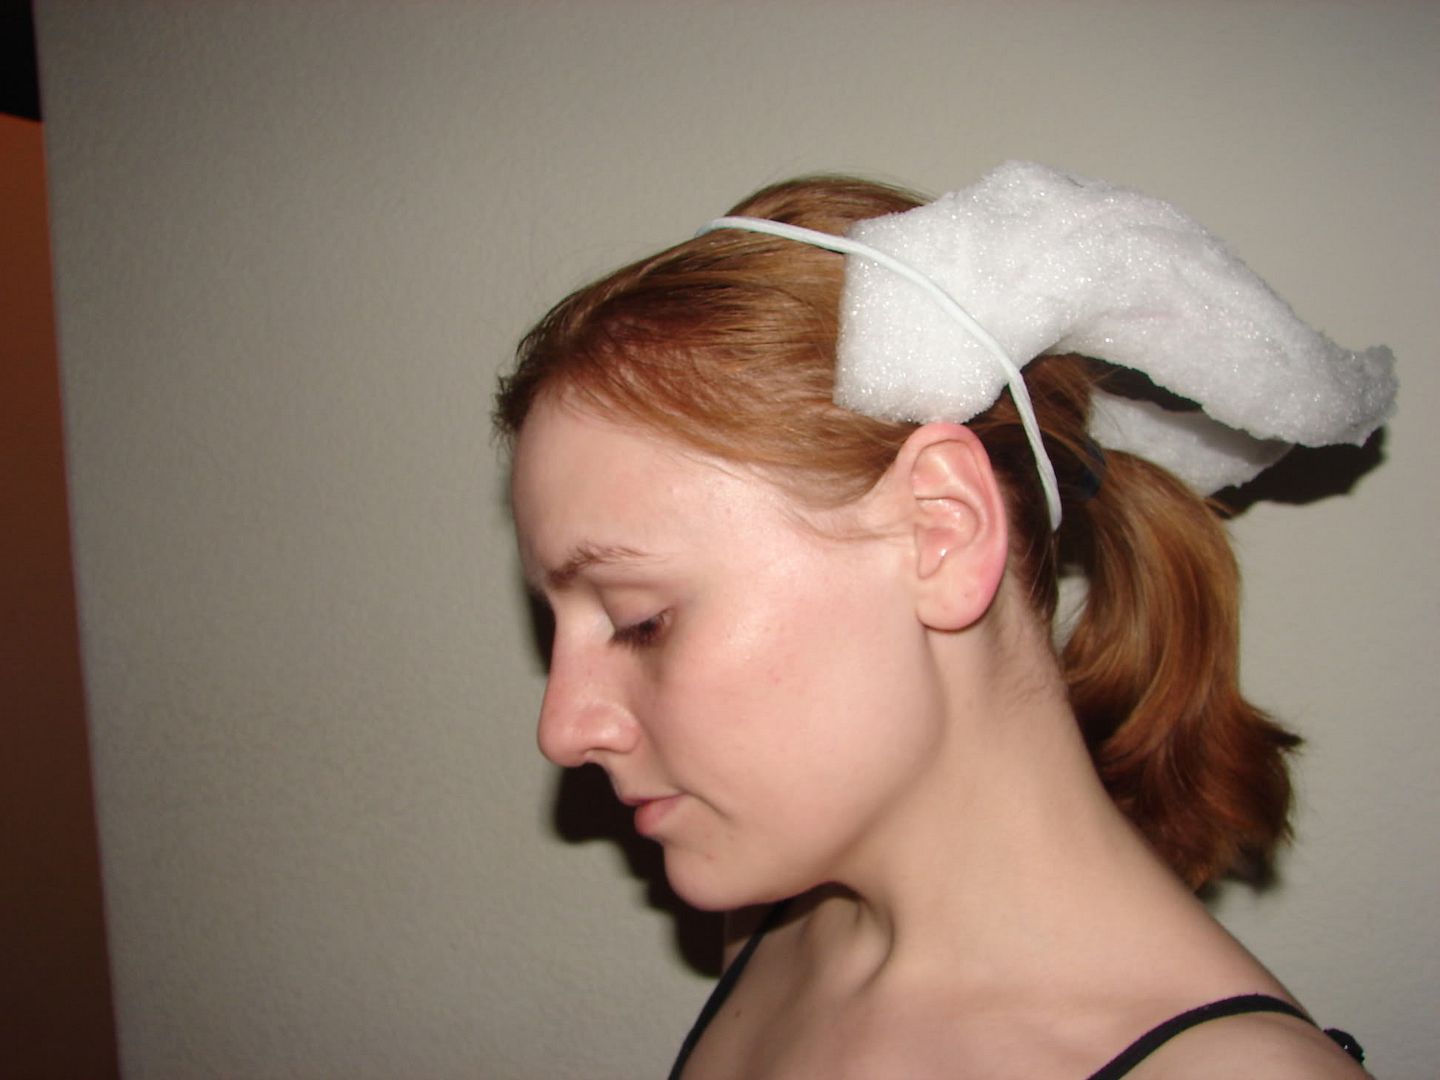
All that aside, there really isn't much to explain on these costumes. We fitted ourselves, sewed everything together, and rocked hard. But it was a very fun, social experience. I have a multitude of pictures of the in progress work, but I'll just make a handy list instead of bore you with too much rambling. They're in no particular order, just the way they got loaded in to my photobucket. Feel free to look at me and my friends being crazy, cracked out on energy drinks, and sewing like we belonged to a low-wage sweat shop. It was a good time, really.

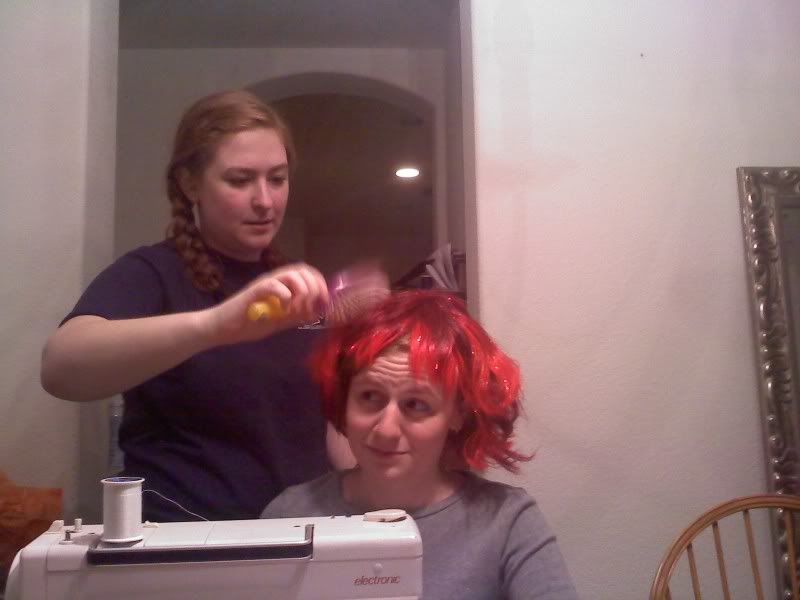
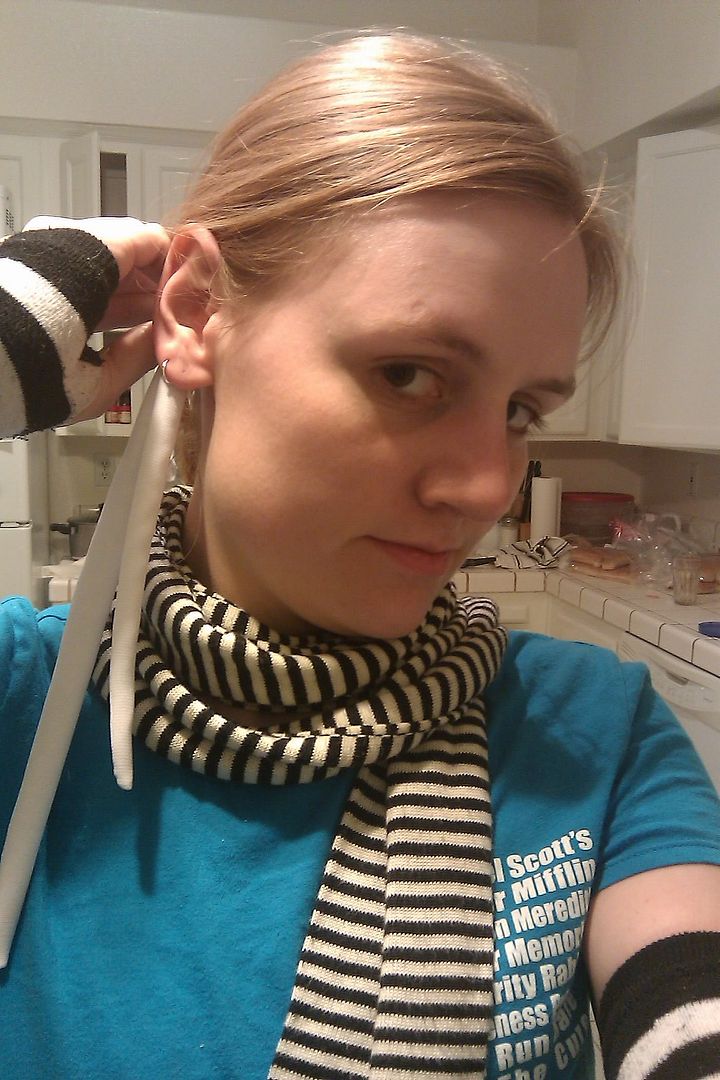
Trying to style that horrid red wig was miserable. I was trying to sew, Megan did what she could for that terrible mop:.


The process for applying our crosses was also left to Megan and her beautiful OCD compulsions. Sometimes she had to enlist help though, for an extra set of hands. They were applied with iron on transfer material.


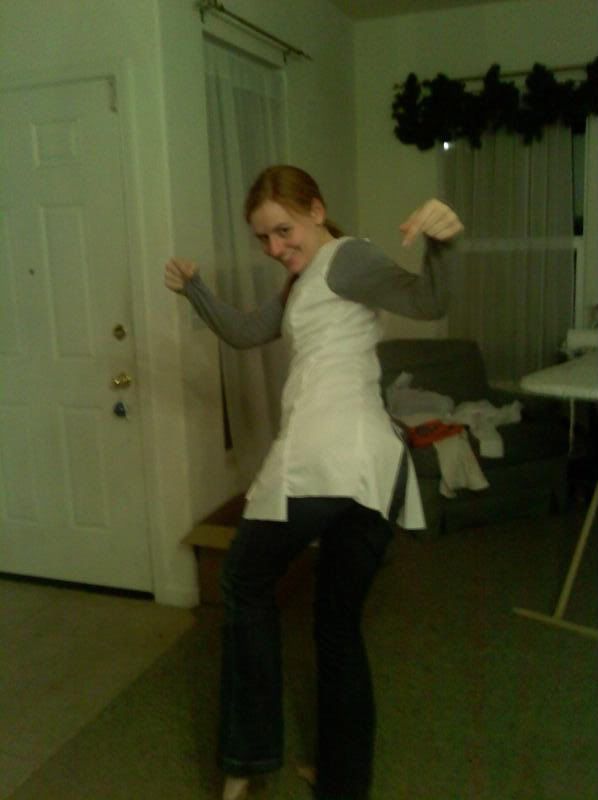
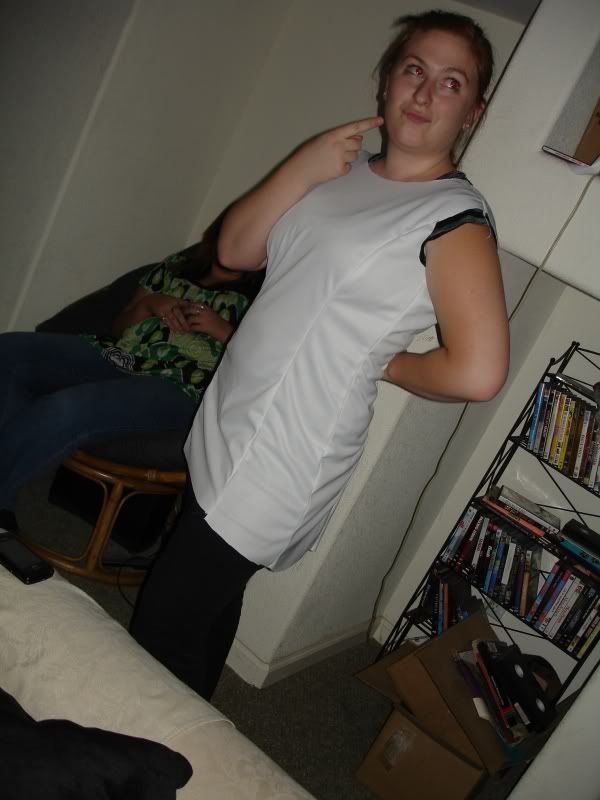
When the first dress was somewhat assembled, I took it for a test run. I was excited. We hadn't finished the seam up the back below the zipper just yet.


When we got another partway assembled (sans zipper), Megan took hers for a spin.


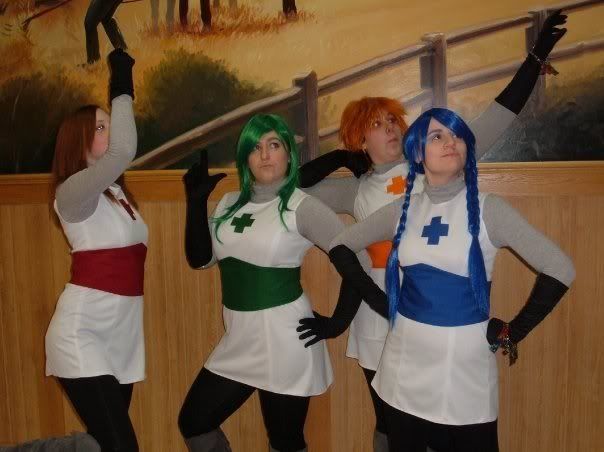
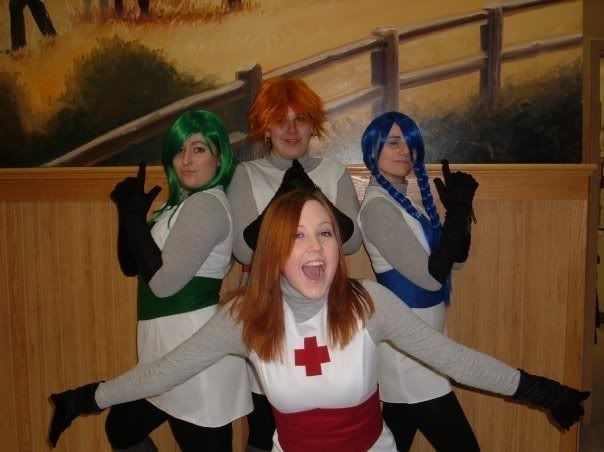
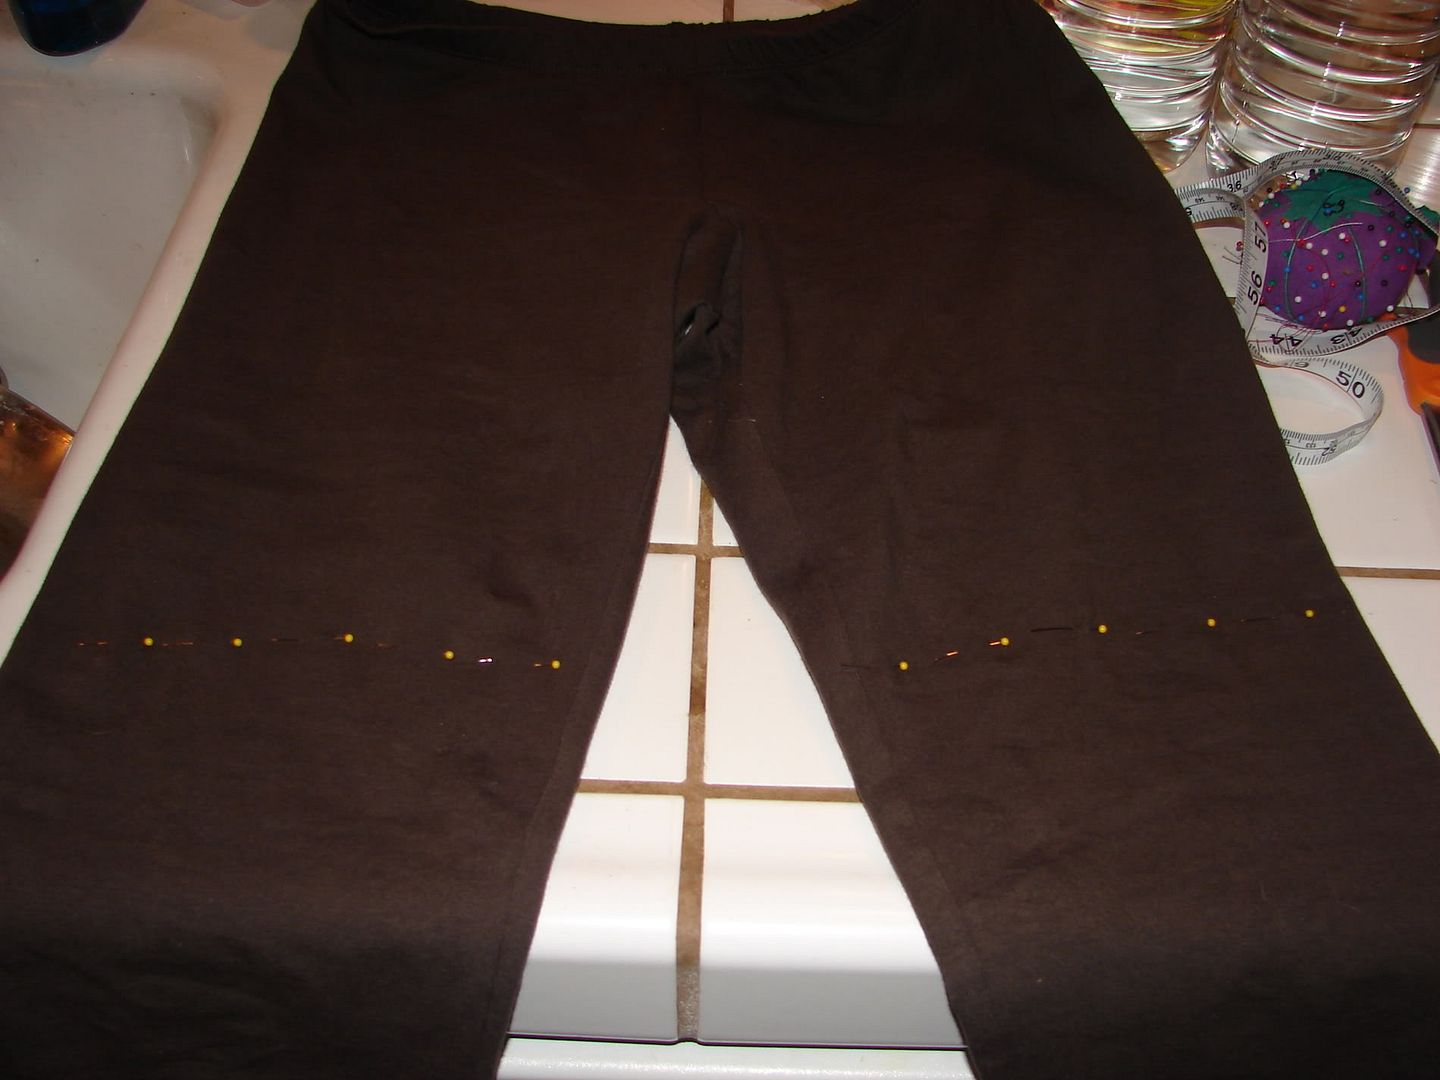
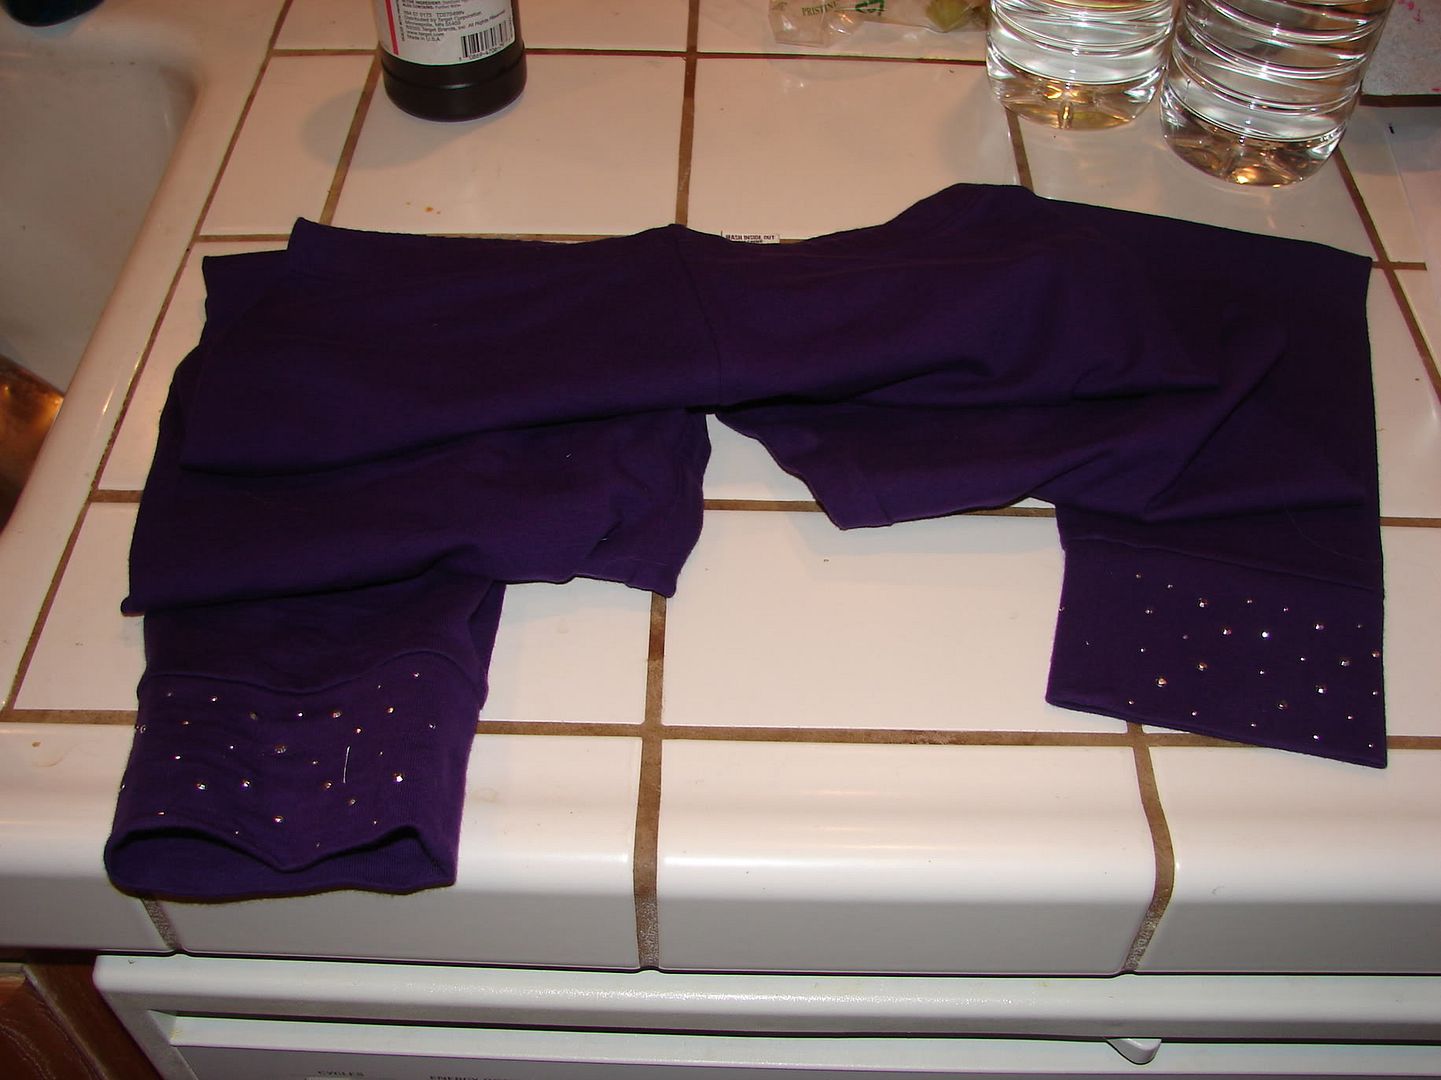
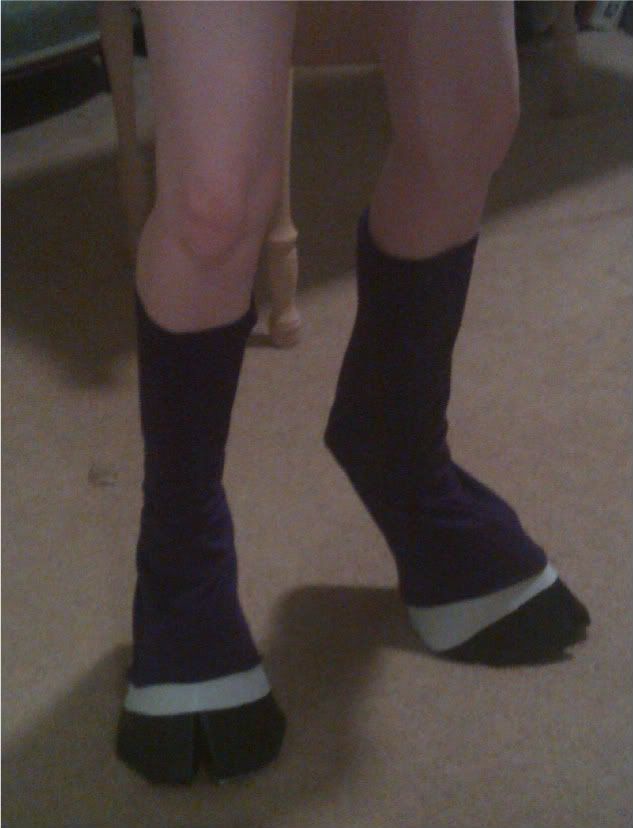
We bought ourselves grey turtlenecks and black leggings to go under the dresses. Also black opera-length gloves to substitute as our war gauntlets, but femininely! Completely covered, no bare skin, but it all ended up super sexy, I think. In case you can't tell, I was very, very excited with the way things were going.


And finally; ta da!


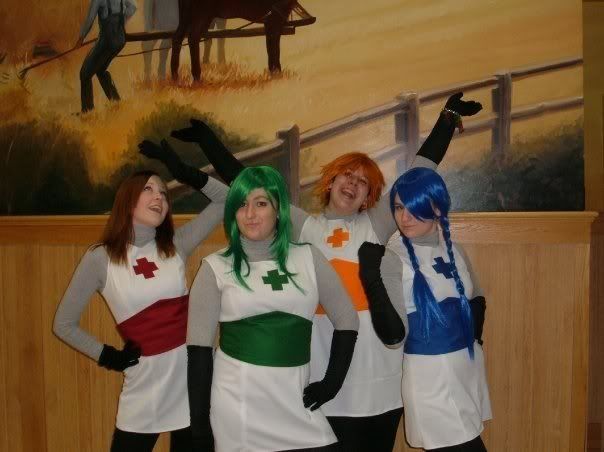
My original drawing had to be recreated once we had it all together. My wig ended up in braids because that thing was just way too much hair to handle while at work. I'd planned on us all having lipstick to match our hair as well, but someone decided she wasn't going to play along with the rest of us. It ended up getting scrapped like, the night before. Oh well. Some people just don't like dressup as much as I do, I guess.

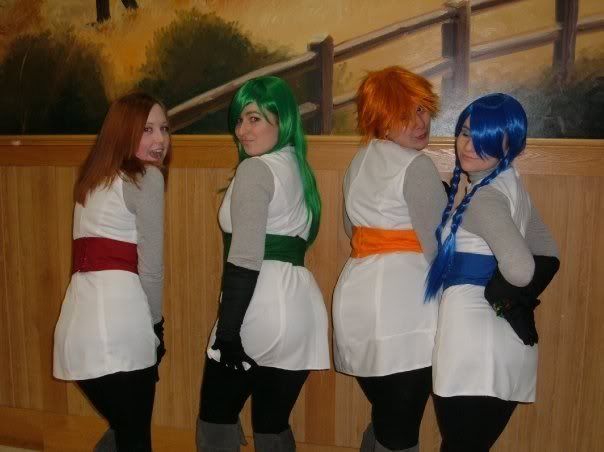
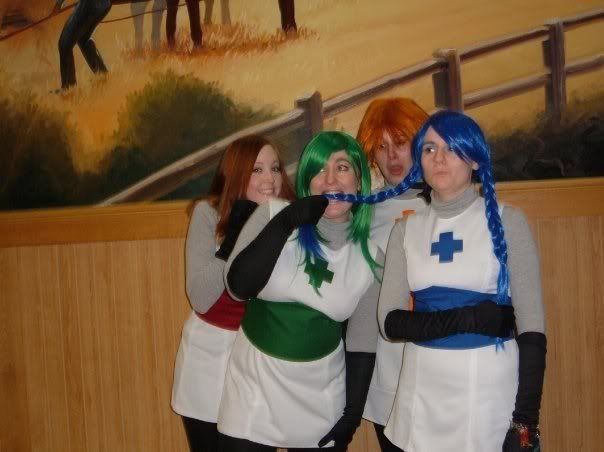
Other finished shots of us at work:


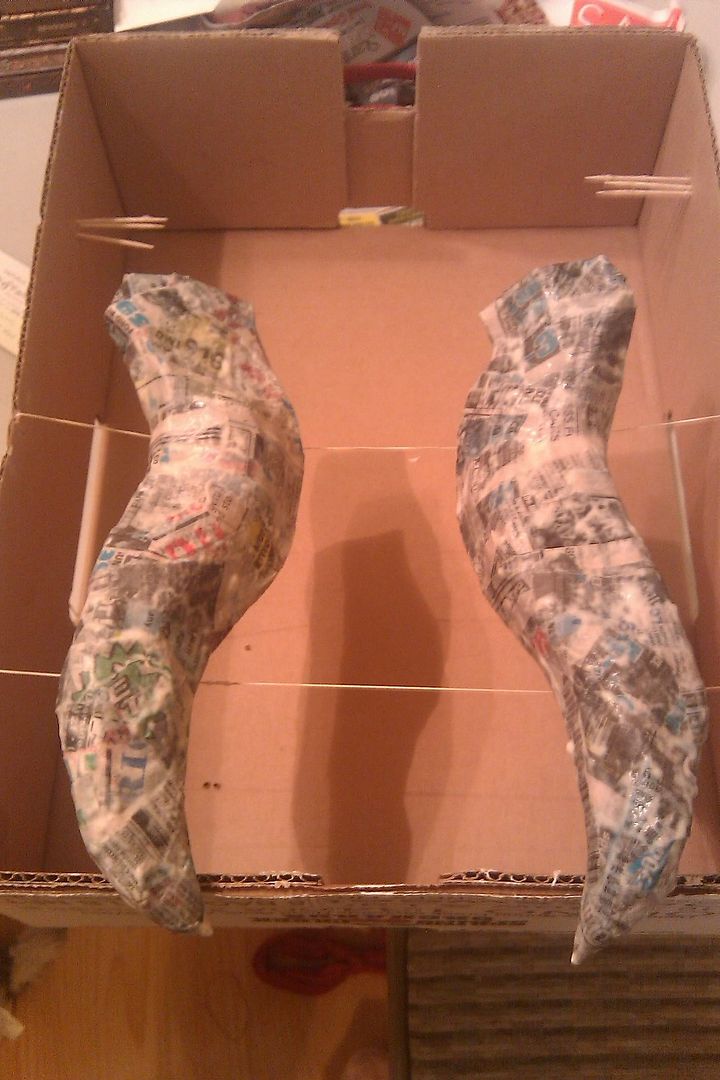
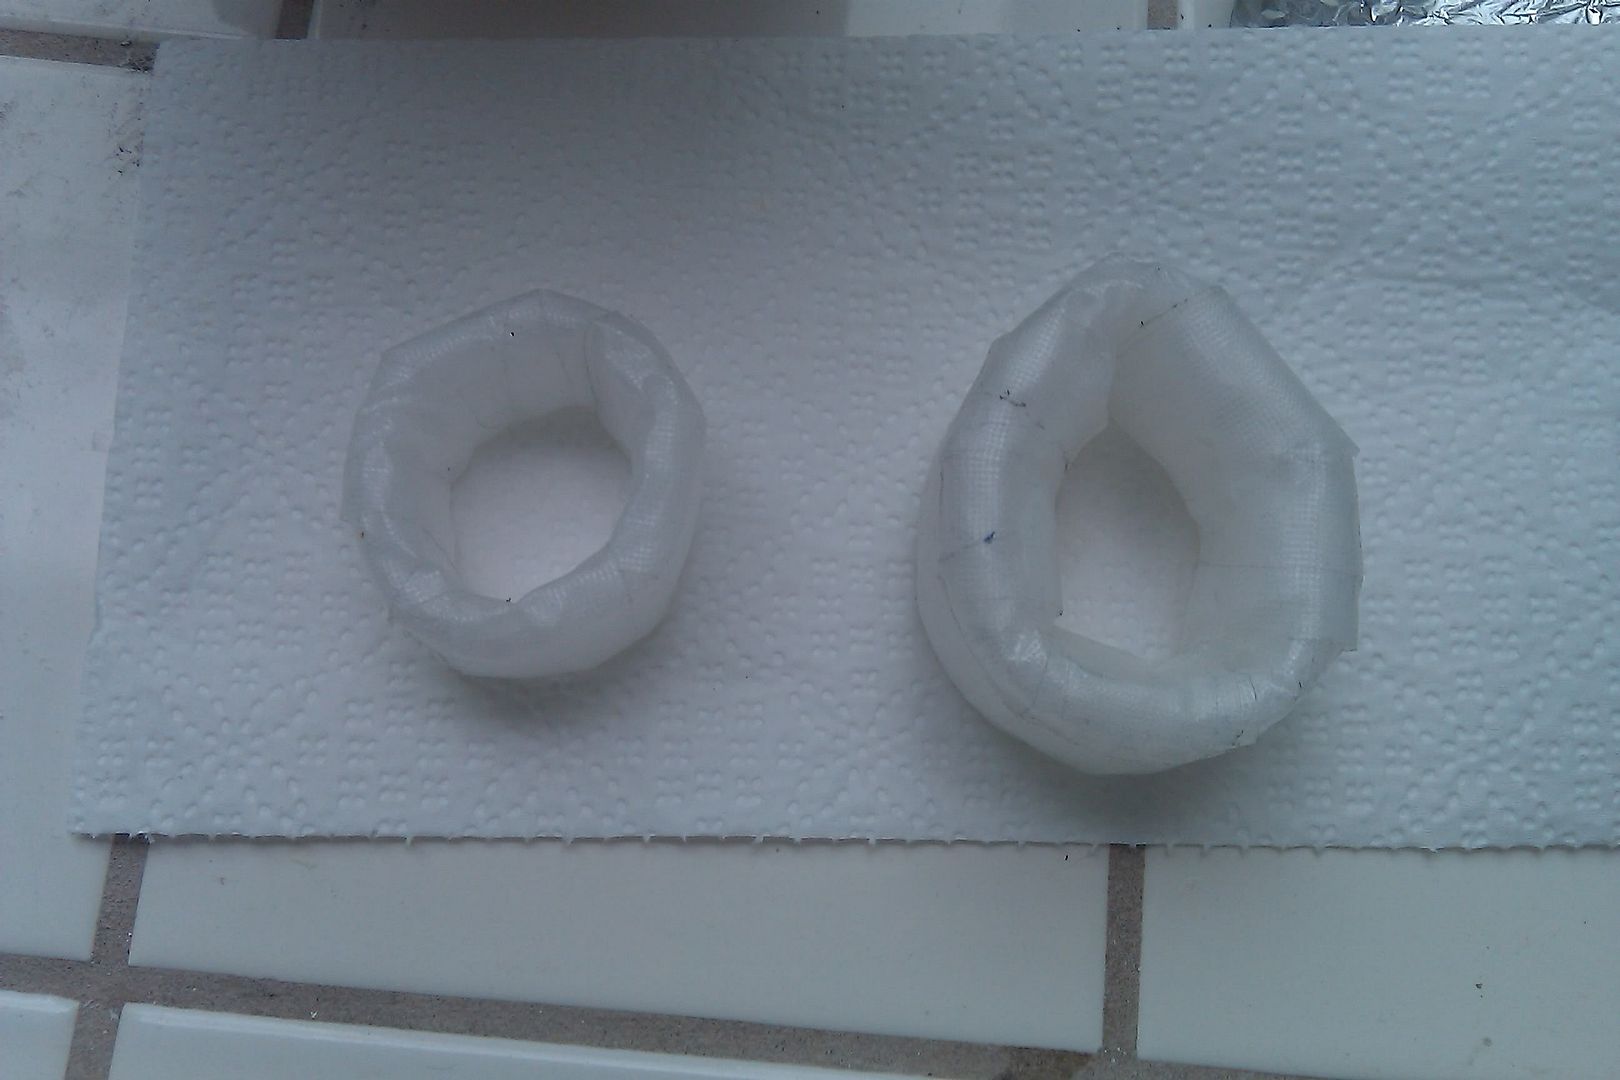
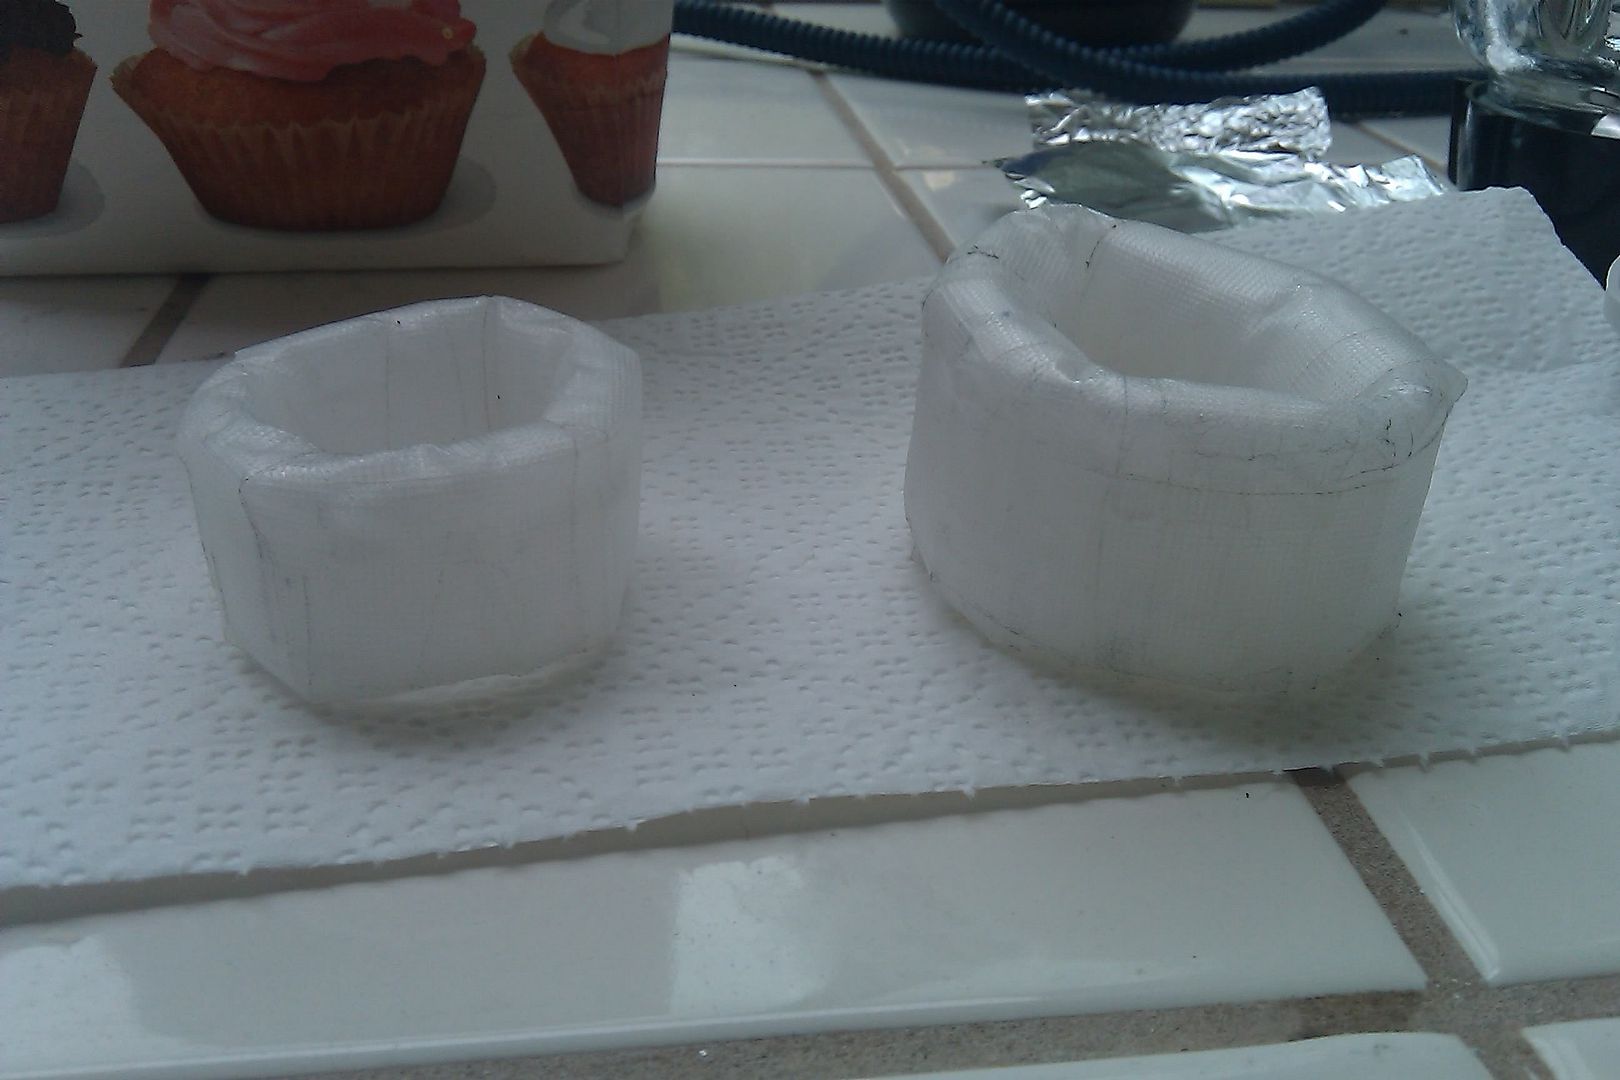
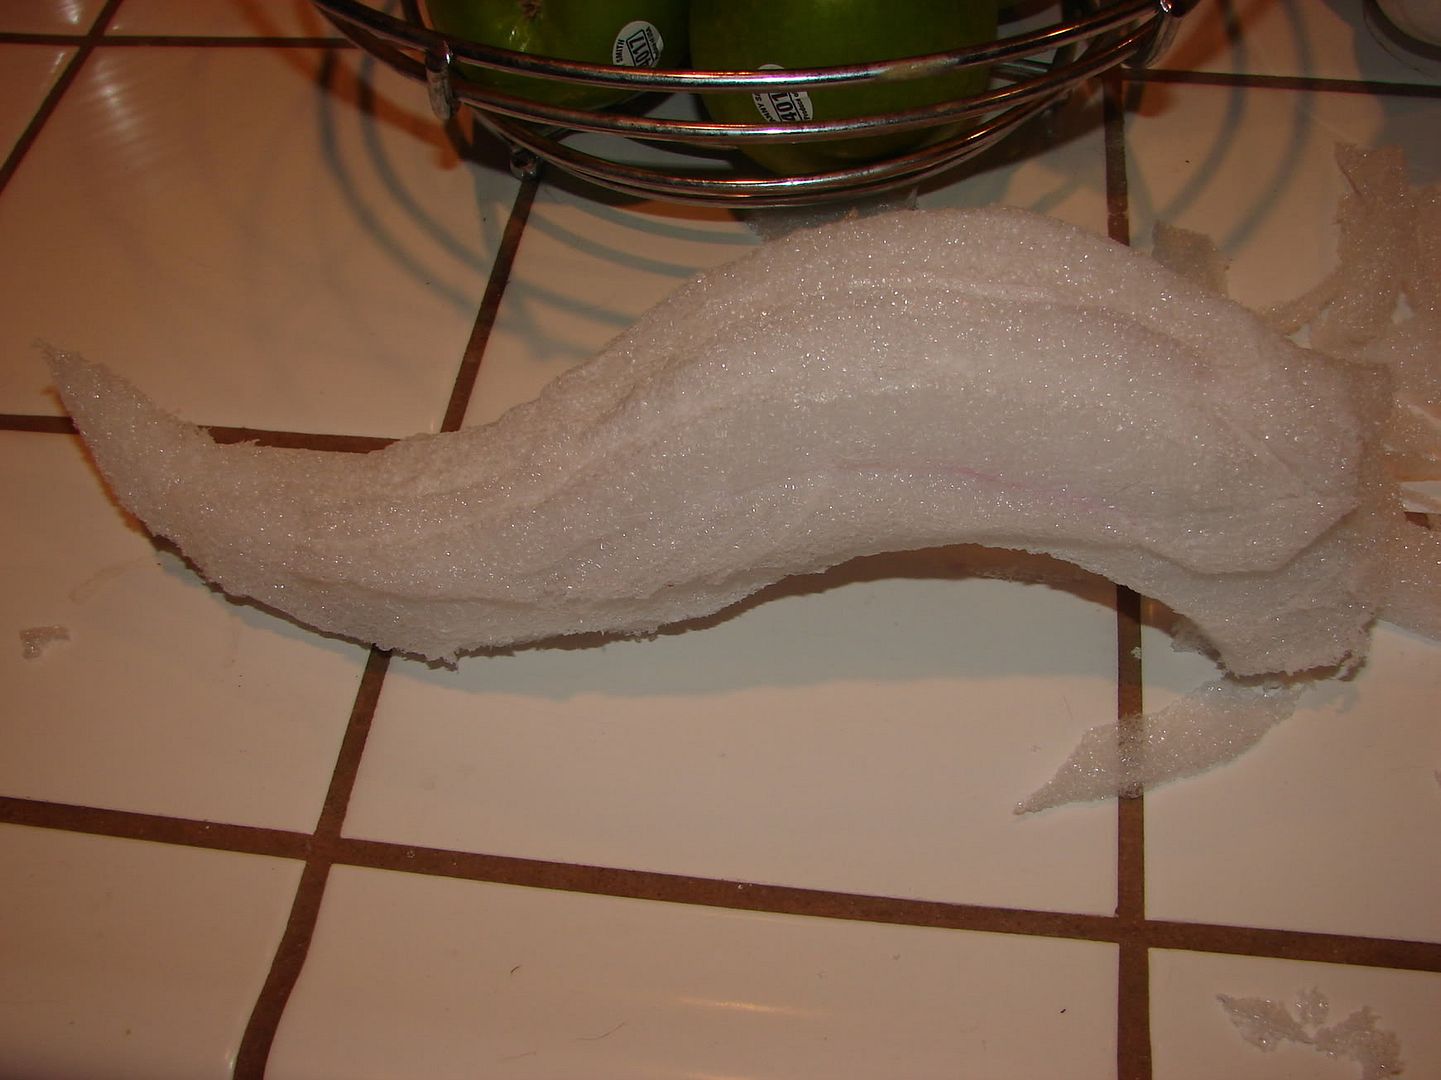
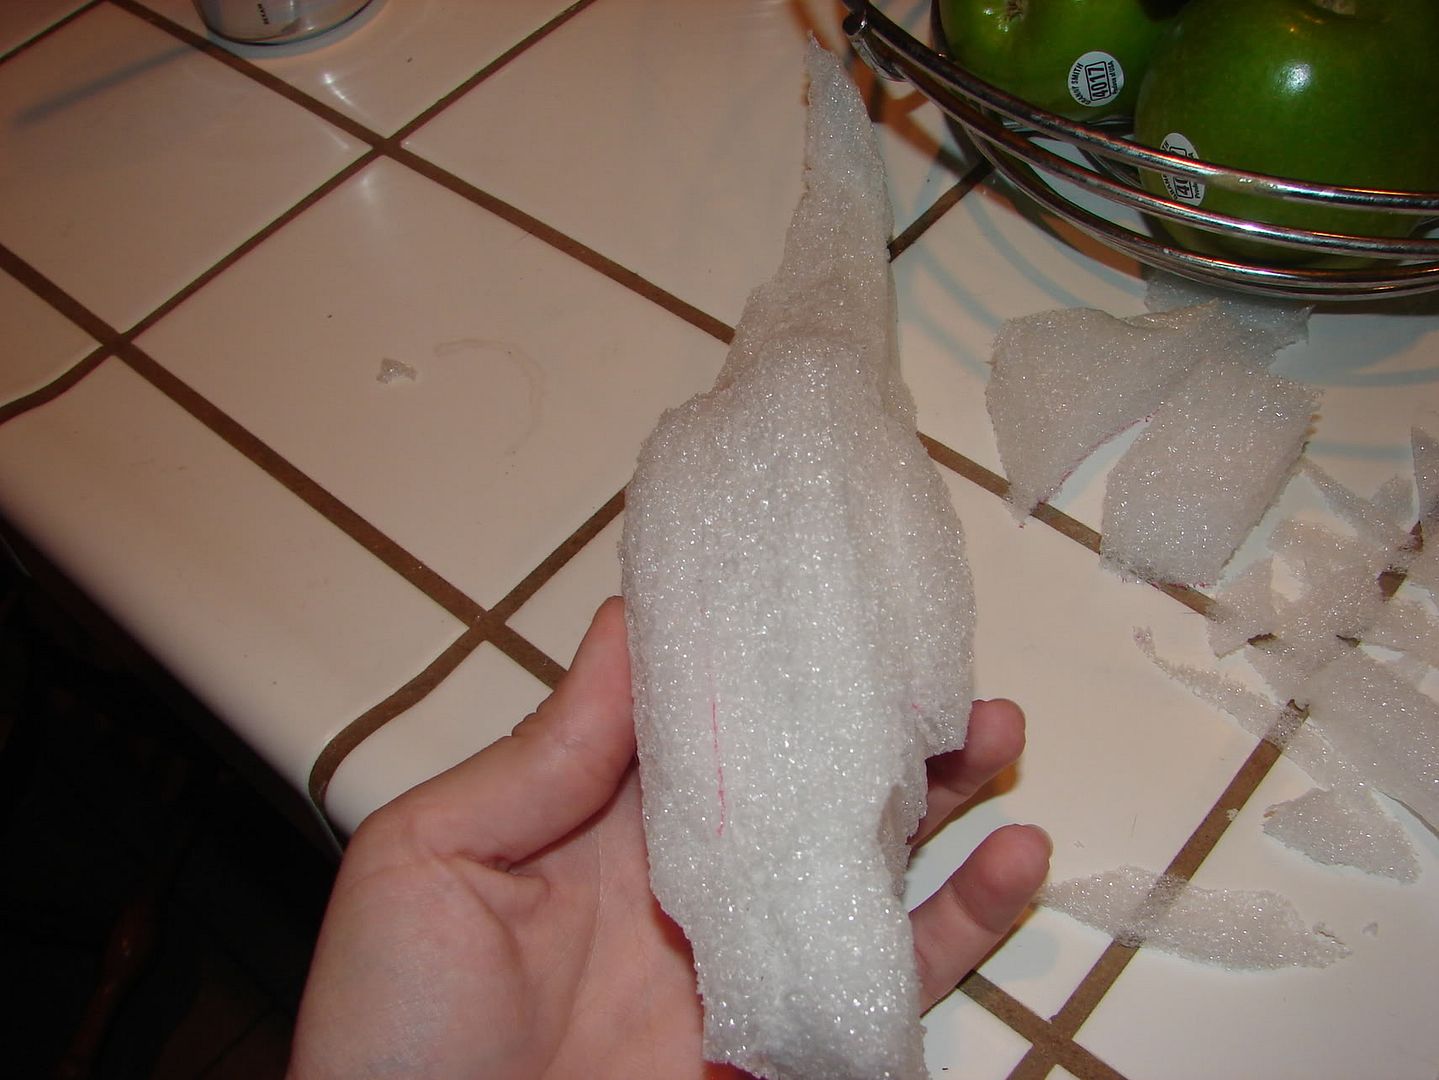
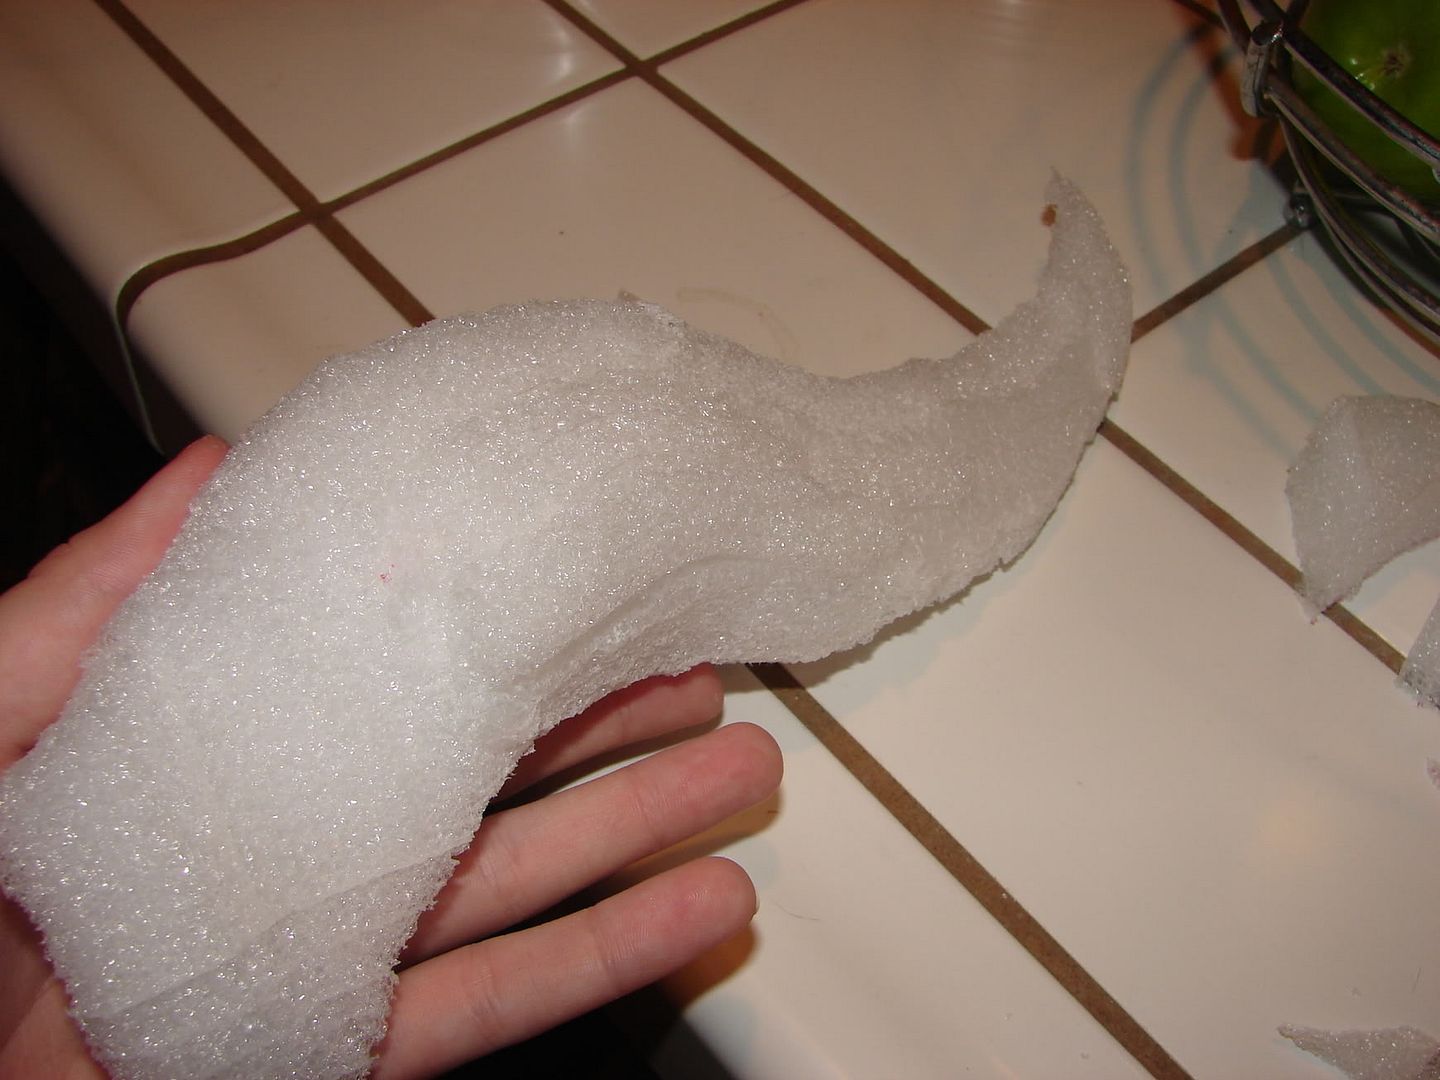
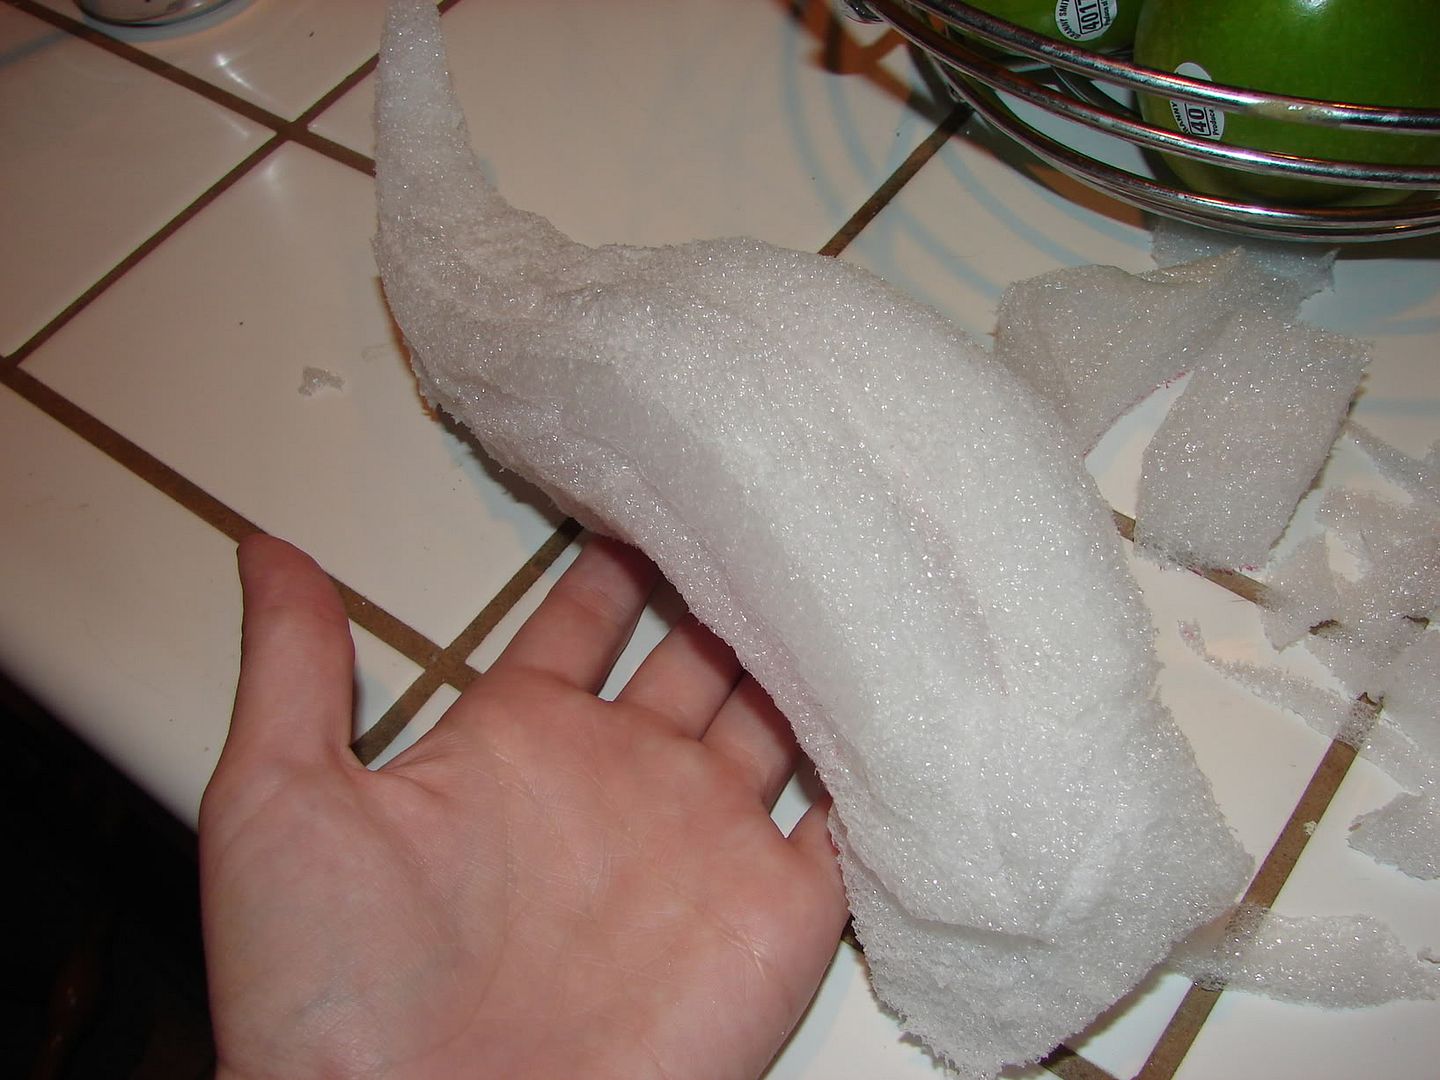
You may notice that some of us (namely myself) have bracelets on with bangles. We used Shrinky Dinks to create little charms for ourselves. Each one of us had all four of the main Crashers as seen in their default and well known image. In between each one we each had our own collection of other charms. Mine included some of the little pets you can obtain. Some of the other girls wanted princesses on theirs, or the king himself. We each made our own so they were all a little different, but then we could show people who we were dressed up (sort of) as when they asked. I'll see if I can't get a picture of mine taken so you can see the detail; it's hanging in my car still. I'm quite proud of it.

Monday, November 1, 2010

Finally


Night before Halloween, I did a makeup test run. I used a Ben Nye white foundation, highlighted my cheeks and lips with a light blue, and eyelined with black. My eye shadow was also blues. Unfortunately, I don't have a good picture of my face, so you'll just have to believe me that it looked alright. Whether or not it actually did look alright is another thing entirely. Remember, painting isn't my thing ...

Either way, Halloween was awesome. I ran around the town and got compliments from total strangers.

Everyone at work knew I was working on something which I had previously only described as "awesome" for my costume. Or "epic." And they knew I would be more than six feet tall with it all on. Needless to say, they were all seriously anticipating yesterday. And when I finally showed up, it blew people away.

I was spacing out by a wall, then realized my friends had started to migrate. I turned to follow and watched a customer jump. He then told me that he thought I was a display piece or something. I took that as a pretty huge compliment.

After work, we went to a diner for lunch. Then did makeup touchups at home and out to a few people's houses. They were crazy WoWnerds fresh off their BlizzCon high (to which I could not get tickets; extreme sadface). I heard more than a few times that I moved better in my hooves than anyone they saw at the Con. Also an awesome compliment. People were, through the day, generally shocked at how effortlessly I walk an extra eight inches taller without being able to use my heels. Super proud tidbit for me. Go go years of dance training!

I'm also surprised that now, the day after, my calves feel fine. I'm only as sore as if I'd done a lot of walking around all day -- which I did ... but with hooves ... hrm. =D

All in all, it was a good day and I'm super pleased with how it all came out. This, however, doesn't change the fact that I've already started talking with a friend of mine (a far more mechanically and constructionally inclined friend of mine) on how to improve ... my digi legs for next time will be even more epic, I'm sure. Squee!

Finishing Touches!; Tentacles, Tail, Hooves, Horns

Things got a little hectic towards the end (personal life, etc.) but I totally finished things on time and I damn well better win the costume contest at work. That's what I have to say about that.

Since I had been working on my costume at a friend's house, the pieces were all at her place and inhibited my ability to do random bouts of work. I had to wait until going over to place before I could do anything; no more "I've got ten minutes to spare, I'll fix X or Y." This turned out okay because my friend is an awesome lady and she would go, "I'm bored. I'm going to add shinies and make this costume even more awesome without telling anyone." Then I'd come over and find components all complete for me and it was amazing. The only down side to this is I don't fully remember what happened, nor do I have pictures of the entire process anymore.

The aforelinked gloves I pinned and cut were sewn together for me one day. That's pretty standard, though. That meant that with my lovely white manicure (fake nails are bizarre), I could basically ignore my fingers for the purpose of Halloween. I didn't want to paint them and I didn't want gloves; too hot, too much restriction on tactile abilities. I made honest attempts at this method of skintight gloves before giving up and admitting that the night before Halloween was not a good time to try and solve this issue.

Once my horns dried, I spent a few days doing spray paint layers of flat white on them. Spray paint is fun, but a lengthy process. Lots of thin layers to keep it from drying all goopy everywhere, but in the end, it worked out dandy.


I bought some very light grey-ish blue paint to do detail work and high/lowlights on the horns ... then I realized that I'm miserable with paint. After vacillating for who knows how long on what to do, I ended up fingerpainting acrylic with water. That's an interesting experience. I used a lightly damp sponge to get the horns every so slightly wet, had a little plate with water on it, squeezed out some of my paint, and used my fingers to smear it over the entire horn. I let the water disperse unevenly and it grooved itself around on the mache. I'll say now that the horns were the most difficult part for me to figure out how to handle and will definitely be improved upon in the future.

The lighting doesn't show too well, but with the grey smudged around, the horns didn't actually look too bad.


I set them up to dry and was surprised when I came over two days later to find that my gloss overcoat was already applied; seriously love that girl. It has little bits of iridescent glitter in it, to give them a nice ethereal sort of look. They passed just fine for the day. =3

I used a very thin headband that wraps all the way around the head -- the elastic kind. But the part that stretches over the actual head is rubbery, with teeth. It stays in very well. Unfortunately, the band is very thin and the horns wobble a bit when on. I then took a regular, thicker, solid plastic headband and attached it behind the thin flexible one, and to the horns as well. This added stability and worked well. (My original plan was just to use the wider band, but on top of the wig, it wouldn't sit properly; the wraparound band helped hold it down and in place.)

I used a scrap from the children's leggings (purple!) to cover the bands and make them look pretty. I used some of the shinies I bought to decorate, and called it good. Also, guess I should mention that I did this the morning of Halloween. After my shower, before putting on makeup, I decided to add the second headband (formerly was using only the thin one and letting the horns wobble; moved real slow, elegant, and gradually to compensate) and cover and bling. I regret nothing.

For my face tentacles, I did an on-the-fly sort of thing. I folded my fabric in long halves, letting me cut about ten inches in length out of them. Pinned them together, and just trimmed a very slender strip. Times four.


I then hand stitched one together quickly, handed them to my friend to invert (I fail at turning things right-side-out), and started sewing another. Rinse, repeat, until done.


Using the gold ribbon I trimmed my pant legs with, I made little loops and glued them on the tentacles. Once dressed, the tentacles were pinned in to my natural hair. My wig covered them and held them in place, giving the illusion that they came from close behind my ears.

Another piece my friend completed for me involved painting my tail rings gold. The same ribbon was also wrapped around the outside of the rings to tie it all together with subtle detail. I enjoyed it.

She helped me glue details on my boots and belt, and it was good to go! All in time, too!

Wednesday, October 27, 2010

Horns, Rings, Pants, Boots, Hooves, oh my!


I've been slacking on posting because most of my attention has been split between my time at work, keeping up with homework (midterm season), and trying to actually finish the costume ... heh. I've been working on it sporadically, simply trying to get pieces done whenever I could fit in the time. Things have become jumbled and I'm not longer limiting my working days to one piece at a time. Especially given the mechanics of some of these pieces ... needing to let things dry or set, etc. That gives me time to change gears and focus on something else.

The horns were covered with two layers of paiper mache. That was a fantastic, messy process. It was also hindered by a certain small wiener dog with his heart set on eating the floury paste -- even if it was already soaking strips of newspaper. I felt like a kid, I haven't done mache crafts since ... I don't know how long. But it was awesome. After the first layer dried (let to sit overnight), the second coat was applied then also let to dry. We threw together a quick little hammock to hang the horns on while they dried, since the mache was wrapped around all sides.


I took some of the leftover foam and constructed some rings to adorn my tail. They're bulky, but that's okay. It's sort of a cartoonish character anyway.


The less circular one fits at the base of the tail, where it "attaches" to my spine. It keeps the tail from falling to the side and laying limp once I'm wearing it, since the tail's construction leaves it narrow and prone to such flopping. These were also covered in paper and flourgoo and let dry.

The next day, I sanded the horns to get rid of as much obvious creasing from the mache as I could. It's not perfect, but I'm telling myself that horns are never perfectly smooth anyway ... I'm really just making excuses for my small failures in order to try and make myself believe it's okay. Once they were sanded, painting began. First, a layer of white spray paint. Layer upon layer until the newspaper articles were no longer visible. I'll be going to finalize this part later tonight.

The brown leggings I have for my pants were hacked at to make them shorter.


With the default length they had, they came down to barely a few inches above the cut of my boots. This was an accidental look and would have been an undesired length of exposed leg. Instead, I chopped them up good and short and plan to show off some "skin." Beautiful albino skin. >_> It's a good thing I like my legs, else this costume would be very uncomfortable to wear in public.

Using the excess from the base of my leggings, I pinned out the shape for some little gloves. They will be sewn together in to some thing, fingerless gauntlets. That way I'll have less skin to try and pale out (more than it already is).


To put some acceptable touches on my hooves (I won't call them totally finished because, ideally, I'd like to spend more time on making them just perfect with detail and whatnot ... but my current goal at the present is to get everything finished enough to be worn out ... so for now, the touches are merely satisfactory), my friend helped me sand the fiberglass smooth.


I then used a sharpie to draw out a general idea for where I wanted to have 'hoof' and where it would stop being 'fur.'


We then started using scraps of paper to make a pattern for where the black part would be.


For this, we bought tablecloth material ... the kind with a little bit of white foam on the underside, y'know? It was cheap and suits well enough.

Once that was adhered to the base of my hooves, we used pieces of the white fabric in an overlap of the black to create my little bit of ankle fur -- so scandalous!

In order to make my little 'boots,' I bought another pair of leggings -- this time from the children's department! They're sparkly, hah.


I cut the legs off as high up as I could, creating two tubes of fabric and one pair of purple underpants. I also removed the bedazzled cuff because it was A) too tight to be comfortable, and B) bedazzled. Inverting the leg pieces, so that the piece that normally encircles the thigh is closest to the ground, I stretched the tubes over the boots. Using more glue, the boot covers were adhered to the little white strip of 'fur' on my hoof. The (former ankle part of the legging) top is loose. The nature of the fabric lets me roll down the legging, put my foot in my shoe, zip the boot, then unroll the legging. I then can tuck in the excess fabric so that it hides inside the calf part of my boot. And, ta-da! Hooves fit for a draenei. The image is still rough. Since then, we've readjusted the fabrics and used a better adhesive. The first round was a bit ... fail.


Still using the purple children's leggings, I cut the center seam of the leftover waist. Now instead of superhero underpants, I had a tube. Trimming evenly, I created what I considered to be a wide enough belt to adorn over my leggings. Spandexy goodness of a belt, but it works, I think. For this reason, I bought the only pair of XL leggings in the children's department. Somewhere, some poor fat little girl is going without purple pants. I'm sorry, little girl, but they went to a good cause. Because I'm lazy and trying not to break out the sewing machine ever five minutes, the belt was attached to the pants with durable fabric glue, to create the illusion of a seamless change between garment pieces. I also put on my pants and had my friend glue a little decorative seam of ribbon to the end of the pant legs, giving them a finished look and saving m the hassle of trying to hem stretchy fabric - which I hate. (pictures to come)

I also took out the wig for a test run. My original plan was to curl it, thereby shortening the length it hangs and making it easier to deal with. However, I soon discovered that even with curls, it would drive me nuts. The wig is magic. It tangles itself without being touched. I don't want to know how much fun it would have wrapping around itself once the fibers were in a curly state. Instead, I plan to clip it up in a way that lets it stay straight (not going to lie, the idea of styling a wig terrifies me), gets it comfortably out of my face (I pranced around the house for at least an hour with it done up like this and never felt hindered or annoyed by it), and also manages to cover my neck tattoo (an issue that I always want to cover when I want my costumes to be somewhat accurate).


Huzzah!

Tonight I aim to complete painting on my horns, put together my gloves, perhaps adorn my garments with the little shinies I bought at the craft store (yey shinies!) and if I'm lucky, make my tentacles ... which is just weird. Tentacles ... -shudder-

Saturday, October 2, 2010

Horns - Day One!

My work time was restricted for a while ... had to break for a surgery and recovery time, then started classes at the university. Let me tell you, THAT is a wake up call. Hello Quarter System, good by Breathing Time. Anyway. I've decided I've invested too much in this project to give up, so my goal to finish by Halloween still stands -- I'm just at a scramble and will be marathoning between homework (English Majors have lots of reading to do) and costuming. I've enlisted help for next week, so hopefully I get the hooves completed, the horns covered, and perhaps some pants ...

I spent eleven hours doing homework today and was given a sign to stop. Kind of. My internet connect was on the fritz and put my research project for school at a dead halt. I took that as a sign. Clearly, I was supposed to go rewatch parts of Glee season one and make the horns I've been trying to figure out how to construct since I started this thing! So I did.

I took some huge shipping foam boards from work a while back, thinking I might be able to make use of them for this particular aspect of the costume. So far, that's the only real up side to working in retail I've found. I handle freight and they don't care if I want to take their garbage home at the end of the day.

First, I made myself a stencil on cardboard. I actually made this weeks ago, thinking maybe I could use it as a base somehow before tossing that idea entirely and resigning myself to trying to find another way. Using that stencil, I traced out. the flat general shape I wanted for my horns. I've always been a fan of the swept-back horn look they have. Not the straight upright ones or the giant curved ones. Those are too goat-ish. These are more feminine, to me. 


I used a serrated knife (shh; don't tell Mom!) to cut out the horn. When I was done with that, I had a flat base!


The next step was to curve out the space where the horn will be against my head, otherwise they bow out at an odd angle over my ears. 


I plan on using a headband to attach them, so my curving is place specifically for that. Then it was time to start shaving down those right angle edges down! I did this to all four corners. Who's ever heard of a horn with corners like that? Pfft.


Now, shaving the edges down makes the horns veeeery thin. Also still rather flat. So using shavings and extra pieces of foam, I cut out pieces to start building on the flat sides of my original base, like this:


It takes a while, because all of those corners must also be smoothed into a curve, then more pieces have to be added to fill the gaps and make the overall curvature smooth and natural and scaled properly ... blah blah blah. But with a little TLC, I ended up with a horn I was very proud of.


It ended up quite nicely rounded on both sides, I think; overall, one the inside by my head, and on the outside.


I felt the scale was nice too.


Making the second horn using the same process yielded a construct that wasn't quite the same ... but close enough I think that once they are covered over, it won't be a problem. The differences are minor and I think they look pretty good yet. 


That band was just a test run to see how they looked without my hands getting in the way.

I think it's progress in the right direction! Can't wait to finish 'em. Especially after dreading them for so long!