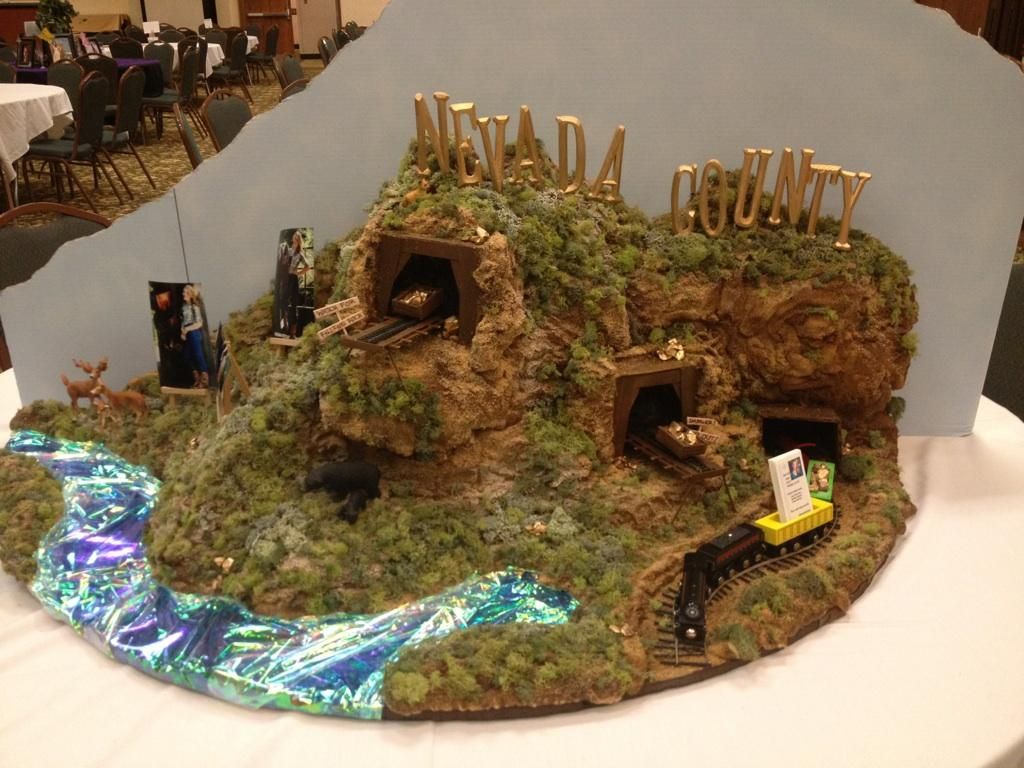
For reference, the table was round with a diameter of 72". The display I crafted spanned about 60" in diameter because I had to leave about a foot from the edge of the display to the table for people to sit and eat if they chose. Somewhere there is a photo of my standing next to it. I should find that ... for scale reference. Hmmm.
NOTE: I apologize in advance for some terrible photo quality and blurry images. Poor lighting (working at night) and a less-than stellar photographing device (see: my cell phone) coupled with long hours of working that leads to shakey-hand-syndrome sort of came around to bite me with some of the pictures.
First, I figured the dimensions of the table and started from there. Originally, I was told she would be given one third of the table so I began working on a piece with those dimensions. First, I sketched out an idea (a very poor one, at that) with ideas for mountainous levels and cutesy miner-esque character. Once the physical labor began, everything changed, but at least I knew what I wanted it to feel like.

The main reason my design changed was because finding trees in that quantity (or the parts to make them in that quantity) turned out to be nigh impossible on a budget. Instead of focusing on the trees of the foothills, I opted instead to work on the hills instead.
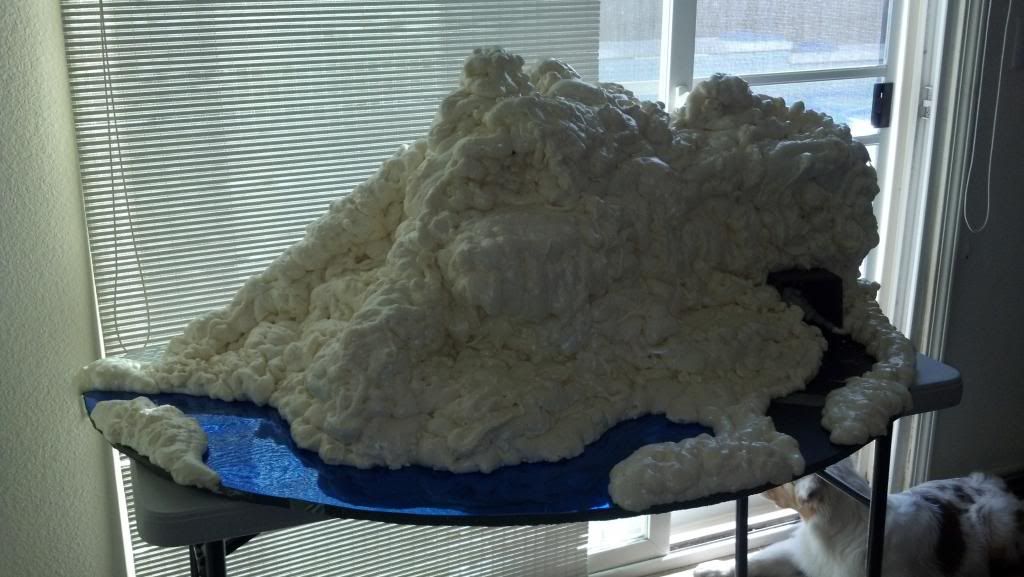
To start, I made a base with a general layout of mountains:
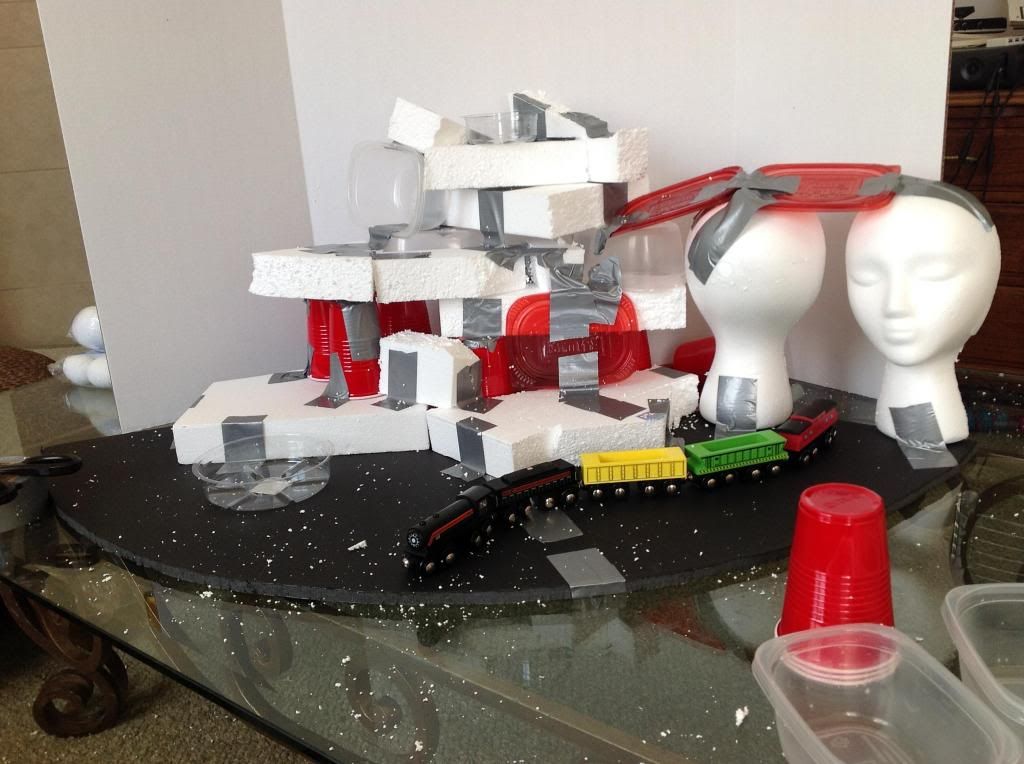
I knew I wanted the flattest parts near the edge of the display to present the river and the train ... Nevada County is very rural. I used a weird amalgam of styrofoam bits to make the skeleton ... pretty hilarious, in my opinion, when you see it laid out and taped together. It was also a very messy process, hacking all that foam. For the record, the head figure was much cheaper than buying large balls of foam, hence the weird thing I dubbed Face Mountain.
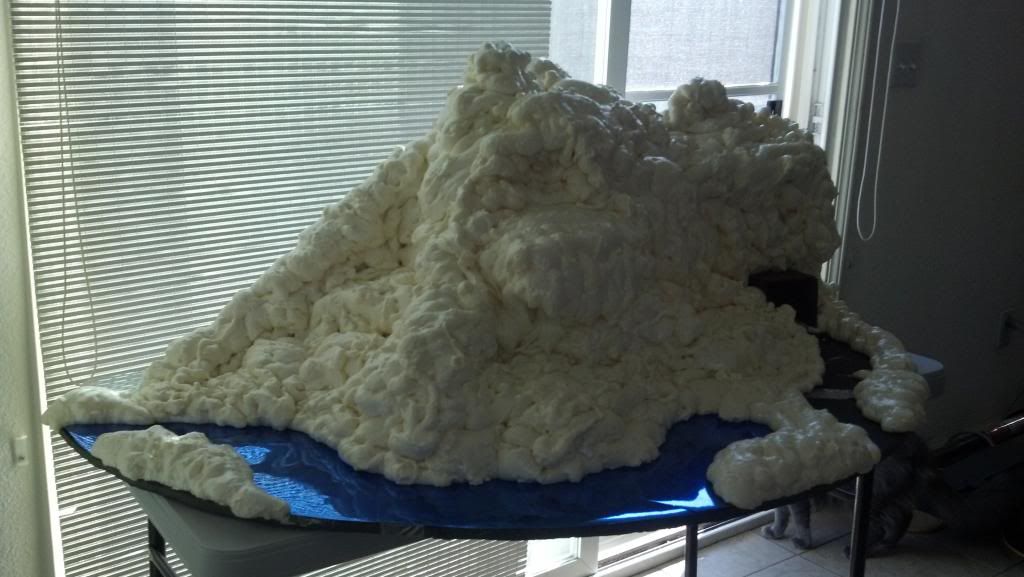
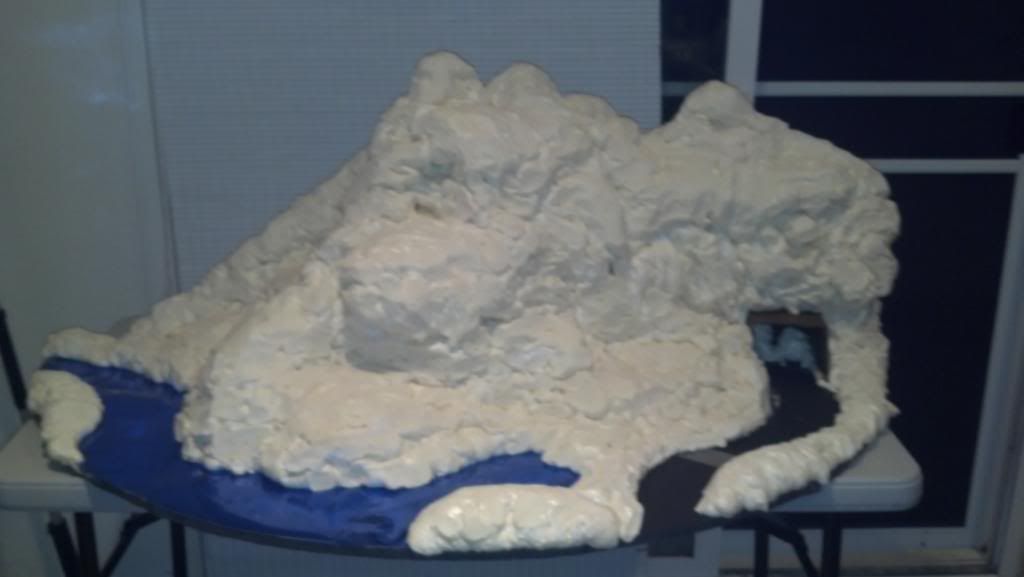
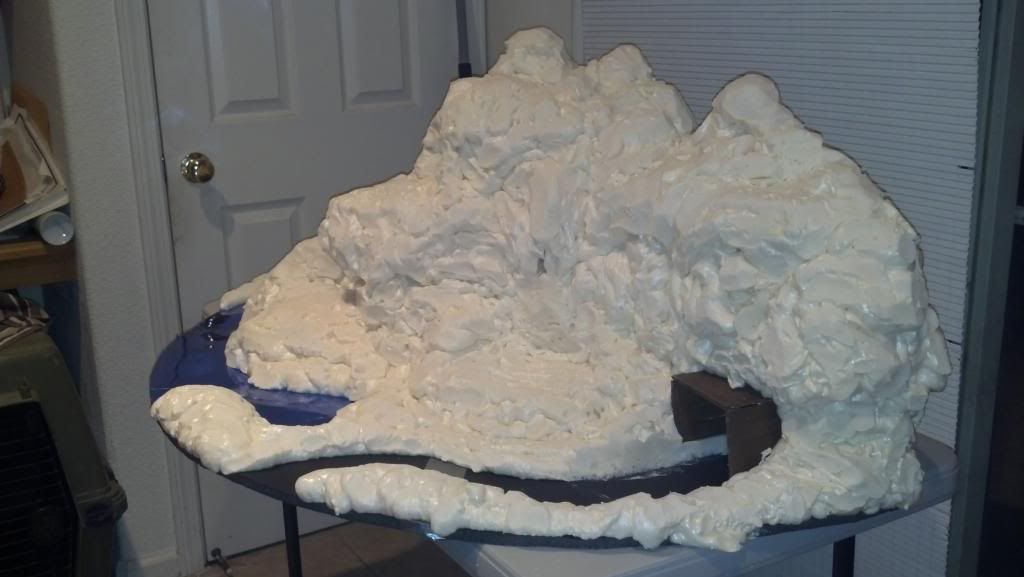
From there, I began a layer of foam. Using the expanding insulating house foam in a can, I layered from bottom to top, piece at a time. Had to pause long enough to let the layers dry (made the mistake a few times of moving on too soon ... goopy mess), then keep layering until I had a full marshmallow mountain!

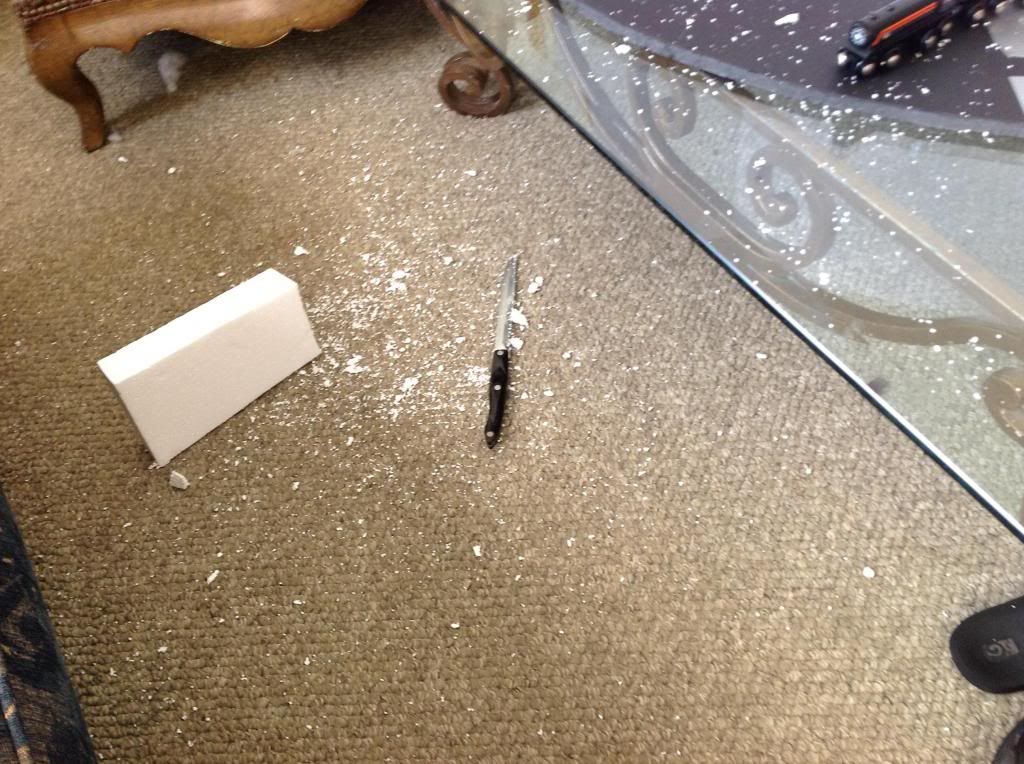
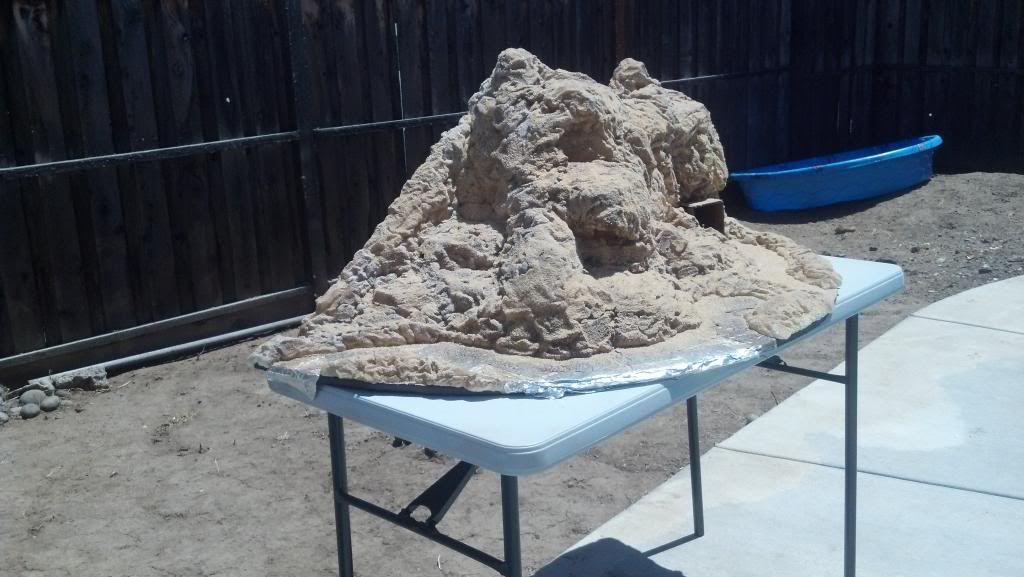
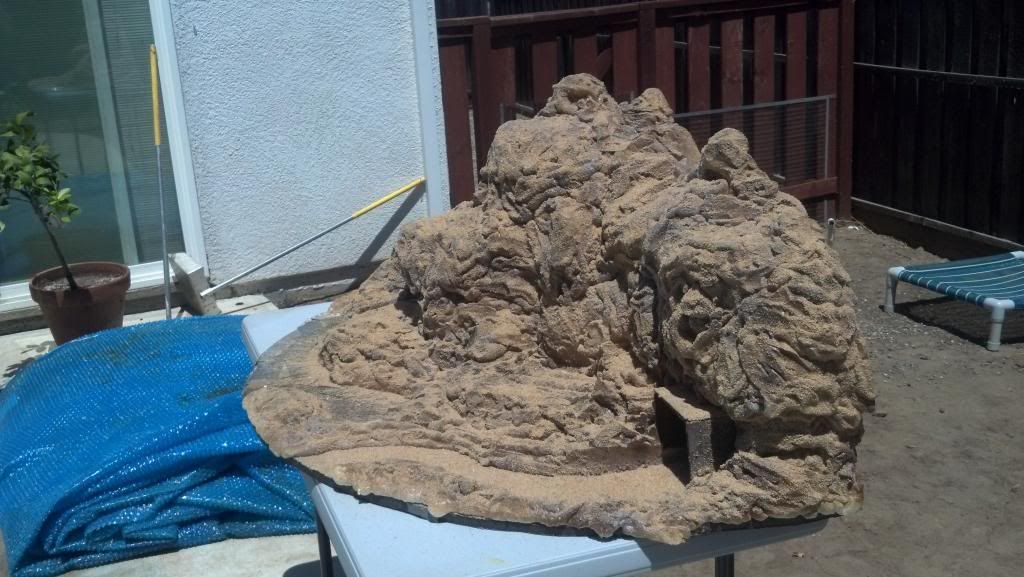
Using a standard serrated kitchen knife, I carved away and shaped the mountain into jagged and more rocky dimensions.

The following step got a bit messy ... first I added one layer of paint. Then once it dried, I used up the remainder of the paint to add sporadic darker spots here and there along the mountain form.

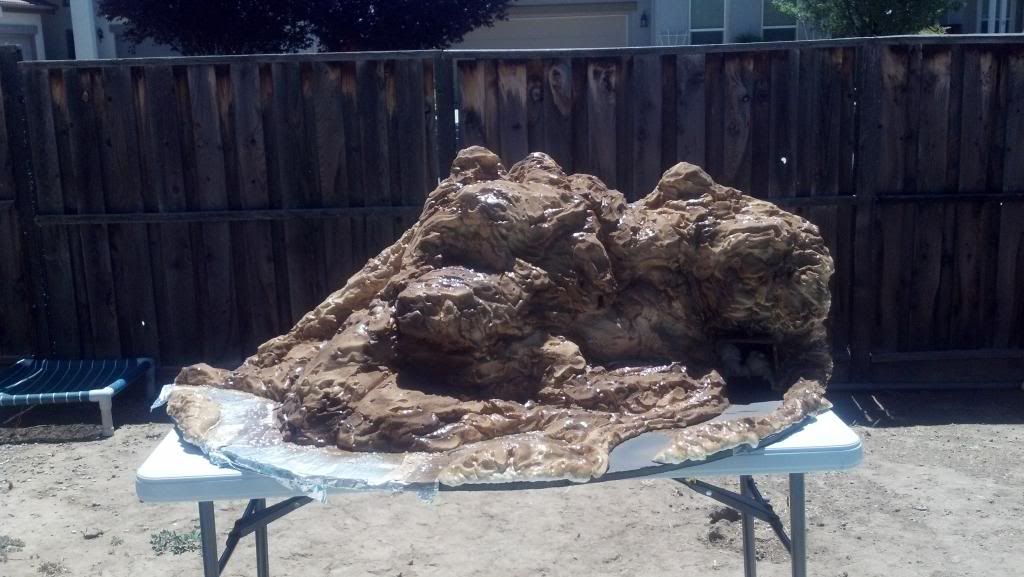

Once the paint was dried, I used spray glue in tiny patches and sprinkled sand over the top. I used two different colors of crafting sand to add depth.

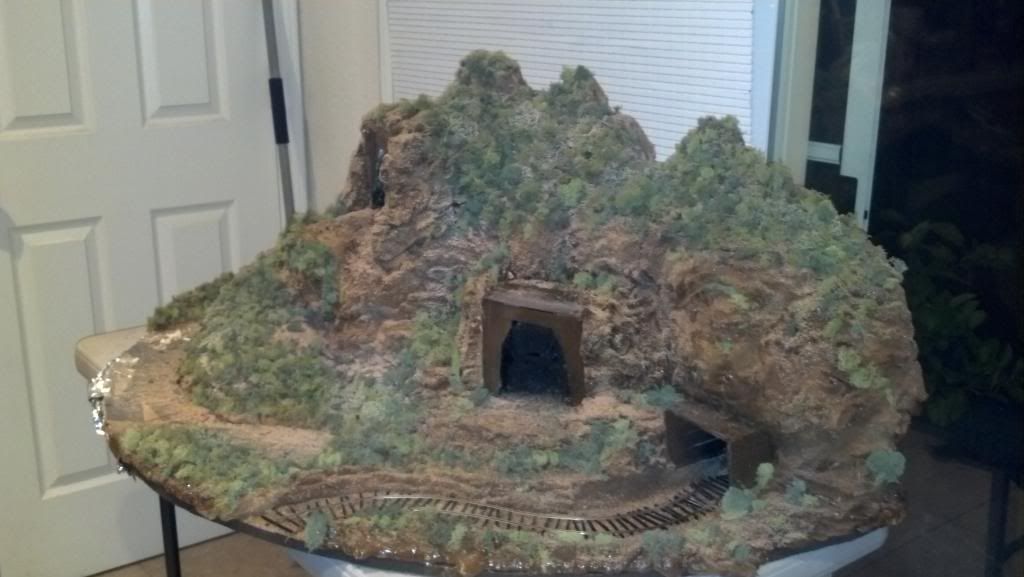
The next step involved a bit more spray glue and bags of crafting moss (two colors again) placed carefully all over.

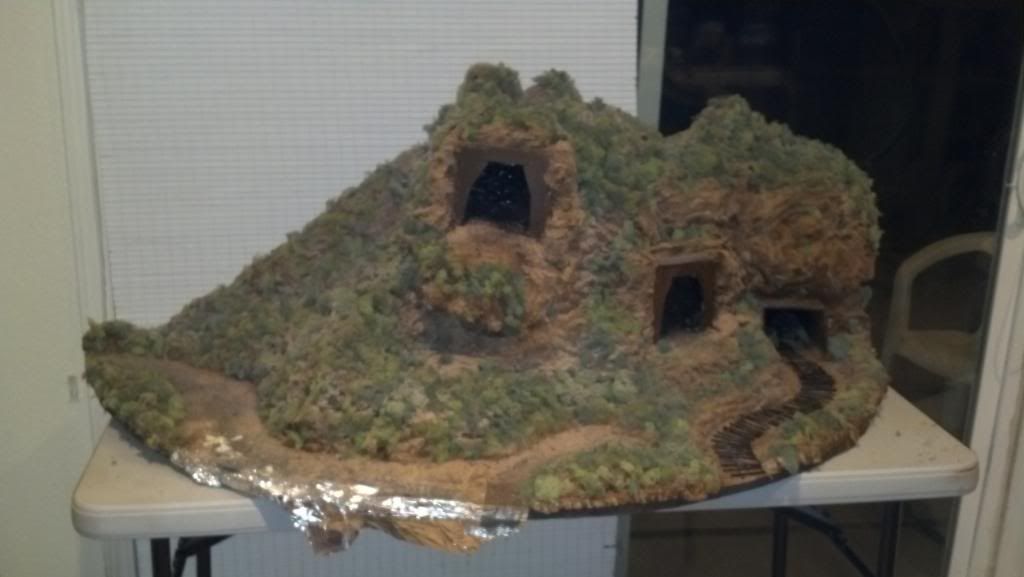
The additional pieces of the display didn't get tracked photographically (it was a long exhausting process and I forgot to take pictures of all the rest). The tracks for the mining carts were bought from a crafting hobby shop, along with the wheels and little plastic animal figurines. The carts themselves were constructed out of popsicle sticks and crafting wood, as was the raised platform for the tracks and the cavern entrances All sprayed with the same pain that was used on the mountain itself, actually. But the different texture and base color of the yielded different final results in color gradation, yet kept it all harmoniously earthy.
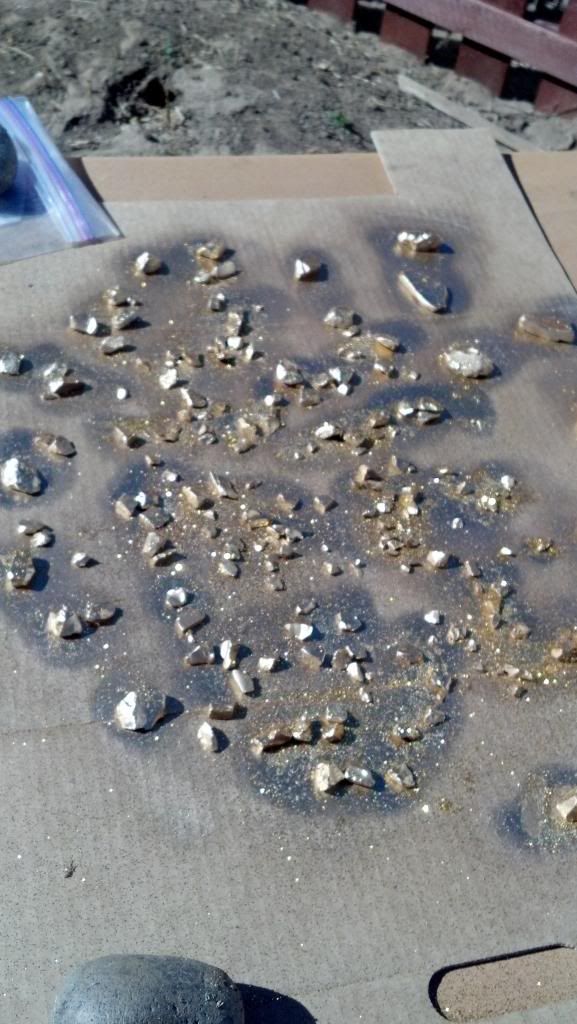
The train I bought from a store and made personalized business cards for my cousin to set up in one of the carts. All over the display itself and in both of the mining carts I placed gold nuggets. The nuggets were actually clear beach glass that I spray painted gold and sprinkled glitter over (two tones again, for depth and interest in catching the light). I like to think those tiny details add a lot to these sorts of projects.
The letters reading out "Nevada County" were bought from a craft store, painted, then glued to little dowel sticks which where then implanted in the foam. It worked out well, I think.
The river was made by putting blue paper down beneath the foam (so I had banks) and then I sprinkled bits of the gold glitter over it (there be gold in them thar waters!) and covered it with an aurora borealis style of cellophane plastic. I had lots of other ideas for the river (ranging from mosaic mirror pieces to actual craft kits for making water), but somehow this is just what I was able to pull off.

Mine cart near train detail:
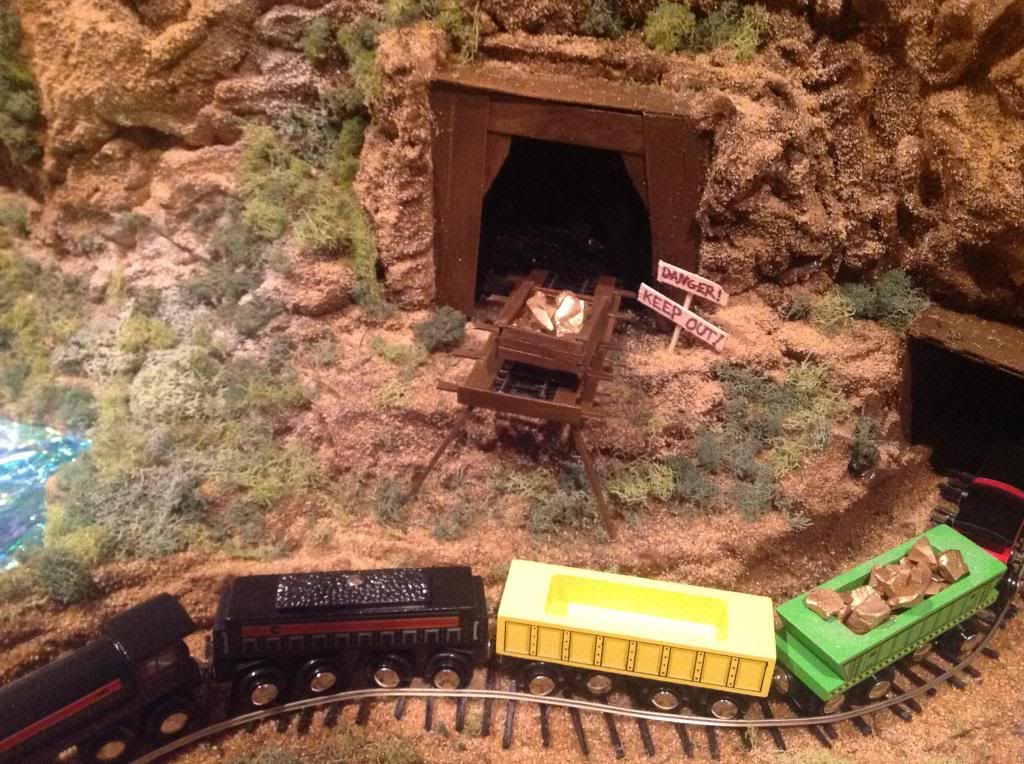
Mine cart on cliff detail:

In both of the detail shots, you can't see any additional gold hidden in the mountain because I only laid those out once we got to the venue. Since they were loosely placed, it would have been very hard to transport without having most of them fly off in a car or in a driveway somewhere. If you look closely, you can see them in the final shot once we had it on the table.
The final touch on this project were the little easels on the left side of the display. Three of them, each holding up a photograph of my little cousin dressed out in a cute little plaid top, jeans, and boots, posing with some of the old mining equipment in the county. =)
The whole project took about three or four days to complete (lots of waiting for things to dry, mostly) and I'm quite pleased with it overall. =)
No comments:
Post a Comment