Showing posts with label hooves. Show all posts

Monday, November 1, 2010

Finishing Touches!; Tentacles, Tail, Hooves, Horns

Things got a little hectic towards the end (personal life, etc.) but I totally finished things on time and I damn well better win the costume contest at work. That's what I have to say about that.

Since I had been working on my costume at a friend's house, the pieces were all at her place and inhibited my ability to do random bouts of work. I had to wait until going over to place before I could do anything; no more "I've got ten minutes to spare, I'll fix X or Y." This turned out okay because my friend is an awesome lady and she would go, "I'm bored. I'm going to add shinies and make this costume even more awesome without telling anyone." Then I'd come over and find components all complete for me and it was amazing. The only down side to this is I don't fully remember what happened, nor do I have pictures of the entire process anymore.

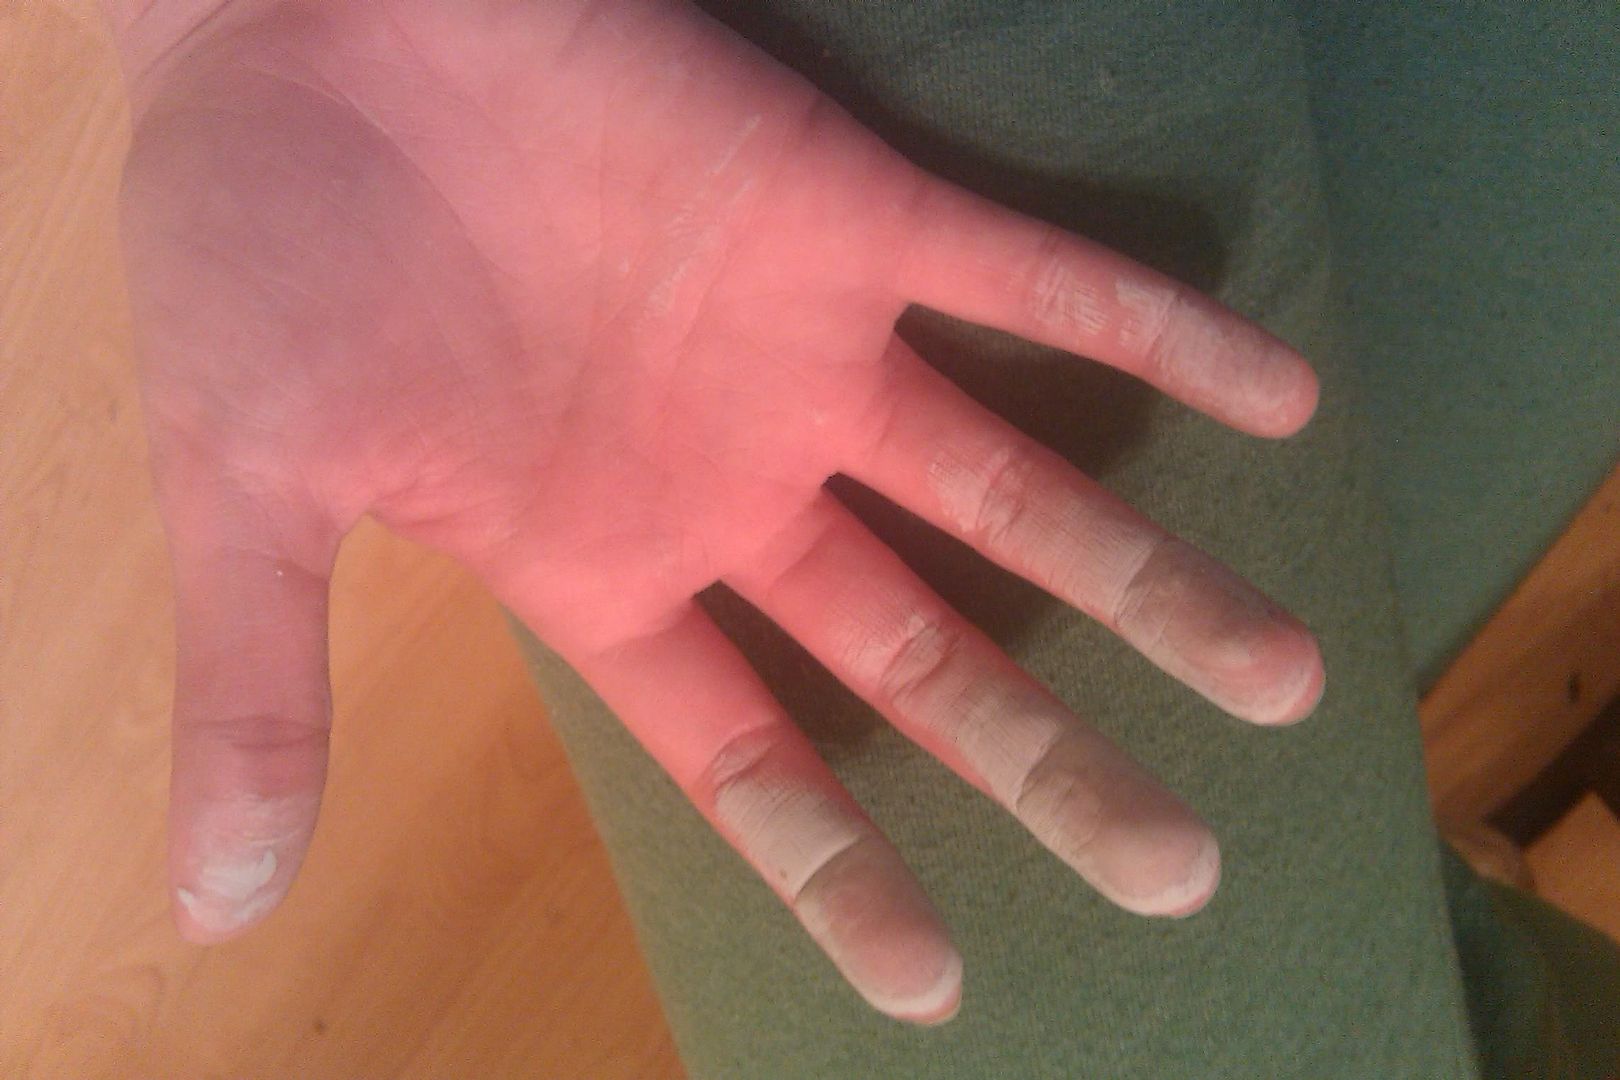
The aforelinked gloves I pinned and cut were sewn together for me one day. That's pretty standard, though. That meant that with my lovely white manicure (fake nails are bizarre), I could basically ignore my fingers for the purpose of Halloween. I didn't want to paint them and I didn't want gloves; too hot, too much restriction on tactile abilities. I made honest attempts at this method of skintight gloves before giving up and admitting that the night before Halloween was not a good time to try and solve this issue.

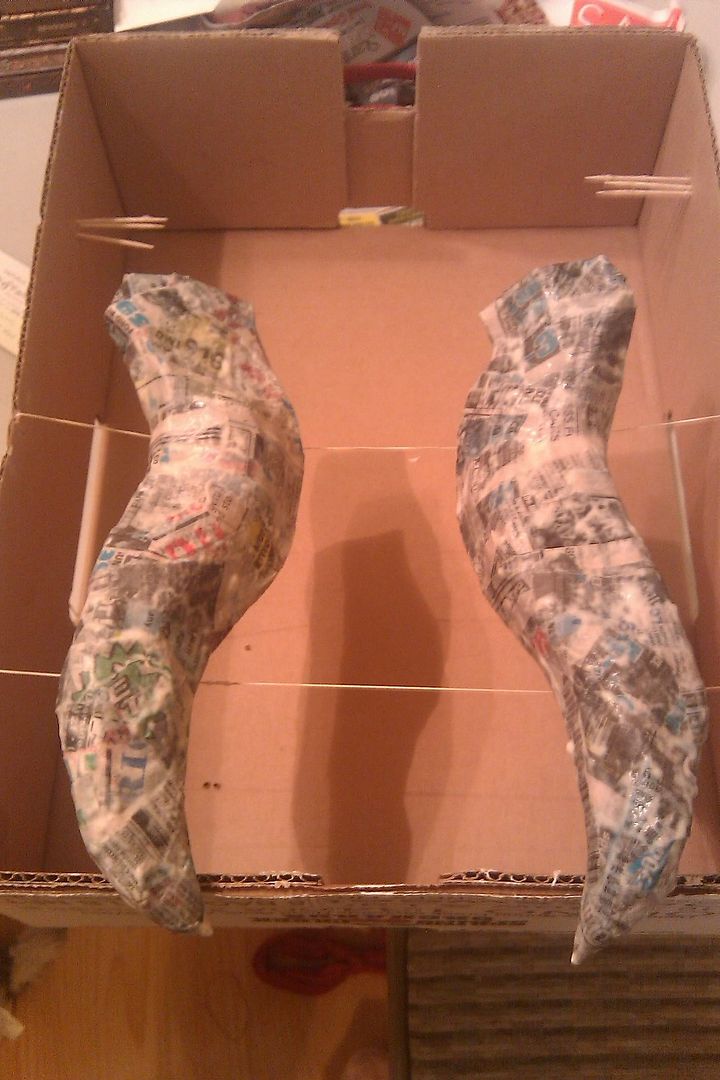
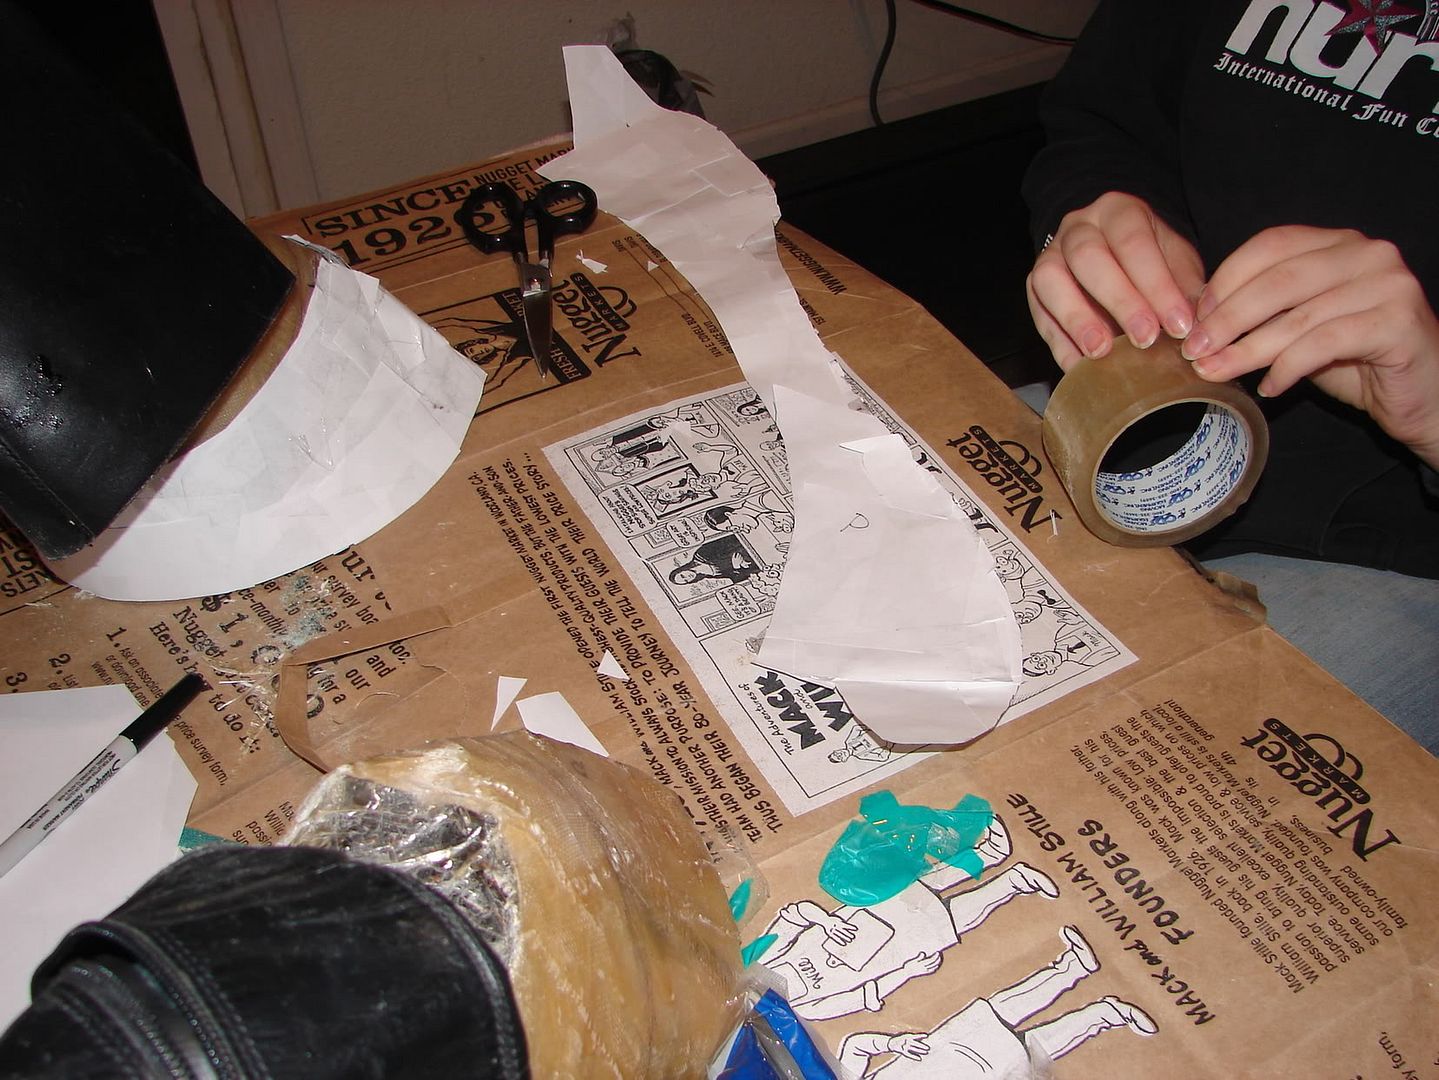
Once my horns dried, I spent a few days doing spray paint layers of flat white on them. Spray paint is fun, but a lengthy process. Lots of thin layers to keep it from drying all goopy everywhere, but in the end, it worked out dandy.


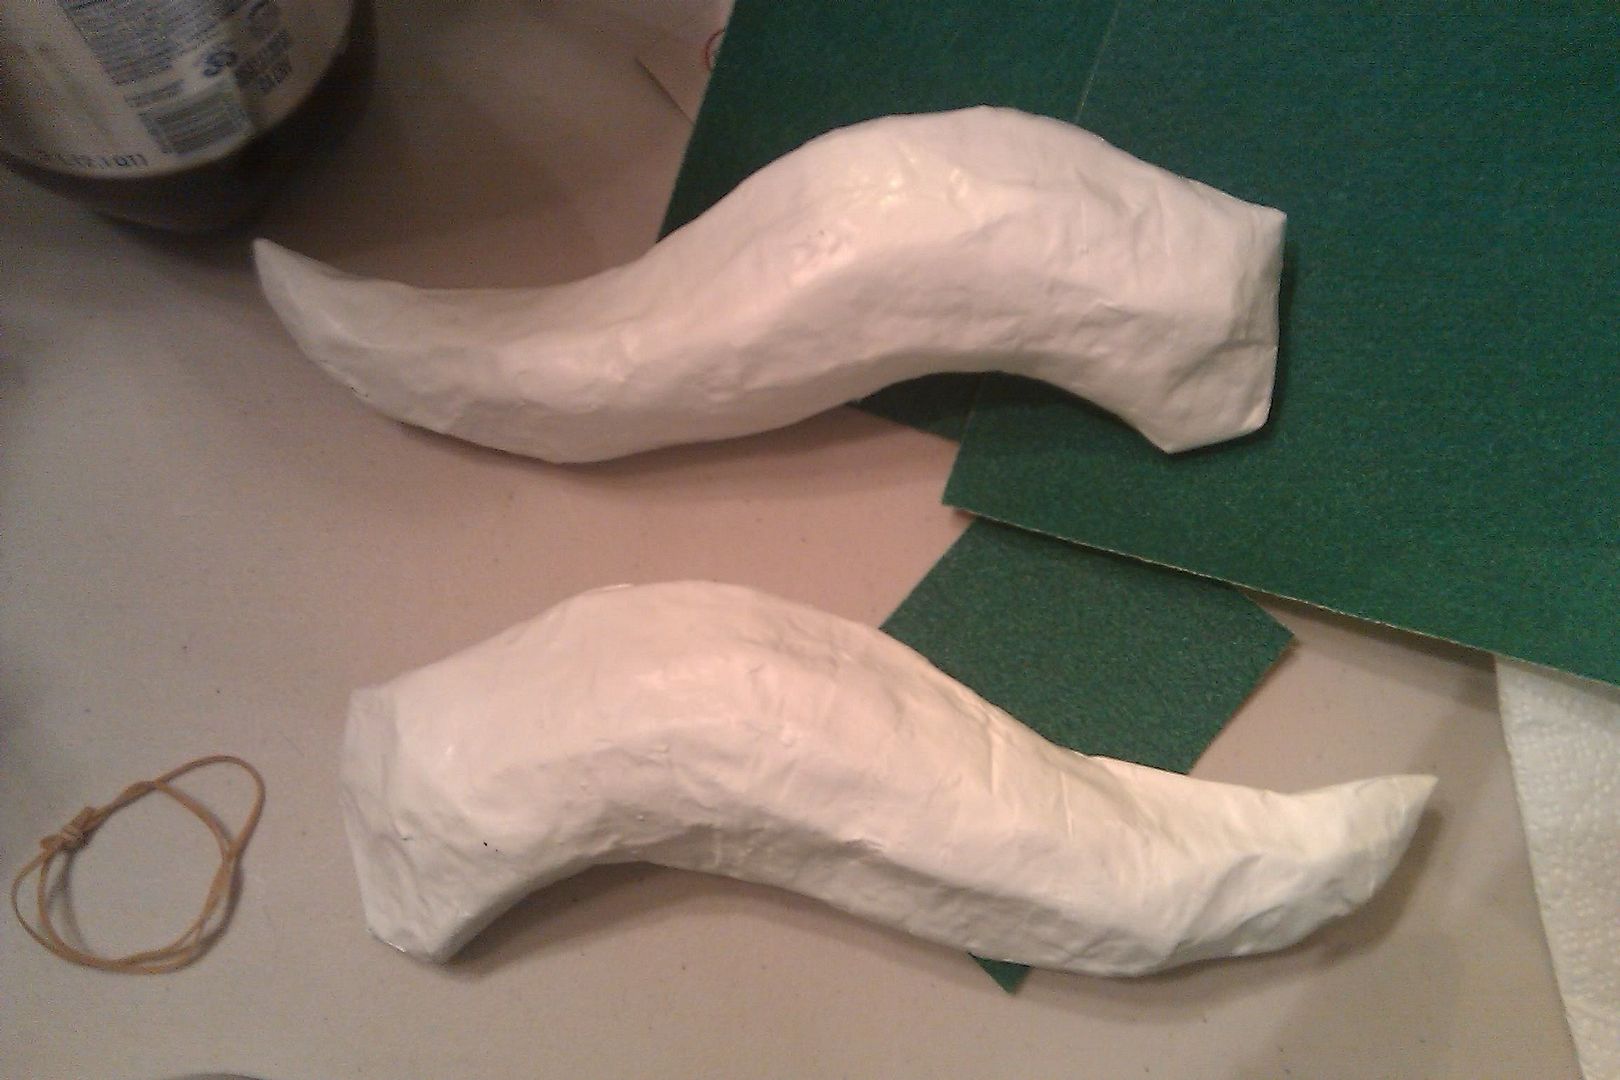
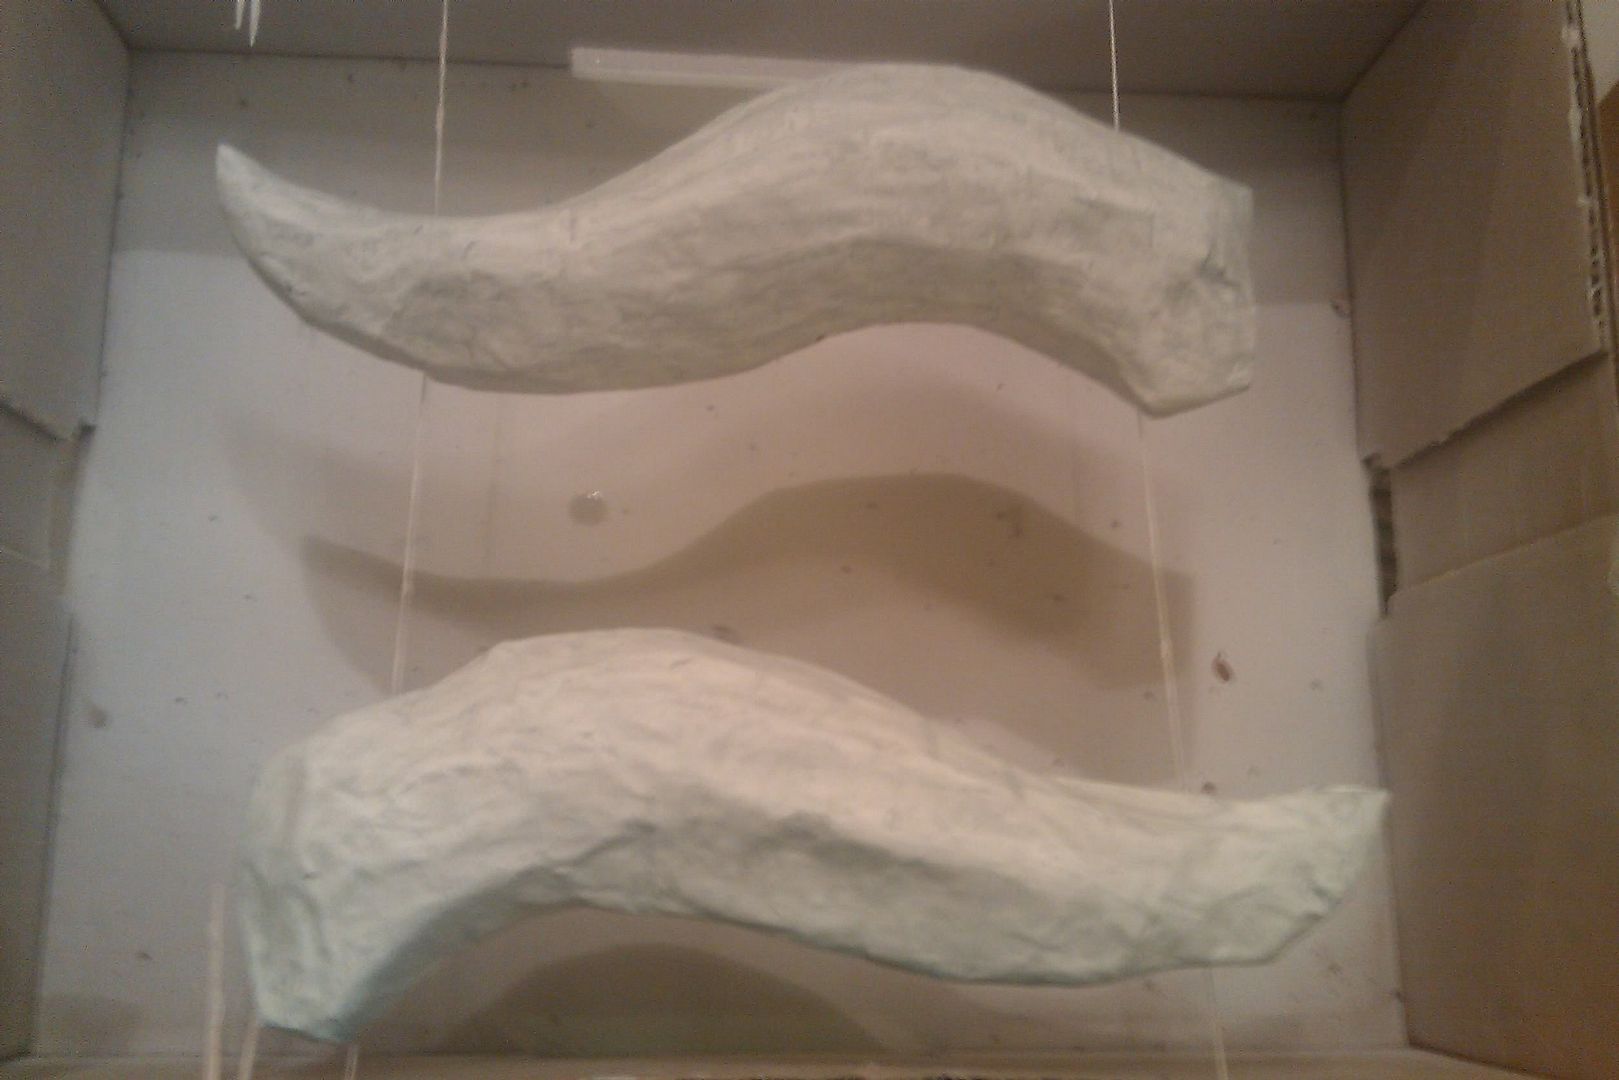
I bought some very light grey-ish blue paint to do detail work and high/lowlights on the horns ... then I realized that I'm miserable with paint. After vacillating for who knows how long on what to do, I ended up fingerpainting acrylic with water. That's an interesting experience. I used a lightly damp sponge to get the horns every so slightly wet, had a little plate with water on it, squeezed out some of my paint, and used my fingers to smear it over the entire horn. I let the water disperse unevenly and it grooved itself around on the mache. I'll say now that the horns were the most difficult part for me to figure out how to handle and will definitely be improved upon in the future.

The lighting doesn't show too well, but with the grey smudged around, the horns didn't actually look too bad.


I set them up to dry and was surprised when I came over two days later to find that my gloss overcoat was already applied; seriously love that girl. It has little bits of iridescent glitter in it, to give them a nice ethereal sort of look. They passed just fine for the day. =3

I used a very thin headband that wraps all the way around the head -- the elastic kind. But the part that stretches over the actual head is rubbery, with teeth. It stays in very well. Unfortunately, the band is very thin and the horns wobble a bit when on. I then took a regular, thicker, solid plastic headband and attached it behind the thin flexible one, and to the horns as well. This added stability and worked well. (My original plan was just to use the wider band, but on top of the wig, it wouldn't sit properly; the wraparound band helped hold it down and in place.)

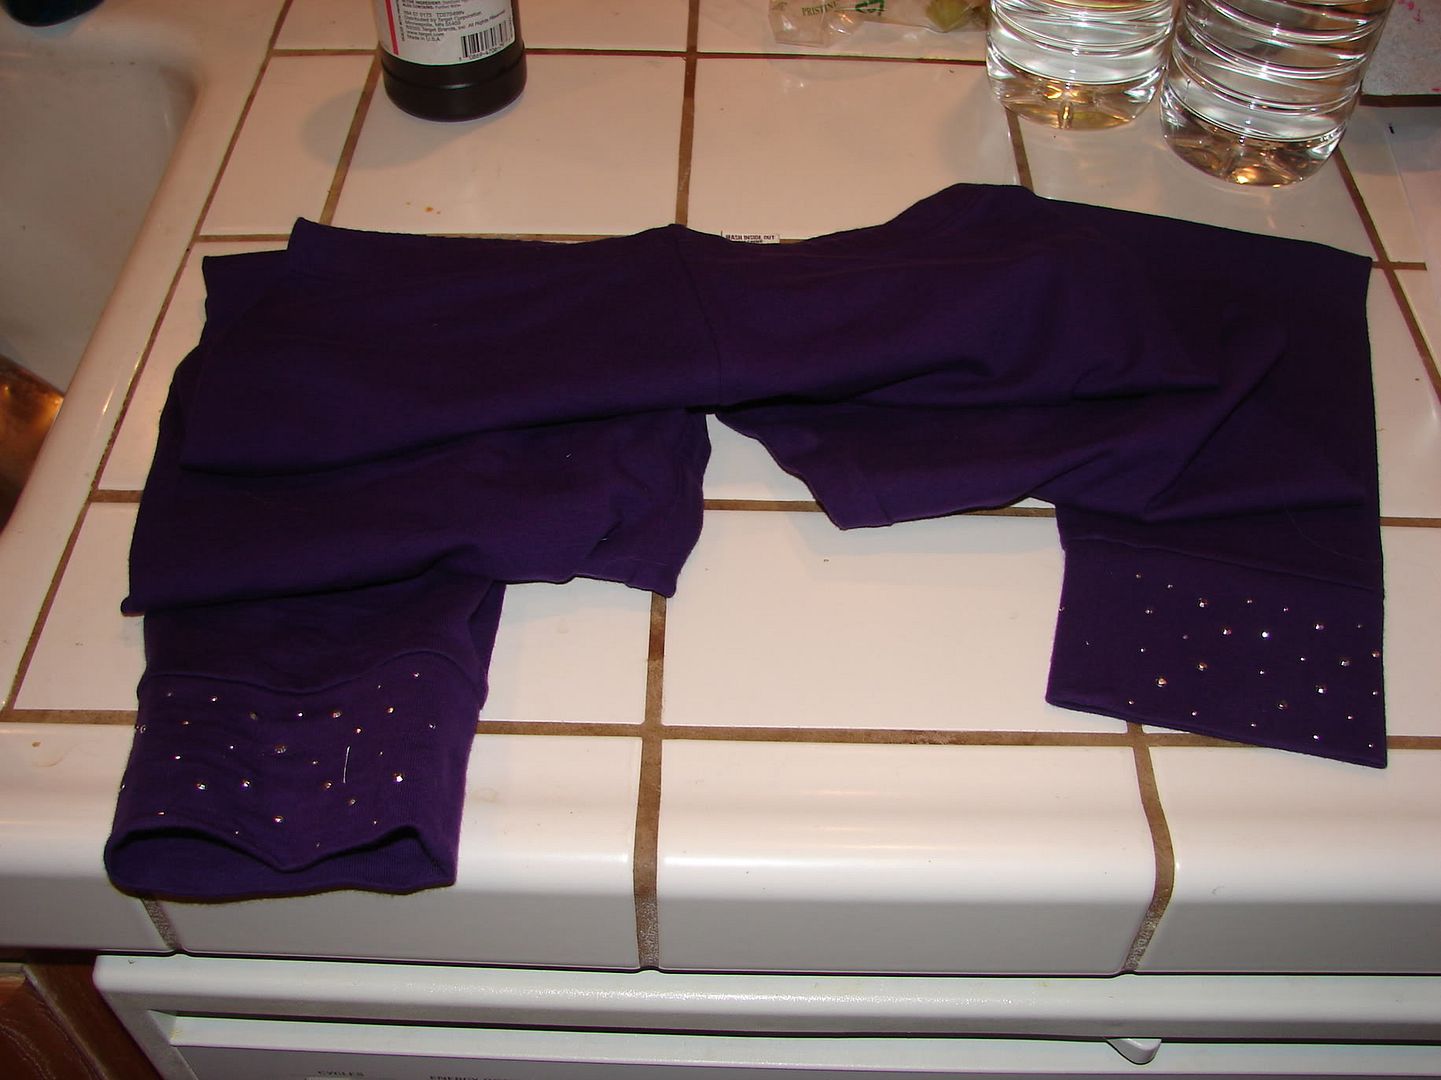
I used a scrap from the children's leggings (purple!) to cover the bands and make them look pretty. I used some of the shinies I bought to decorate, and called it good. Also, guess I should mention that I did this the morning of Halloween. After my shower, before putting on makeup, I decided to add the second headband (formerly was using only the thin one and letting the horns wobble; moved real slow, elegant, and gradually to compensate) and cover and bling. I regret nothing.

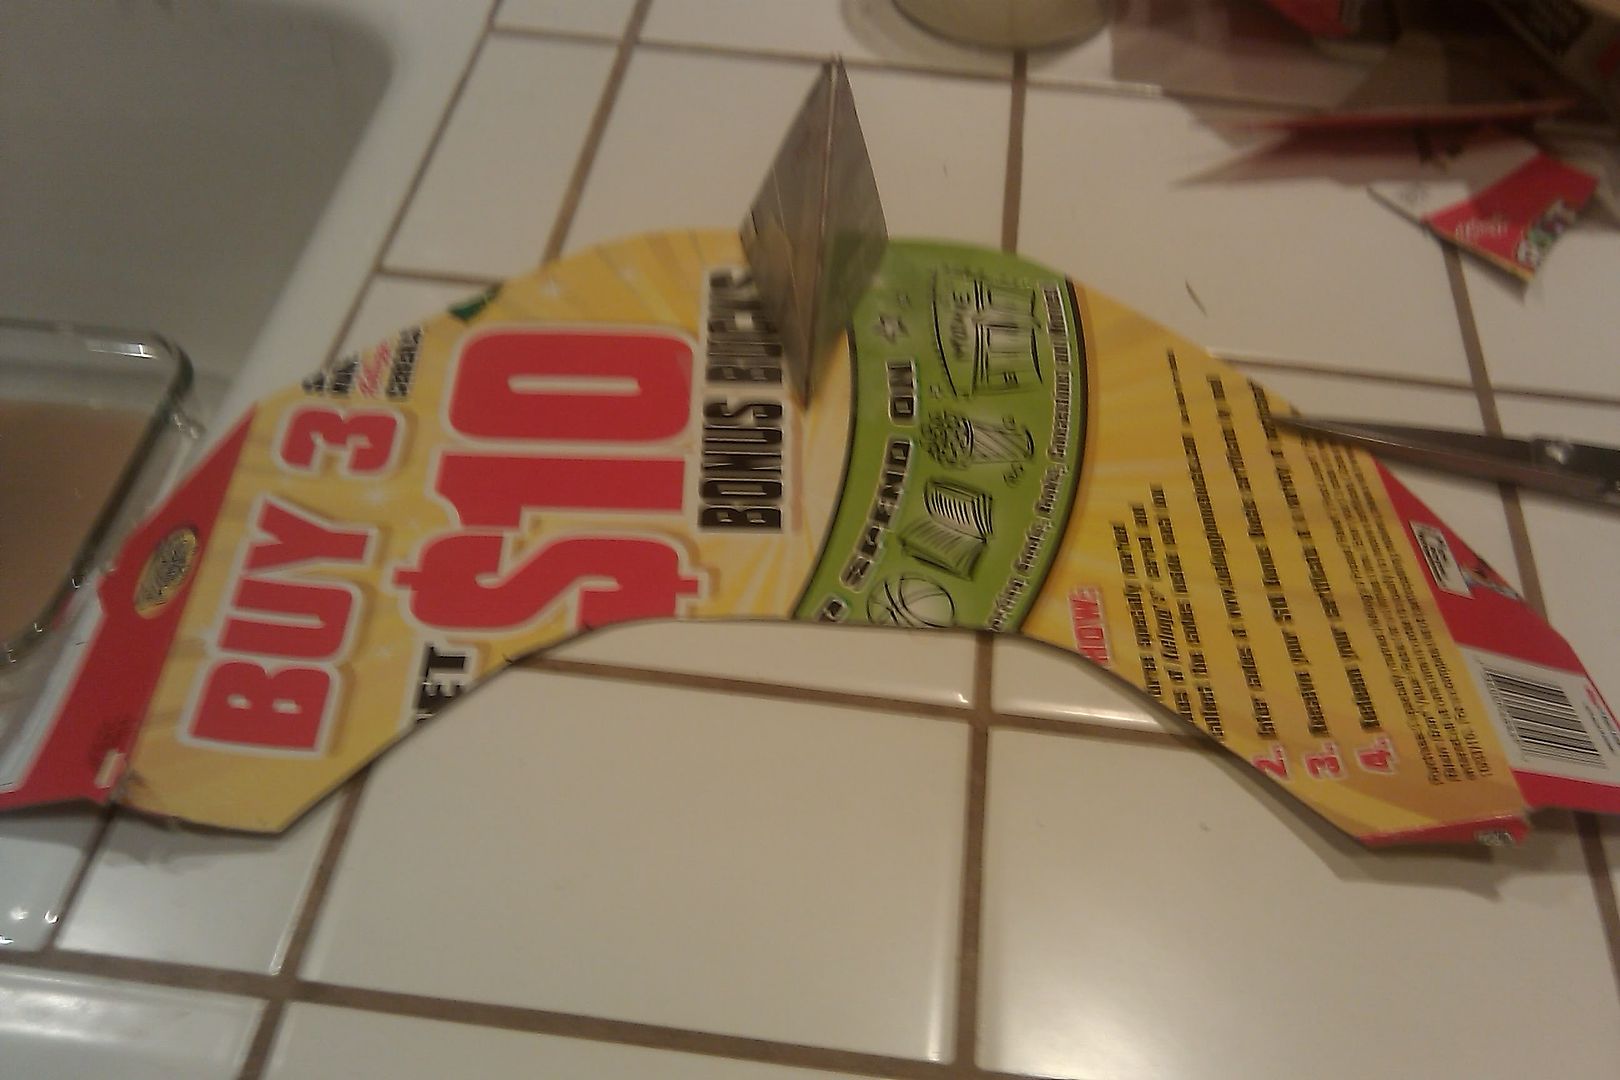
For my face tentacles, I did an on-the-fly sort of thing. I folded my fabric in long halves, letting me cut about ten inches in length out of them. Pinned them together, and just trimmed a very slender strip. Times four.


I then hand stitched one together quickly, handed them to my friend to invert (I fail at turning things right-side-out), and started sewing another. Rinse, repeat, until done.


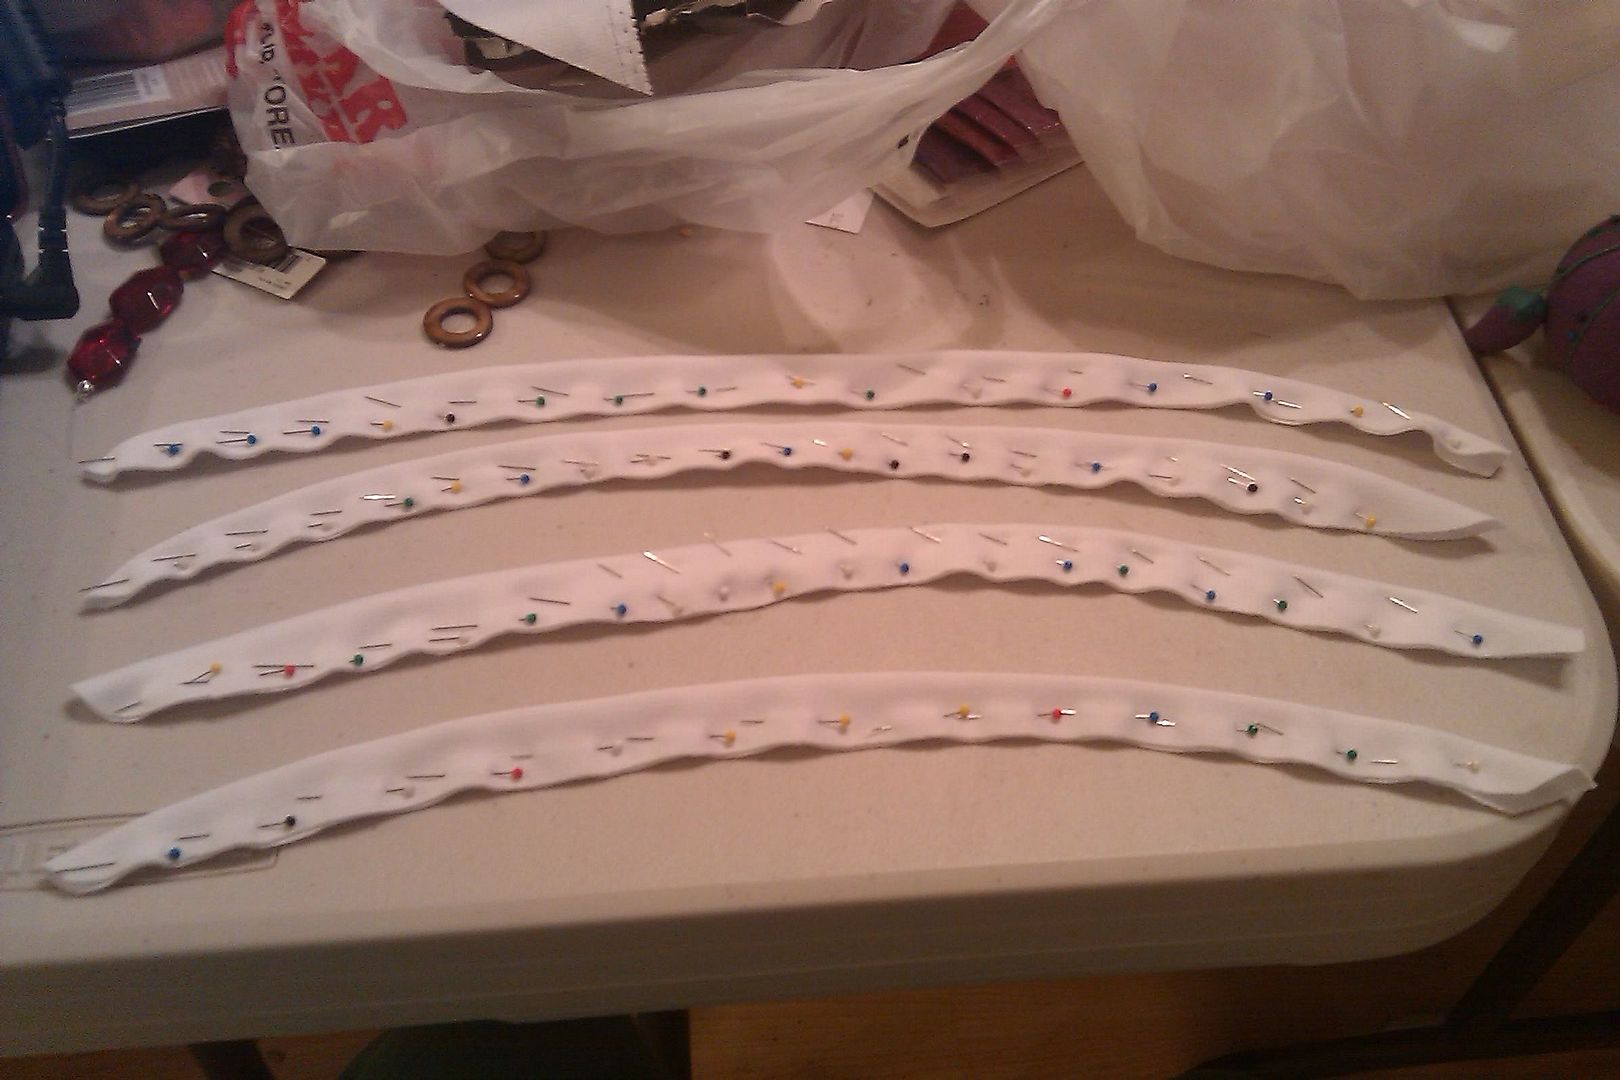
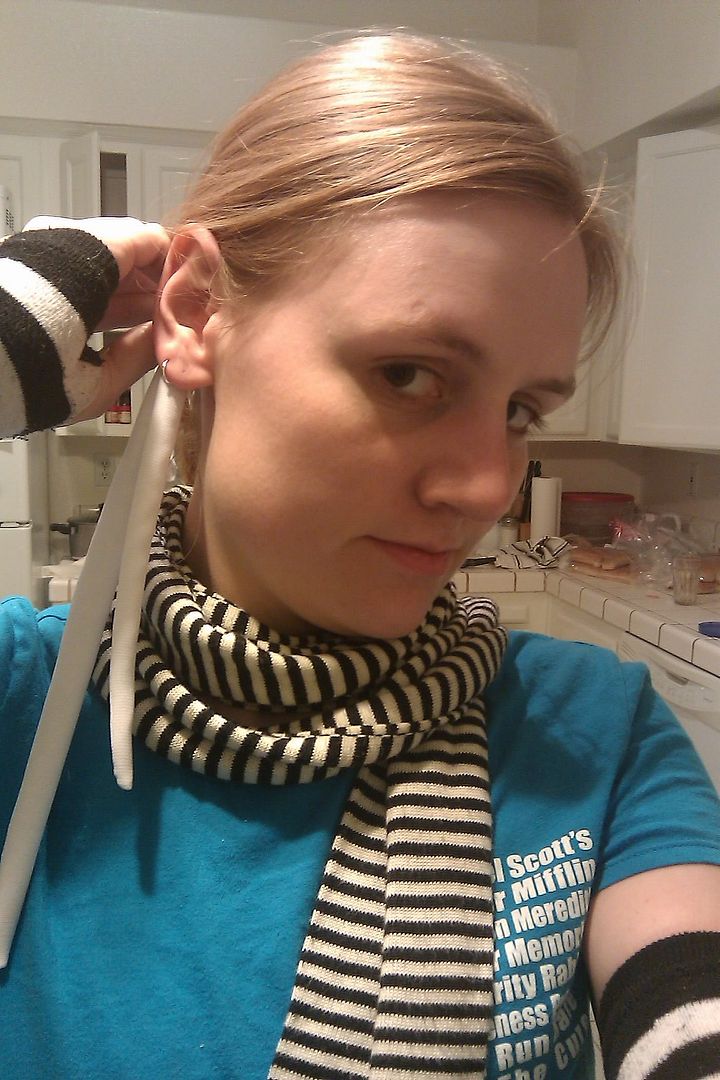
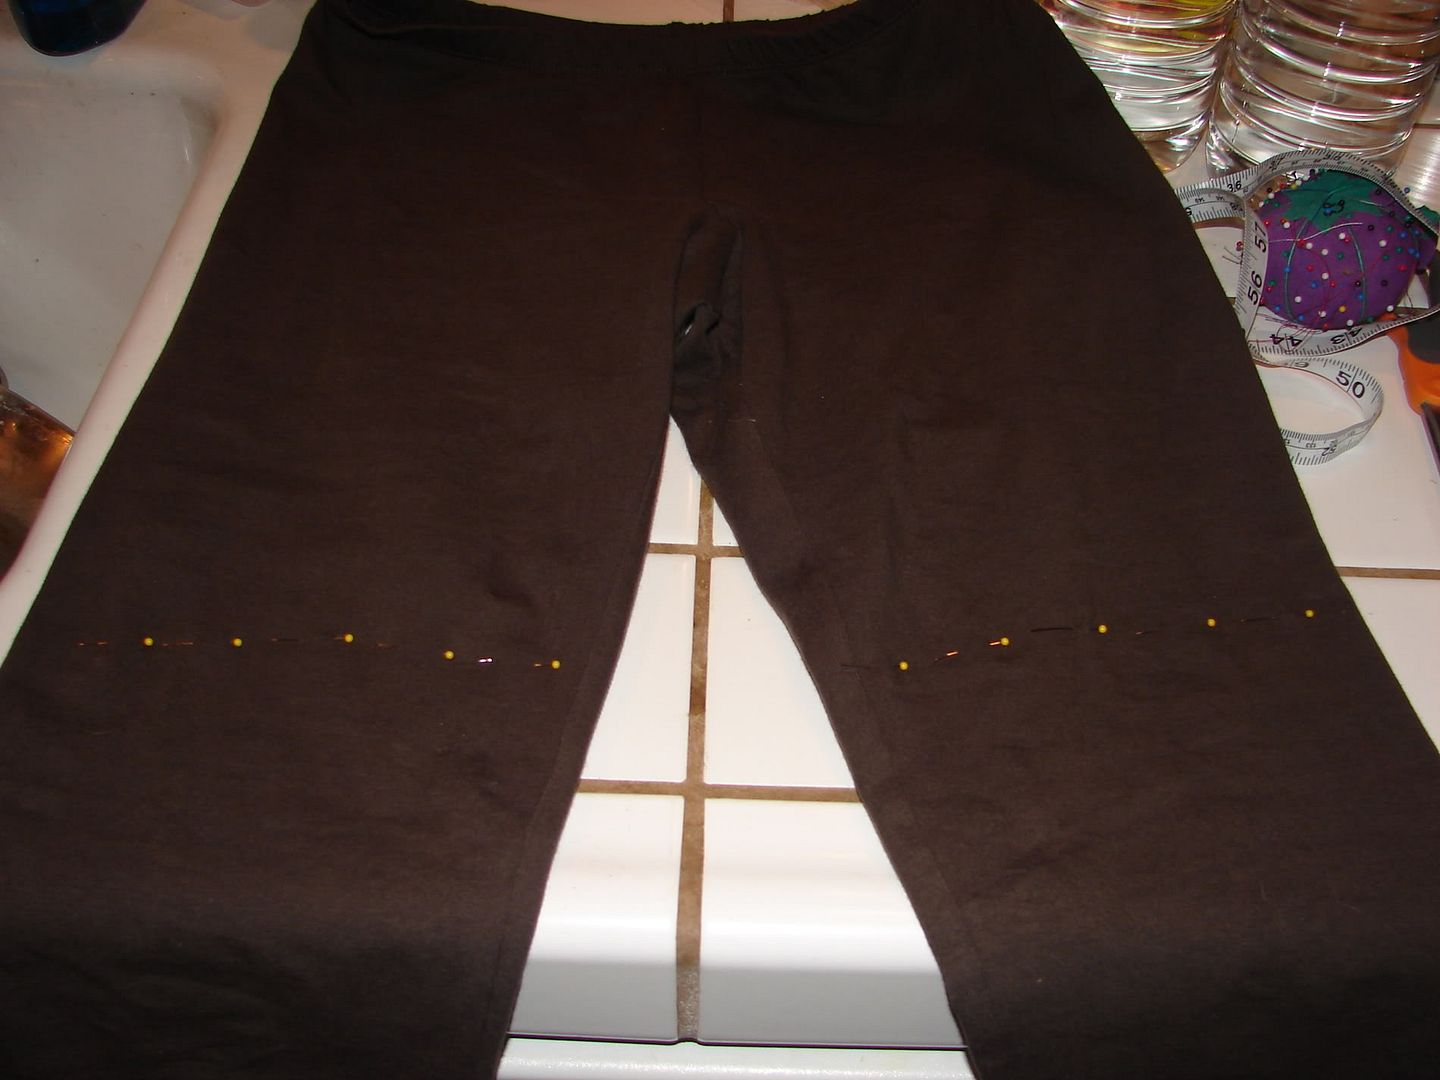
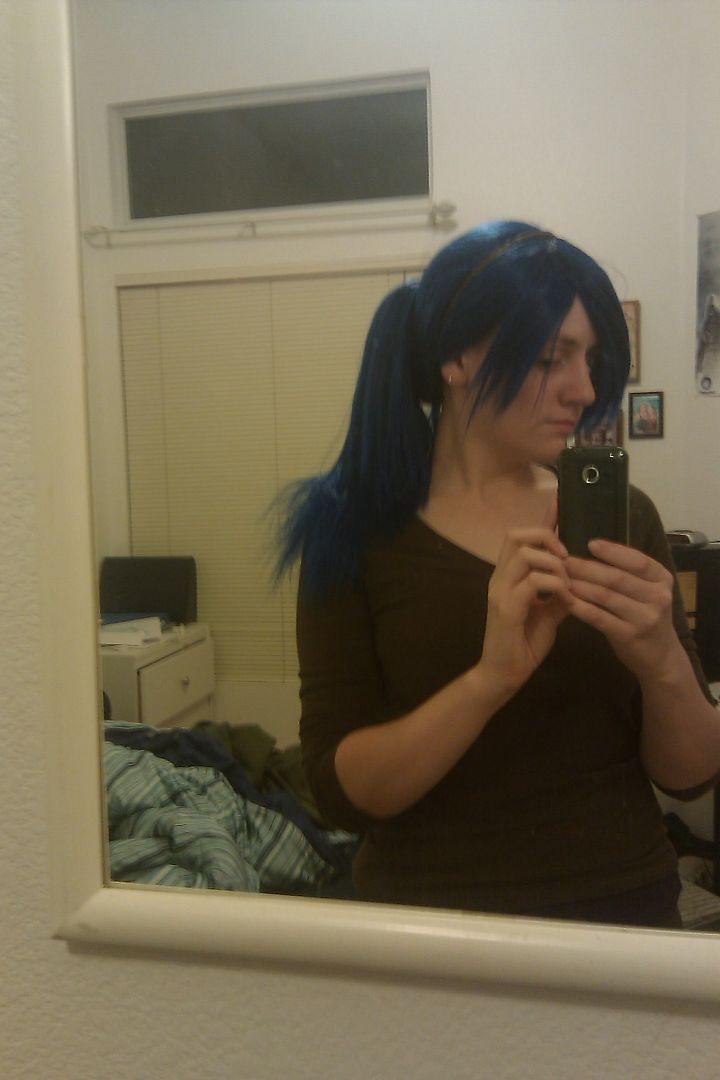
Using the gold ribbon I trimmed my pant legs with, I made little loops and glued them on the tentacles. Once dressed, the tentacles were pinned in to my natural hair. My wig covered them and held them in place, giving the illusion that they came from close behind my ears.

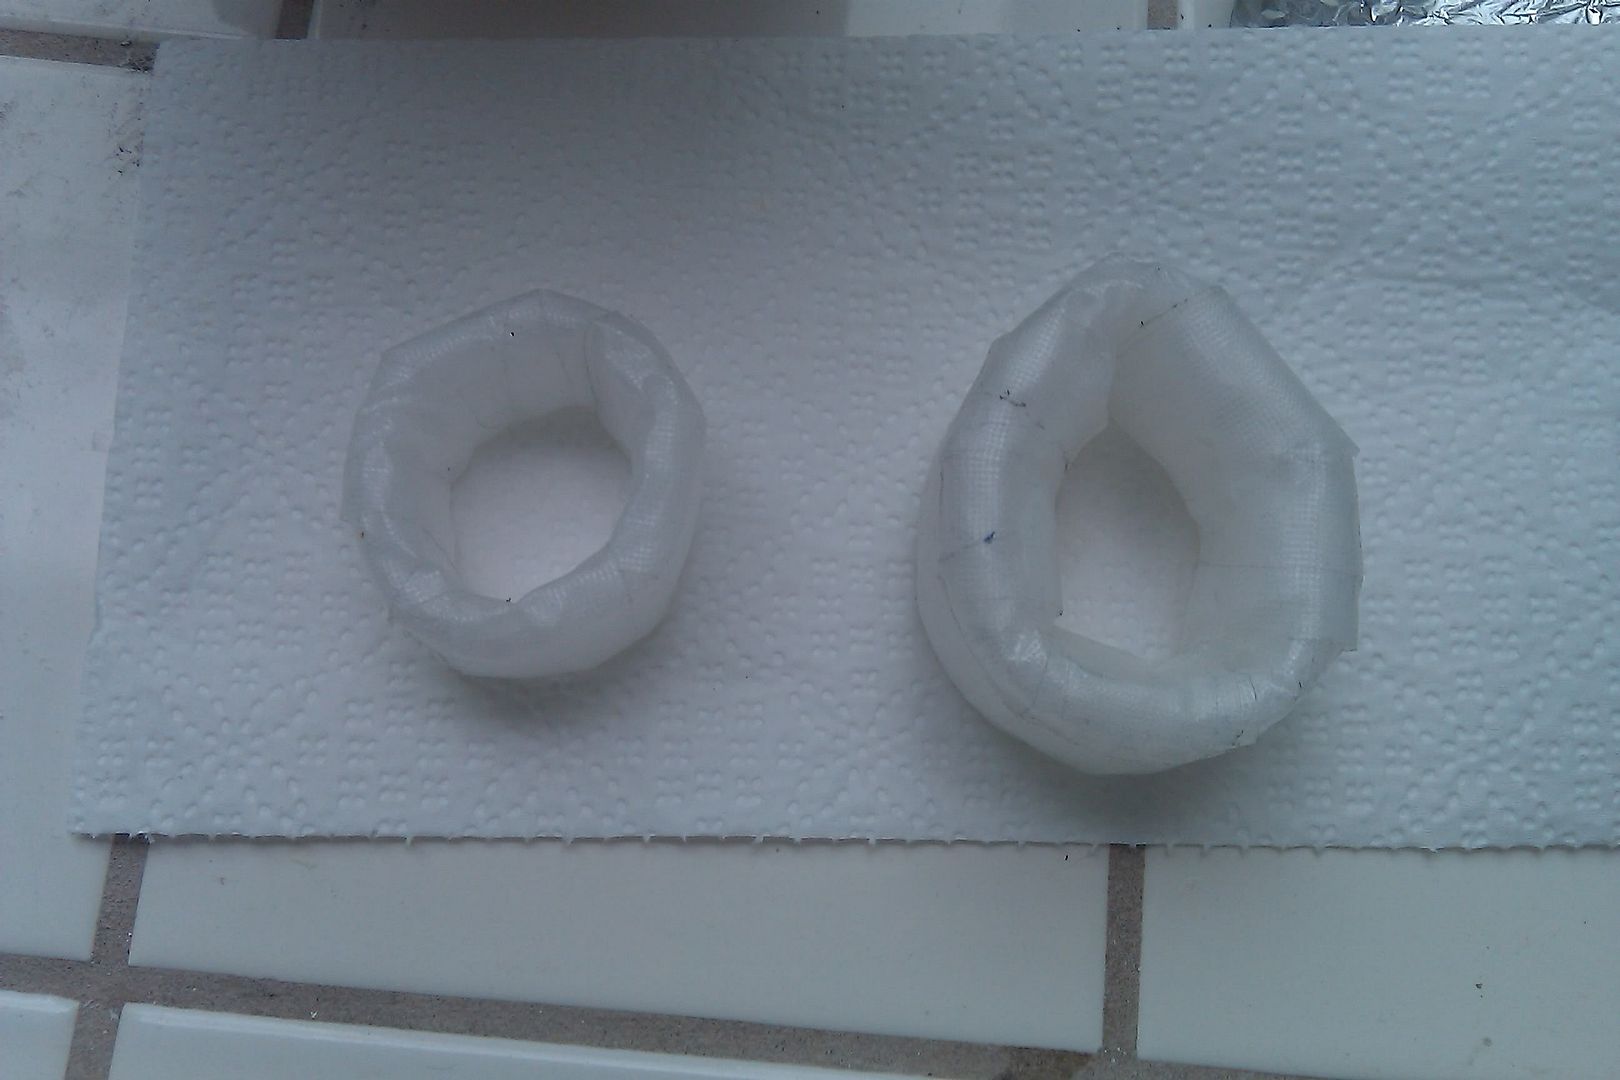
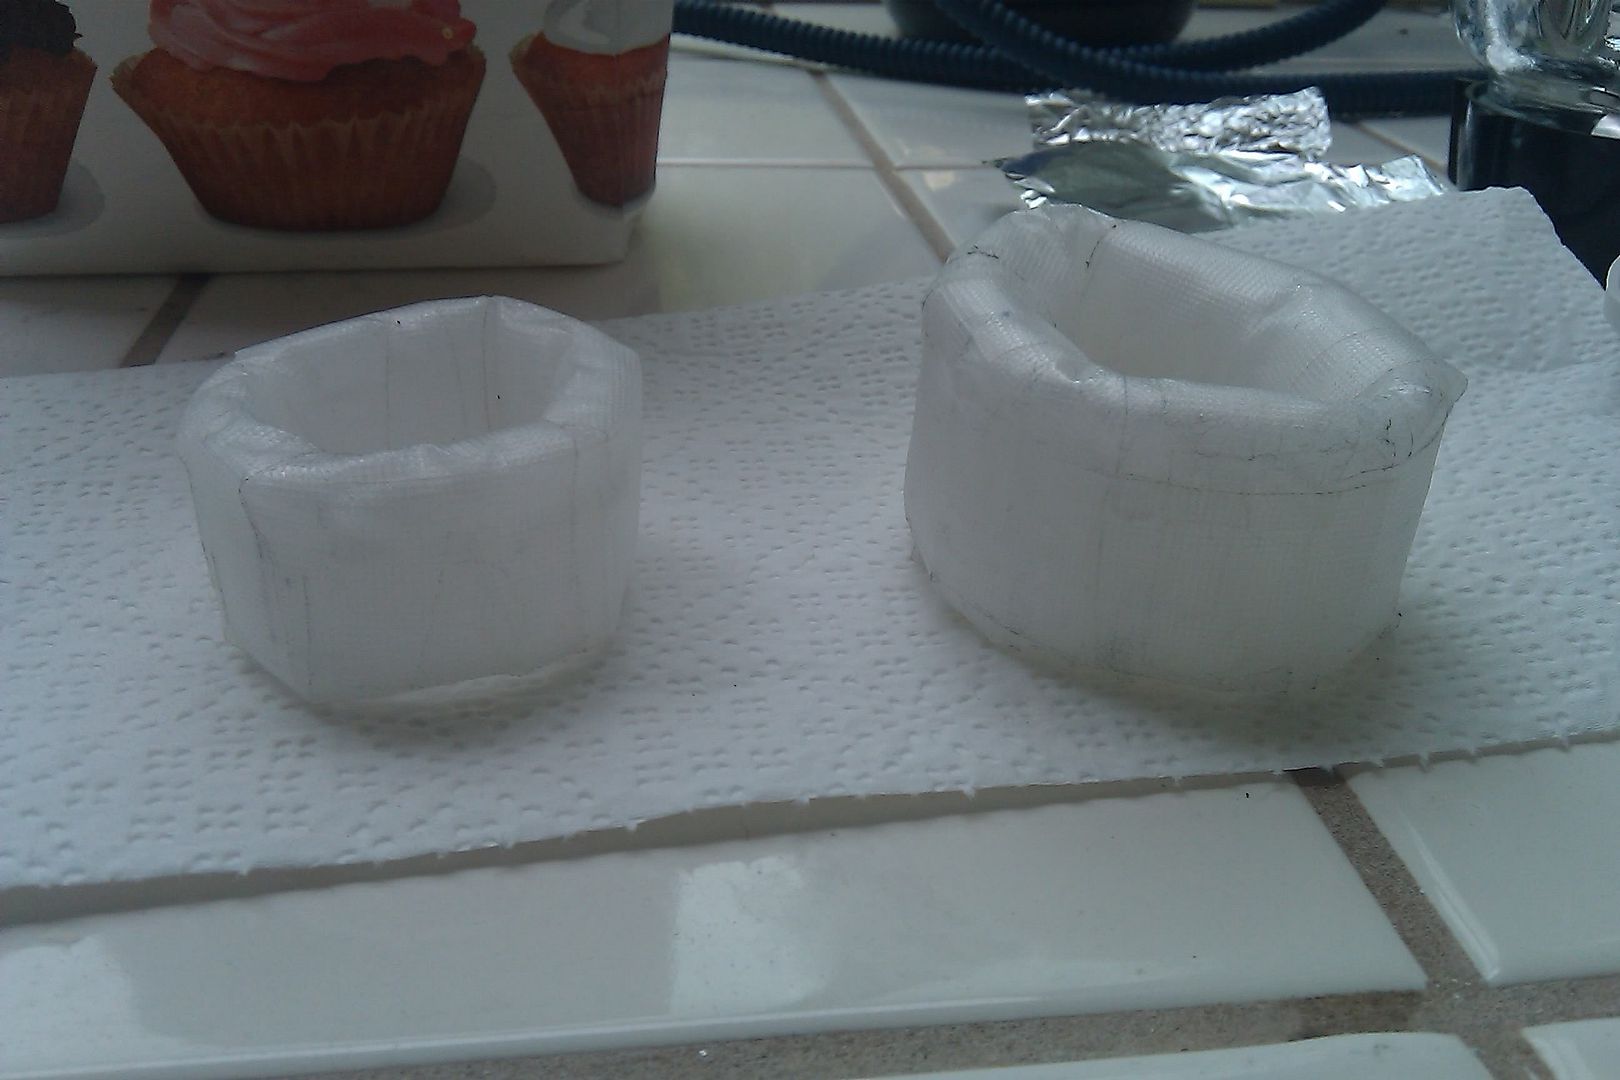
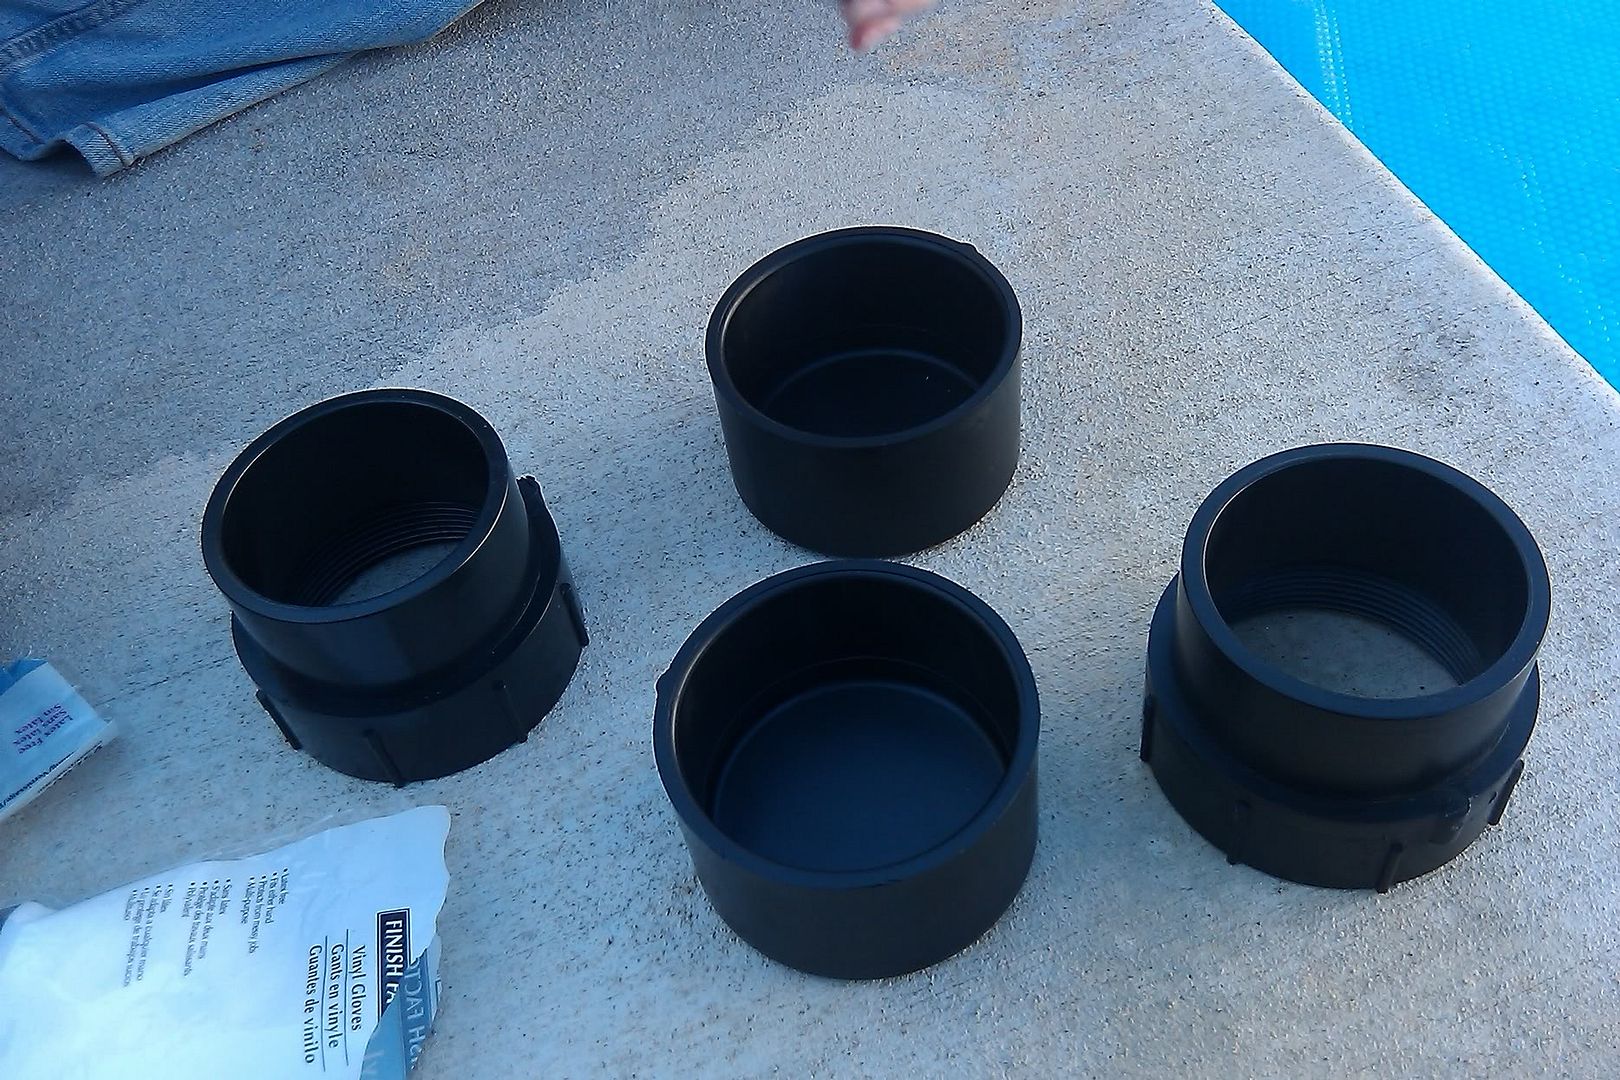
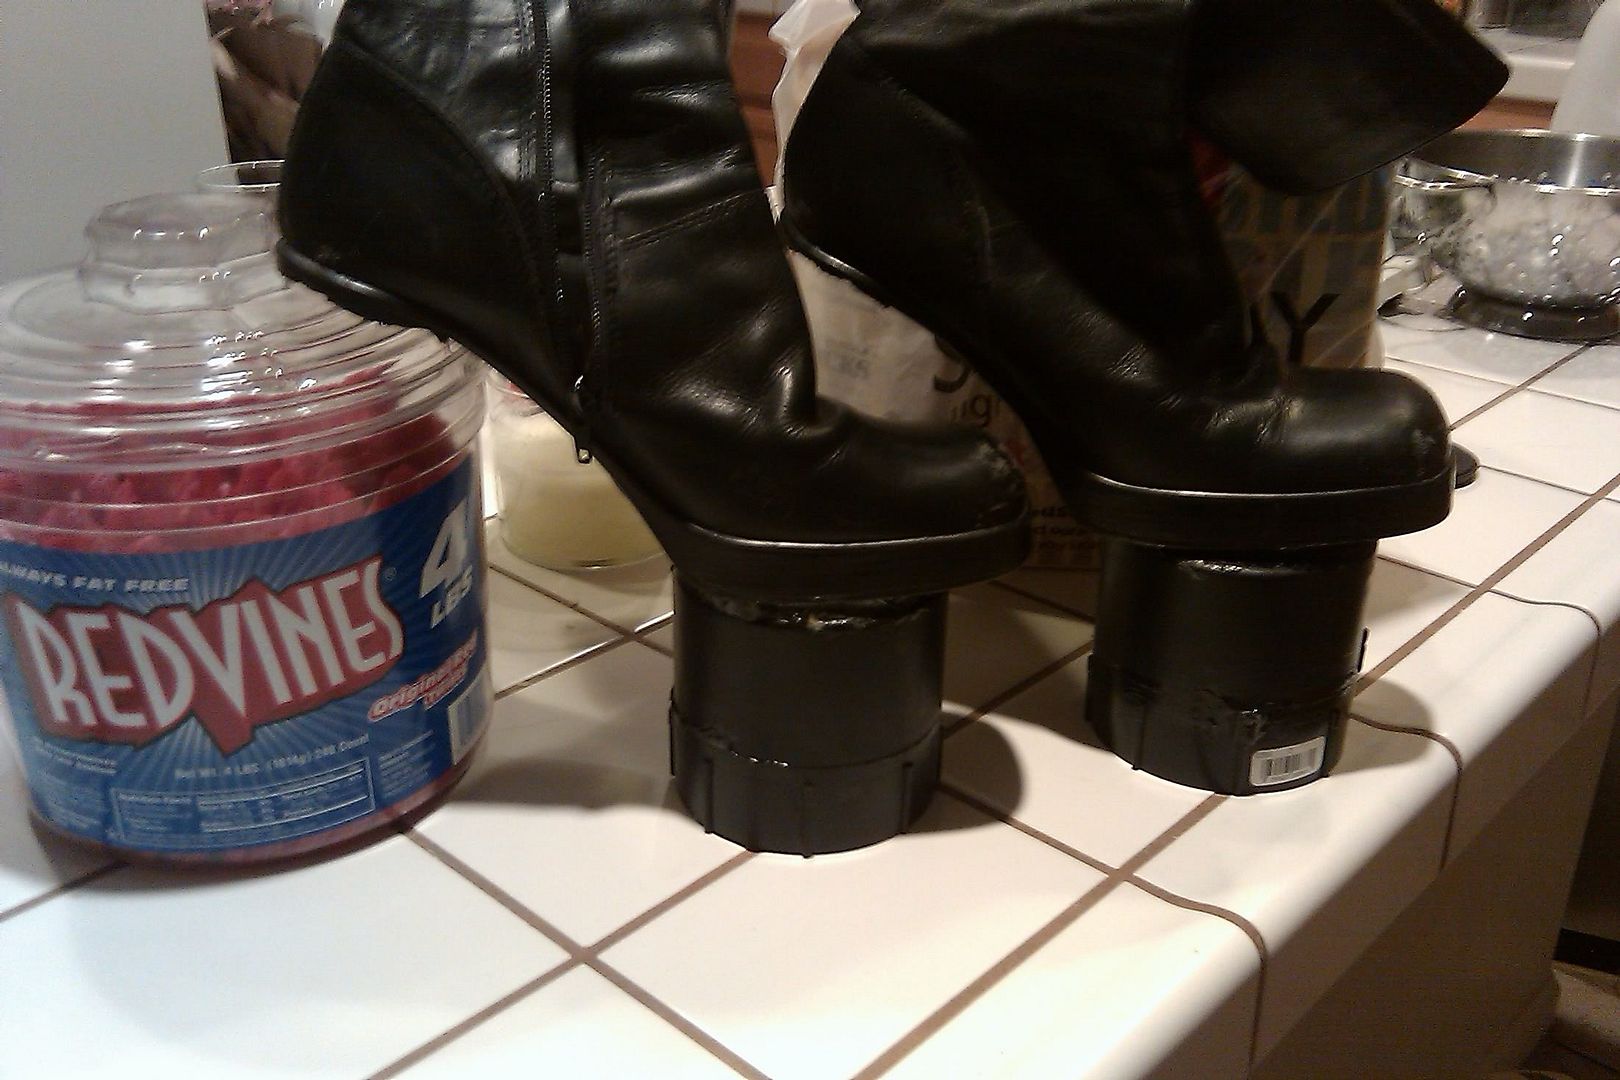
Another piece my friend completed for me involved painting my tail rings gold. The same ribbon was also wrapped around the outside of the rings to tie it all together with subtle detail. I enjoyed it.

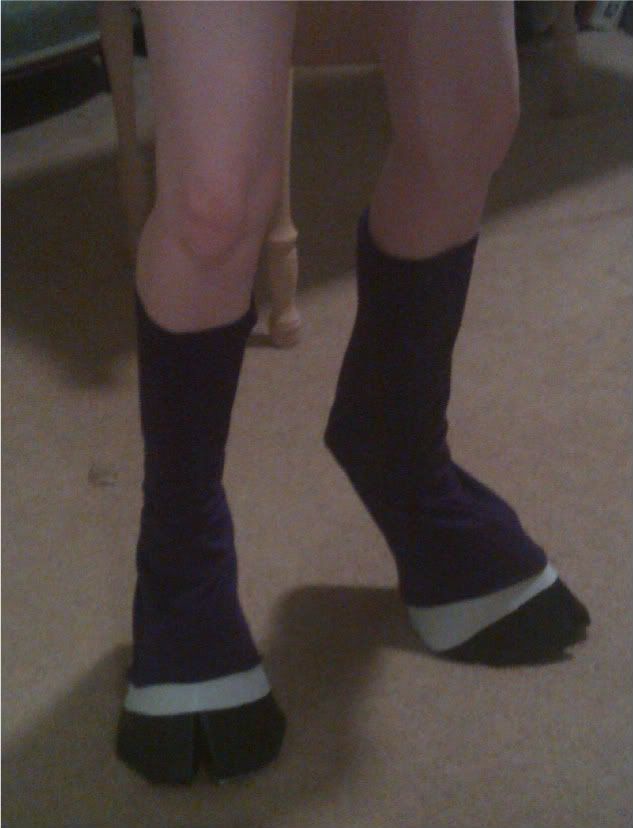
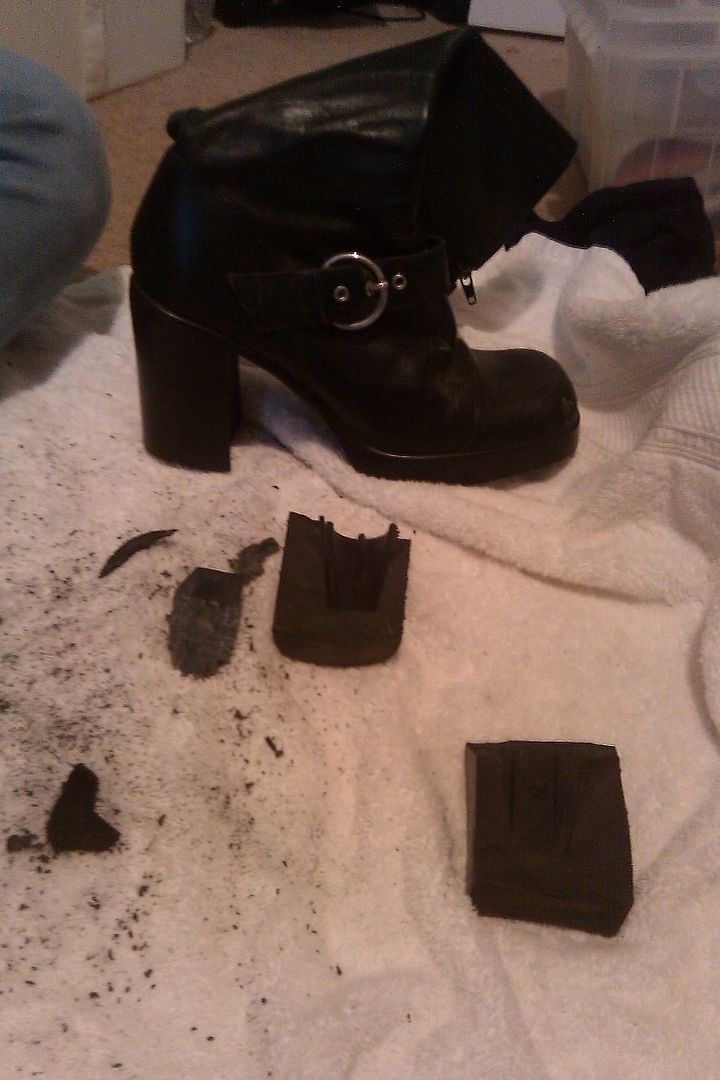
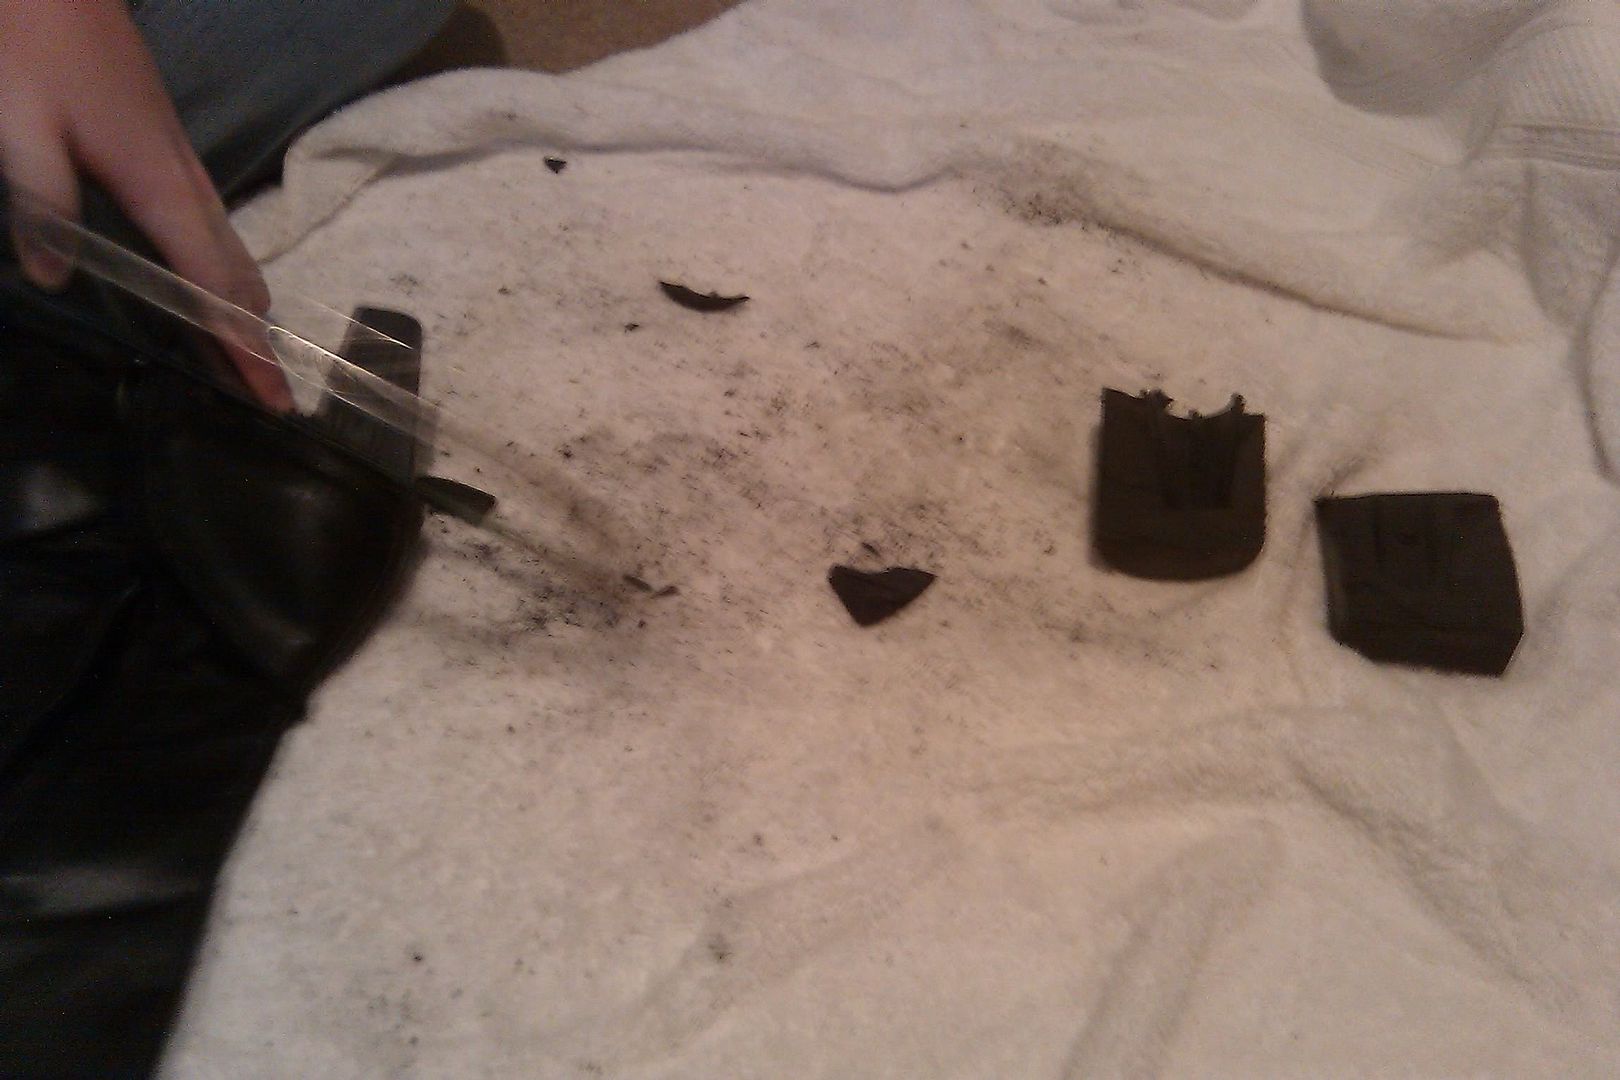
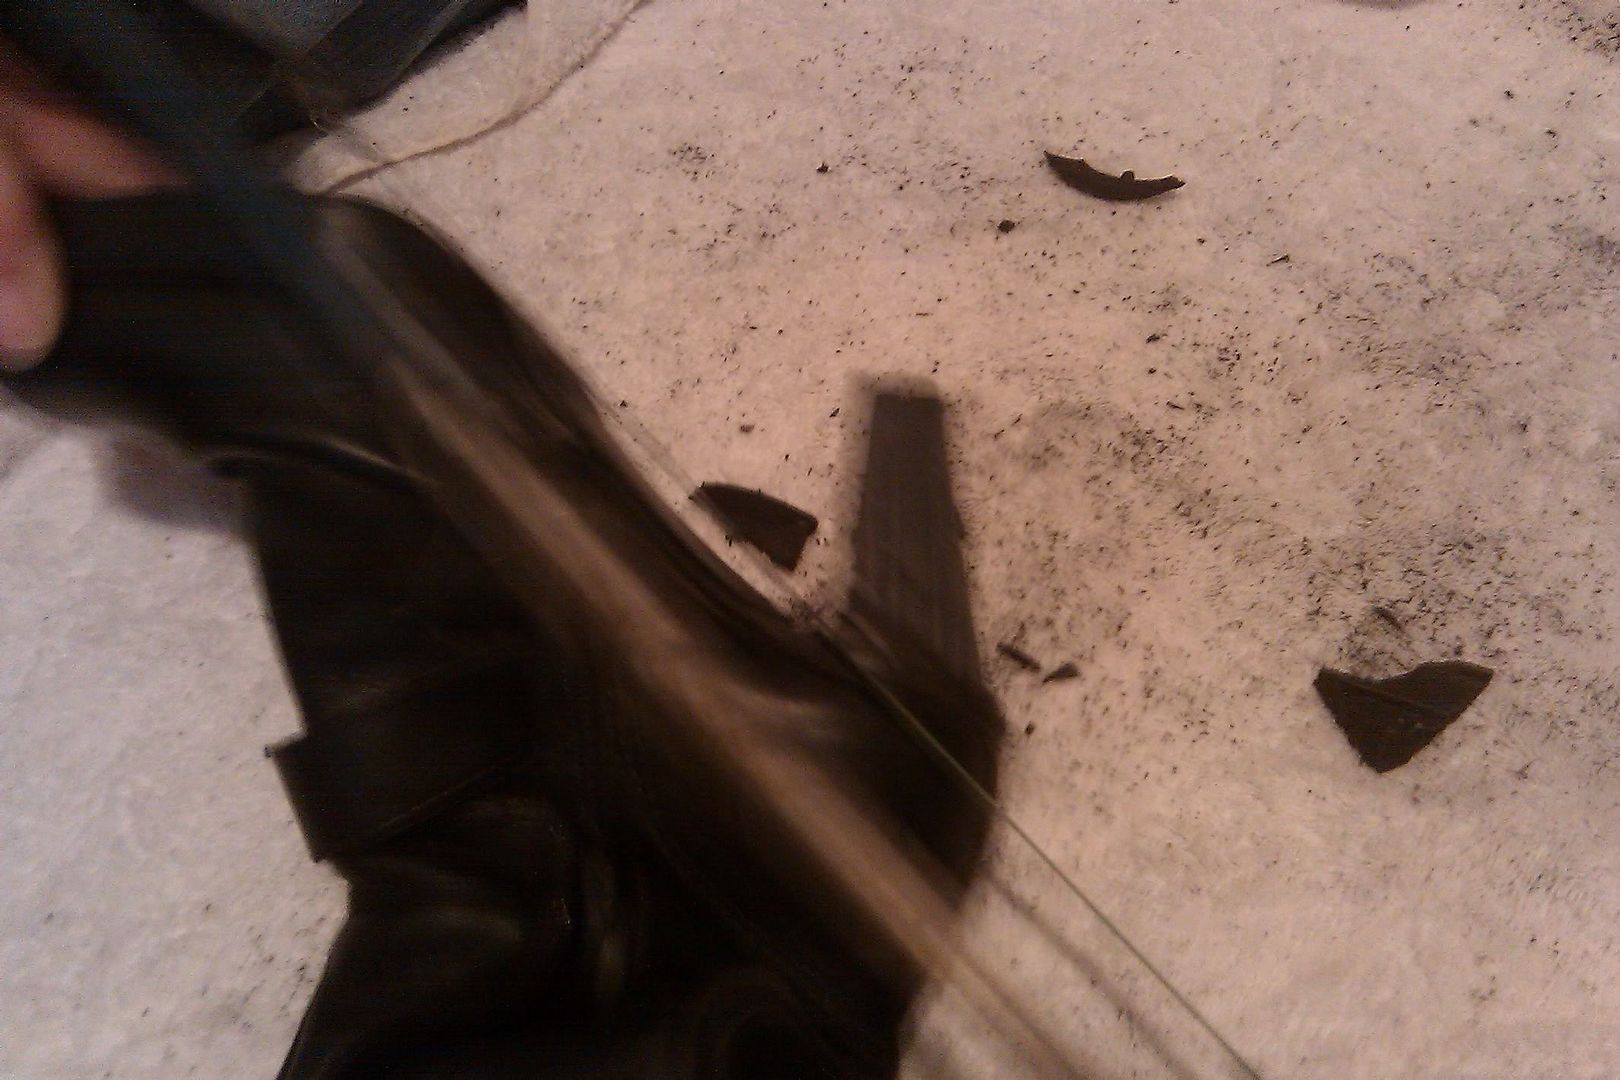
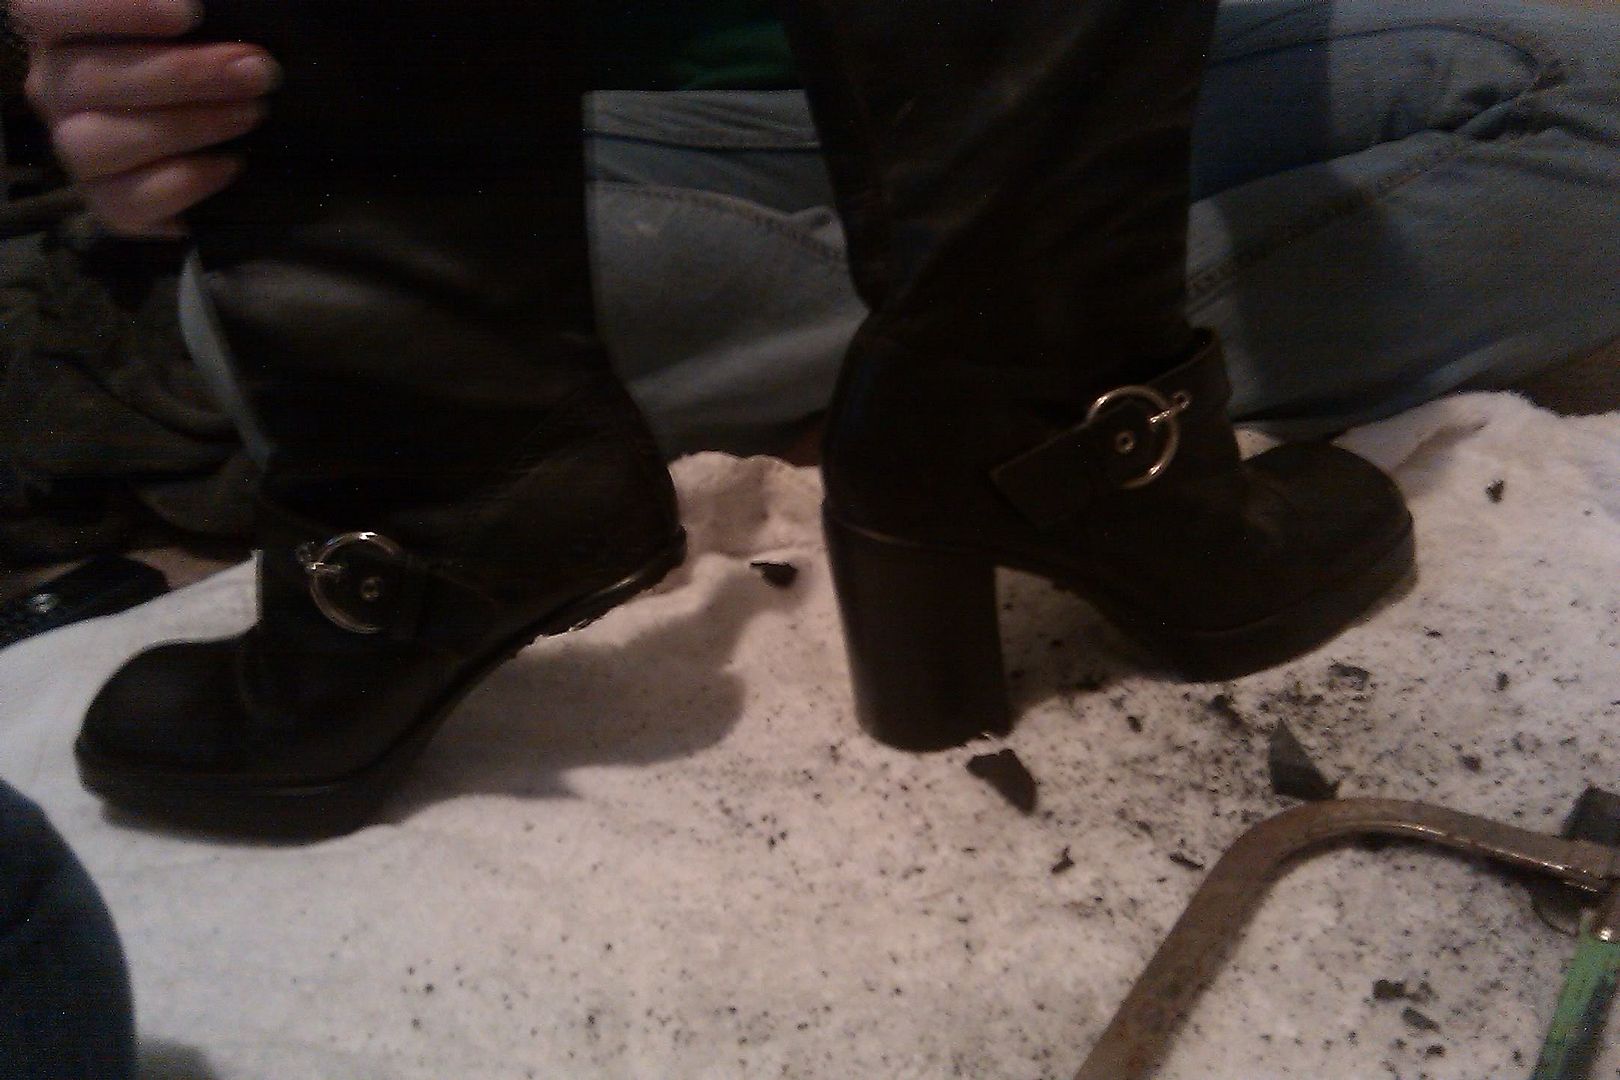
She helped me glue details on my boots and belt, and it was good to go! All in time, too!

Wednesday, October 27, 2010

Horns, Rings, Pants, Boots, Hooves, oh my!


I've been slacking on posting because most of my attention has been split between my time at work, keeping up with homework (midterm season), and trying to actually finish the costume ... heh. I've been working on it sporadically, simply trying to get pieces done whenever I could fit in the time. Things have become jumbled and I'm not longer limiting my working days to one piece at a time. Especially given the mechanics of some of these pieces ... needing to let things dry or set, etc. That gives me time to change gears and focus on something else.

The horns were covered with two layers of paiper mache. That was a fantastic, messy process. It was also hindered by a certain small wiener dog with his heart set on eating the floury paste -- even if it was already soaking strips of newspaper. I felt like a kid, I haven't done mache crafts since ... I don't know how long. But it was awesome. After the first layer dried (let to sit overnight), the second coat was applied then also let to dry. We threw together a quick little hammock to hang the horns on while they dried, since the mache was wrapped around all sides.


I took some of the leftover foam and constructed some rings to adorn my tail. They're bulky, but that's okay. It's sort of a cartoonish character anyway.


The less circular one fits at the base of the tail, where it "attaches" to my spine. It keeps the tail from falling to the side and laying limp once I'm wearing it, since the tail's construction leaves it narrow and prone to such flopping. These were also covered in paper and flourgoo and let dry.

The next day, I sanded the horns to get rid of as much obvious creasing from the mache as I could. It's not perfect, but I'm telling myself that horns are never perfectly smooth anyway ... I'm really just making excuses for my small failures in order to try and make myself believe it's okay. Once they were sanded, painting began. First, a layer of white spray paint. Layer upon layer until the newspaper articles were no longer visible. I'll be going to finalize this part later tonight.

The brown leggings I have for my pants were hacked at to make them shorter.


With the default length they had, they came down to barely a few inches above the cut of my boots. This was an accidental look and would have been an undesired length of exposed leg. Instead, I chopped them up good and short and plan to show off some "skin." Beautiful albino skin. >_> It's a good thing I like my legs, else this costume would be very uncomfortable to wear in public.

Using the excess from the base of my leggings, I pinned out the shape for some little gloves. They will be sewn together in to some thing, fingerless gauntlets. That way I'll have less skin to try and pale out (more than it already is).


To put some acceptable touches on my hooves (I won't call them totally finished because, ideally, I'd like to spend more time on making them just perfect with detail and whatnot ... but my current goal at the present is to get everything finished enough to be worn out ... so for now, the touches are merely satisfactory), my friend helped me sand the fiberglass smooth.


I then used a sharpie to draw out a general idea for where I wanted to have 'hoof' and where it would stop being 'fur.'


We then started using scraps of paper to make a pattern for where the black part would be.


For this, we bought tablecloth material ... the kind with a little bit of white foam on the underside, y'know? It was cheap and suits well enough.

Once that was adhered to the base of my hooves, we used pieces of the white fabric in an overlap of the black to create my little bit of ankle fur -- so scandalous!

In order to make my little 'boots,' I bought another pair of leggings -- this time from the children's department! They're sparkly, hah.


I cut the legs off as high up as I could, creating two tubes of fabric and one pair of purple underpants. I also removed the bedazzled cuff because it was A) too tight to be comfortable, and B) bedazzled. Inverting the leg pieces, so that the piece that normally encircles the thigh is closest to the ground, I stretched the tubes over the boots. Using more glue, the boot covers were adhered to the little white strip of 'fur' on my hoof. The (former ankle part of the legging) top is loose. The nature of the fabric lets me roll down the legging, put my foot in my shoe, zip the boot, then unroll the legging. I then can tuck in the excess fabric so that it hides inside the calf part of my boot. And, ta-da! Hooves fit for a draenei. The image is still rough. Since then, we've readjusted the fabrics and used a better adhesive. The first round was a bit ... fail.


Still using the purple children's leggings, I cut the center seam of the leftover waist. Now instead of superhero underpants, I had a tube. Trimming evenly, I created what I considered to be a wide enough belt to adorn over my leggings. Spandexy goodness of a belt, but it works, I think. For this reason, I bought the only pair of XL leggings in the children's department. Somewhere, some poor fat little girl is going without purple pants. I'm sorry, little girl, but they went to a good cause. Because I'm lazy and trying not to break out the sewing machine ever five minutes, the belt was attached to the pants with durable fabric glue, to create the illusion of a seamless change between garment pieces. I also put on my pants and had my friend glue a little decorative seam of ribbon to the end of the pant legs, giving them a finished look and saving m the hassle of trying to hem stretchy fabric - which I hate. (pictures to come)

I also took out the wig for a test run. My original plan was to curl it, thereby shortening the length it hangs and making it easier to deal with. However, I soon discovered that even with curls, it would drive me nuts. The wig is magic. It tangles itself without being touched. I don't want to know how much fun it would have wrapping around itself once the fibers were in a curly state. Instead, I plan to clip it up in a way that lets it stay straight (not going to lie, the idea of styling a wig terrifies me), gets it comfortably out of my face (I pranced around the house for at least an hour with it done up like this and never felt hindered or annoyed by it), and also manages to cover my neck tattoo (an issue that I always want to cover when I want my costumes to be somewhat accurate).


Huzzah!

Tonight I aim to complete painting on my horns, put together my gloves, perhaps adorn my garments with the little shinies I bought at the craft store (yey shinies!) and if I'm lucky, make my tentacles ... which is just weird. Tentacles ... -shudder-

Thursday, August 19, 2010

Feet! Cont.

So it's been about a week and I realize this ... as mentioned earlier, this is an "as it evolves" type of journal. For the past week I've been doing a bit of work daily, but not enough to post it on its own.

After having cemented the PVC to the base of my boot, I let the adhesive solidify then added a bit more every night until the gaps were completely filled in. Given the nature of the curve of each, there was a small amount of space where the PVC cap curved down and the sole of the shoe arched in the other direction. Thus, they did not adhere smoothly together. After letting it stick as well as I could, I dribbled a bit more in the next day, let it dry, added some more to the crack the next day, let it dry overnight ...


This was a long process, but I think now they're about as stuck as they could be.

Once both booths were secure, I moved on to using fiberglass resin and cloth to do a "just in case" security layer to be doubly sure these boots won't fall apart when I'm walking around on them. Think of paper mache ... on steroids. It's also quite possibly my new favorite thing and I swear that's not the residual fume high talking!

Unfortunately, I forgot to take pictures at this stage, but all I really did was put a layer of the cloth all around the edges and up the arch of the boot for extra reinforcement. I have one boot outside still drying as of yet, so I can snap a shot before I take it to the next stage. For reference, I did a second layer after the first coat of fiberglass had dried. I'm a little paranoid though and I'm sure this may have been totally unnecessary. Oh well.

After that, I got to move on to the design part of the feet. Hooves! Using cardboard, I guesstimated and hacked away until I got one well-sized piece that looked almost like a hoof. Holding against the boot that was dry, my friend helped me get the sizing right and use it as a stencil for the second. Once I had the basic shape cut out, I hacked a triangle out of the front and cut a piece to insert and bend the other direction to create my cloven little "toes," like so:


 I used tape to hold the pieces together while it was all flat. Truth be told, I have cereal feet. The other hoof is made out of a Fruit Loops box. XD

After we cardboard-sculpted an ample hoof, we used tape to curve it around the base of the shoe. I gave it a test run and must say, I'm pretty pleased so far. 


I realize that my template doesn't create a hoof quite as narrow, slender, sleek, or pointy as the draenei models in game have, but I think this will be easier to handle for walking. Too much extra "toe" length and I fear I'd be tripping over it and jabbing it in to the floor all the time.

Using more of Mom's recycling, I made a base for my foot, taped it together and moved on to the next phase. 


The pieces don't join perfectly, but that's okay. I took the foot outside and used more of my favorite fiberglass resin and cloth to smooth over, seam it all together, and reinforce the hoof with ridiculous durability.

That too is also drying. Now I have to wait for my friend to have enough free time to come over and help me attach the other hoof. It's been created, but couldn't be applied to the boot until after the PVC reinforcing fiberglass had dried.

I will say this: if you plan on trying to use the fiberglass resin and cloth technique, I strongly suggest having another pair of hands available. That stuff is messy and very difficult to work with, especially solo. I attempted to do one of the boots on my own and ended up with the liquid hardener tube falling in my resin mix, my hand glued to the paintbrush, my other hand stuck to the boot, and ultimately, a still-wet-boot dropped in the dirt. I had to pull a poor tiny worm out (silk worm sized) of the chemical mix and I don't think he survived. =(

Thursday, August 12, 2010

Feet! - Day One

After doing sufficient digging yesterday, I found an old pair to Steve Maddens in the garage that I hadn't used since my junior high years. I'm surprised they still fit, but not going to look a gift horse in the mouth. I'm just happy I don't have to drop the money on a pair of cheap boots I'll be miserable wearing. Also, I'd feel kind of bad for the poor things if I took them home just to take a hacksaw to them. At least I know the boots I sacrificed today had a good life prior. They carried me through my odd phases of wanting to be trendy, but still being awkward in anything other than Converse (you may note the ridiculously thick heels), and also having a slight pull towards the punky-goth genre. Ah, youth.

My friend came over to help me, which was incredibly useful. I don't think I could have taken these apart without her. Using a hacksaw, we slowly chipped away at the rubber heel. Mm, nothing like the smell of burning rubber in the morning!

As we sawed, we were confounded by how quickly it became difficult. Our motto became, "When all else fails, cut it in half!" After dividing down the heel we realized that the rubber actually encased a much harder plastic heel base. Oh, Steve, you sneaky, sneaky man.

One boot with the remnants of the semi-dismantled pair. You can see where the rubber was hollow to allow for the mini-heel inside.


Here you see the tiny inner heel as we try to saw through it, and the clunky heel remains on the side:


 The smaller, tougher heel was also screwed in to the sole, quite well, actually.

This gives another view of that same little beast:


After much sawing, breaking, and rubber shredding later ... viola! 


I have one funny looking boot. I also removed the buckle strap from the boot with a pair of awesome heavy duty scissors that don't back down against copper pennies, let alone old leather boots.

At this point, I'm going to say that was the most difficult part of the project ... I don't think anything else could be as difficult as those couple hours we spent trying to break a nailed in, screwed on, welded piece of plastic without destroying the integrity of the boot/sole itself.

After this, we headed to the local Lowe's to pick up supplies for the next step. We looked at blocks of wood first, but ultimately decided to go with PVC pipe. Kind of lazy, perhaps, but I lack the tools to shape wood and the pipes come pre-cut. It was just a matter of finding a size that fit on the base of the boot well enough for me to balance on. I got some weird looks, slipping in to a deformed, heel-less knee-high and standing one-legged on PVC pipe caps in the middle of the aisle. I think they were just jealous.

We finally decided on a good size cap for the width of the base, but it wasn't quite the height I was looking for. Face it, a 5'4" draenei just isn't going to cut it. Looking through a few more bins, we found an insert that fit well inside the cap we had decided on, then headed over to the adhesive aisle to buy all sorts of PVC cement, sand paper, and a cheap paintbrush. Things are a little fuzzy here, as I'm not totally pleased with the process I did today and will be heading out within the next day or two to try to get a replacement.

Here are the bits of PVC I brought home: 


We joined the inserts with the caps first and let them dry, then started the process of adhering the caps to the boots ...

Hours later, they are still holding well. 


I'm going to let them rest for the night, and then I'll be going out after work tomorrow to look in to buying some more heavy duty adhesive/putty to compensate for the opposing curves on the cap and boot soles. Then I will be applying fiberglass resin to reinforce further as well as blend the line from boot to PVC a bit.

I'm already real excited.